.
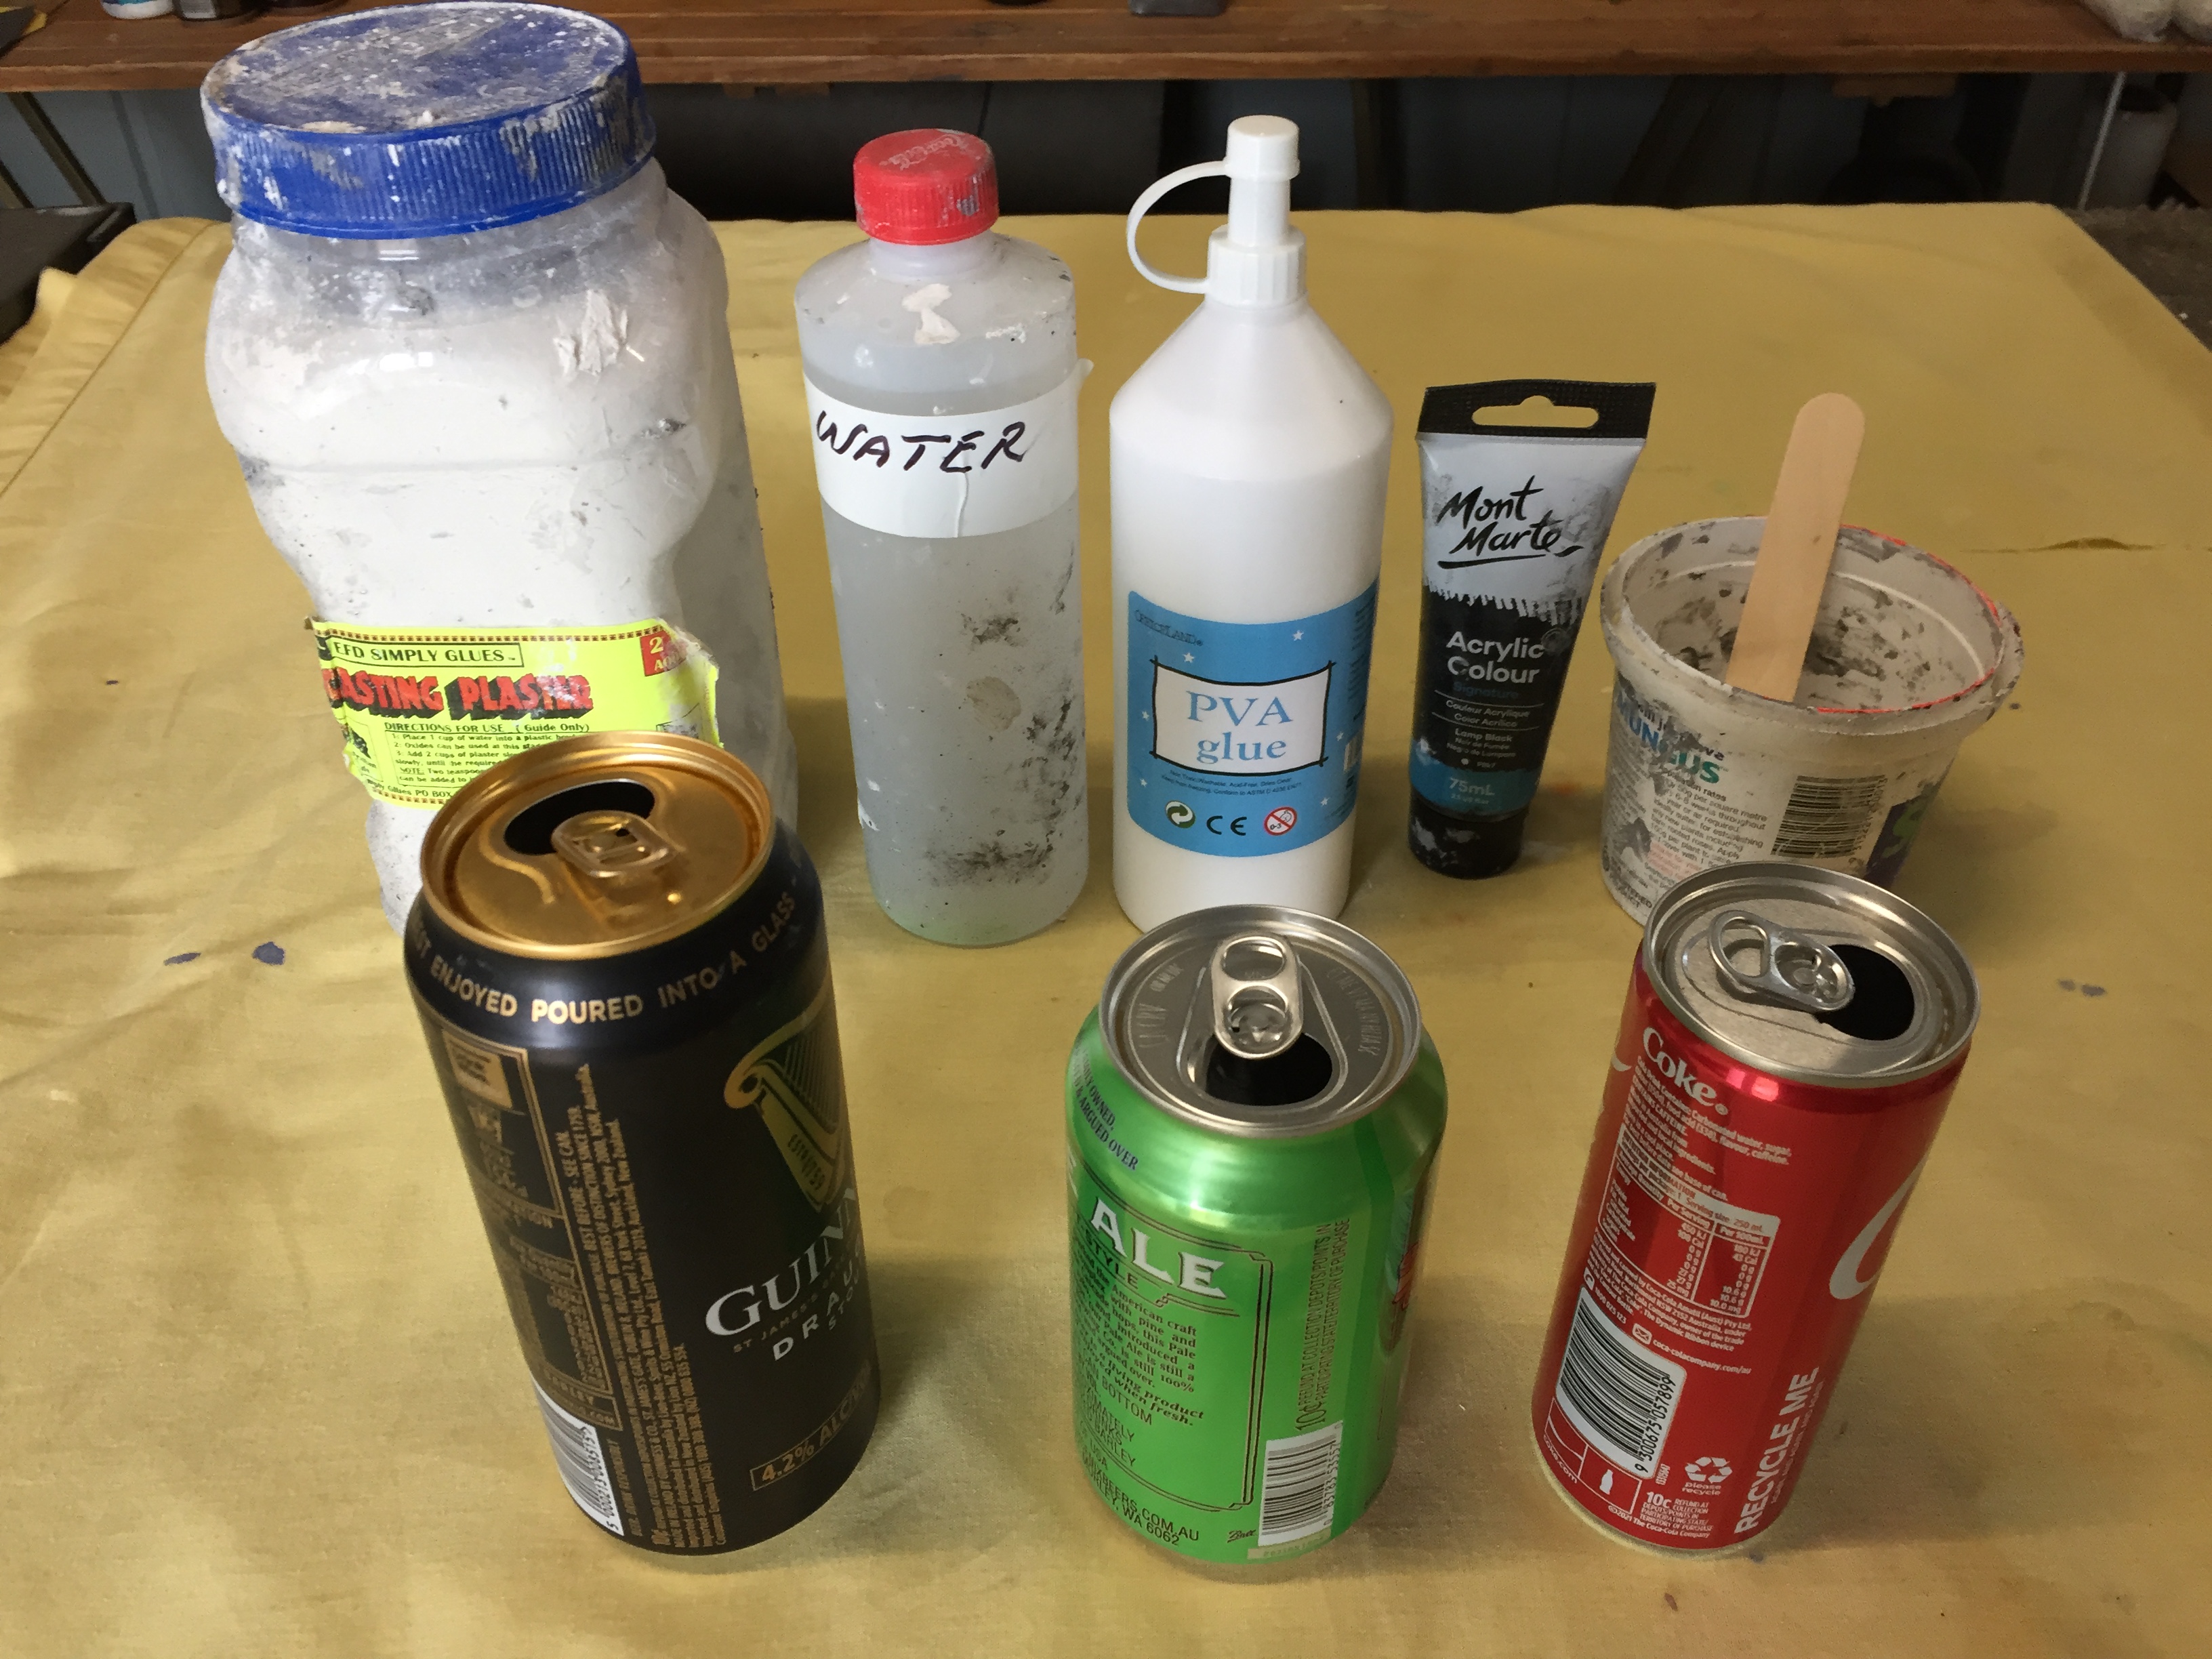
Well as John said, first consume the contents, kids you will have to stick to soft drinks and you adults take it easy, best do one at a time.
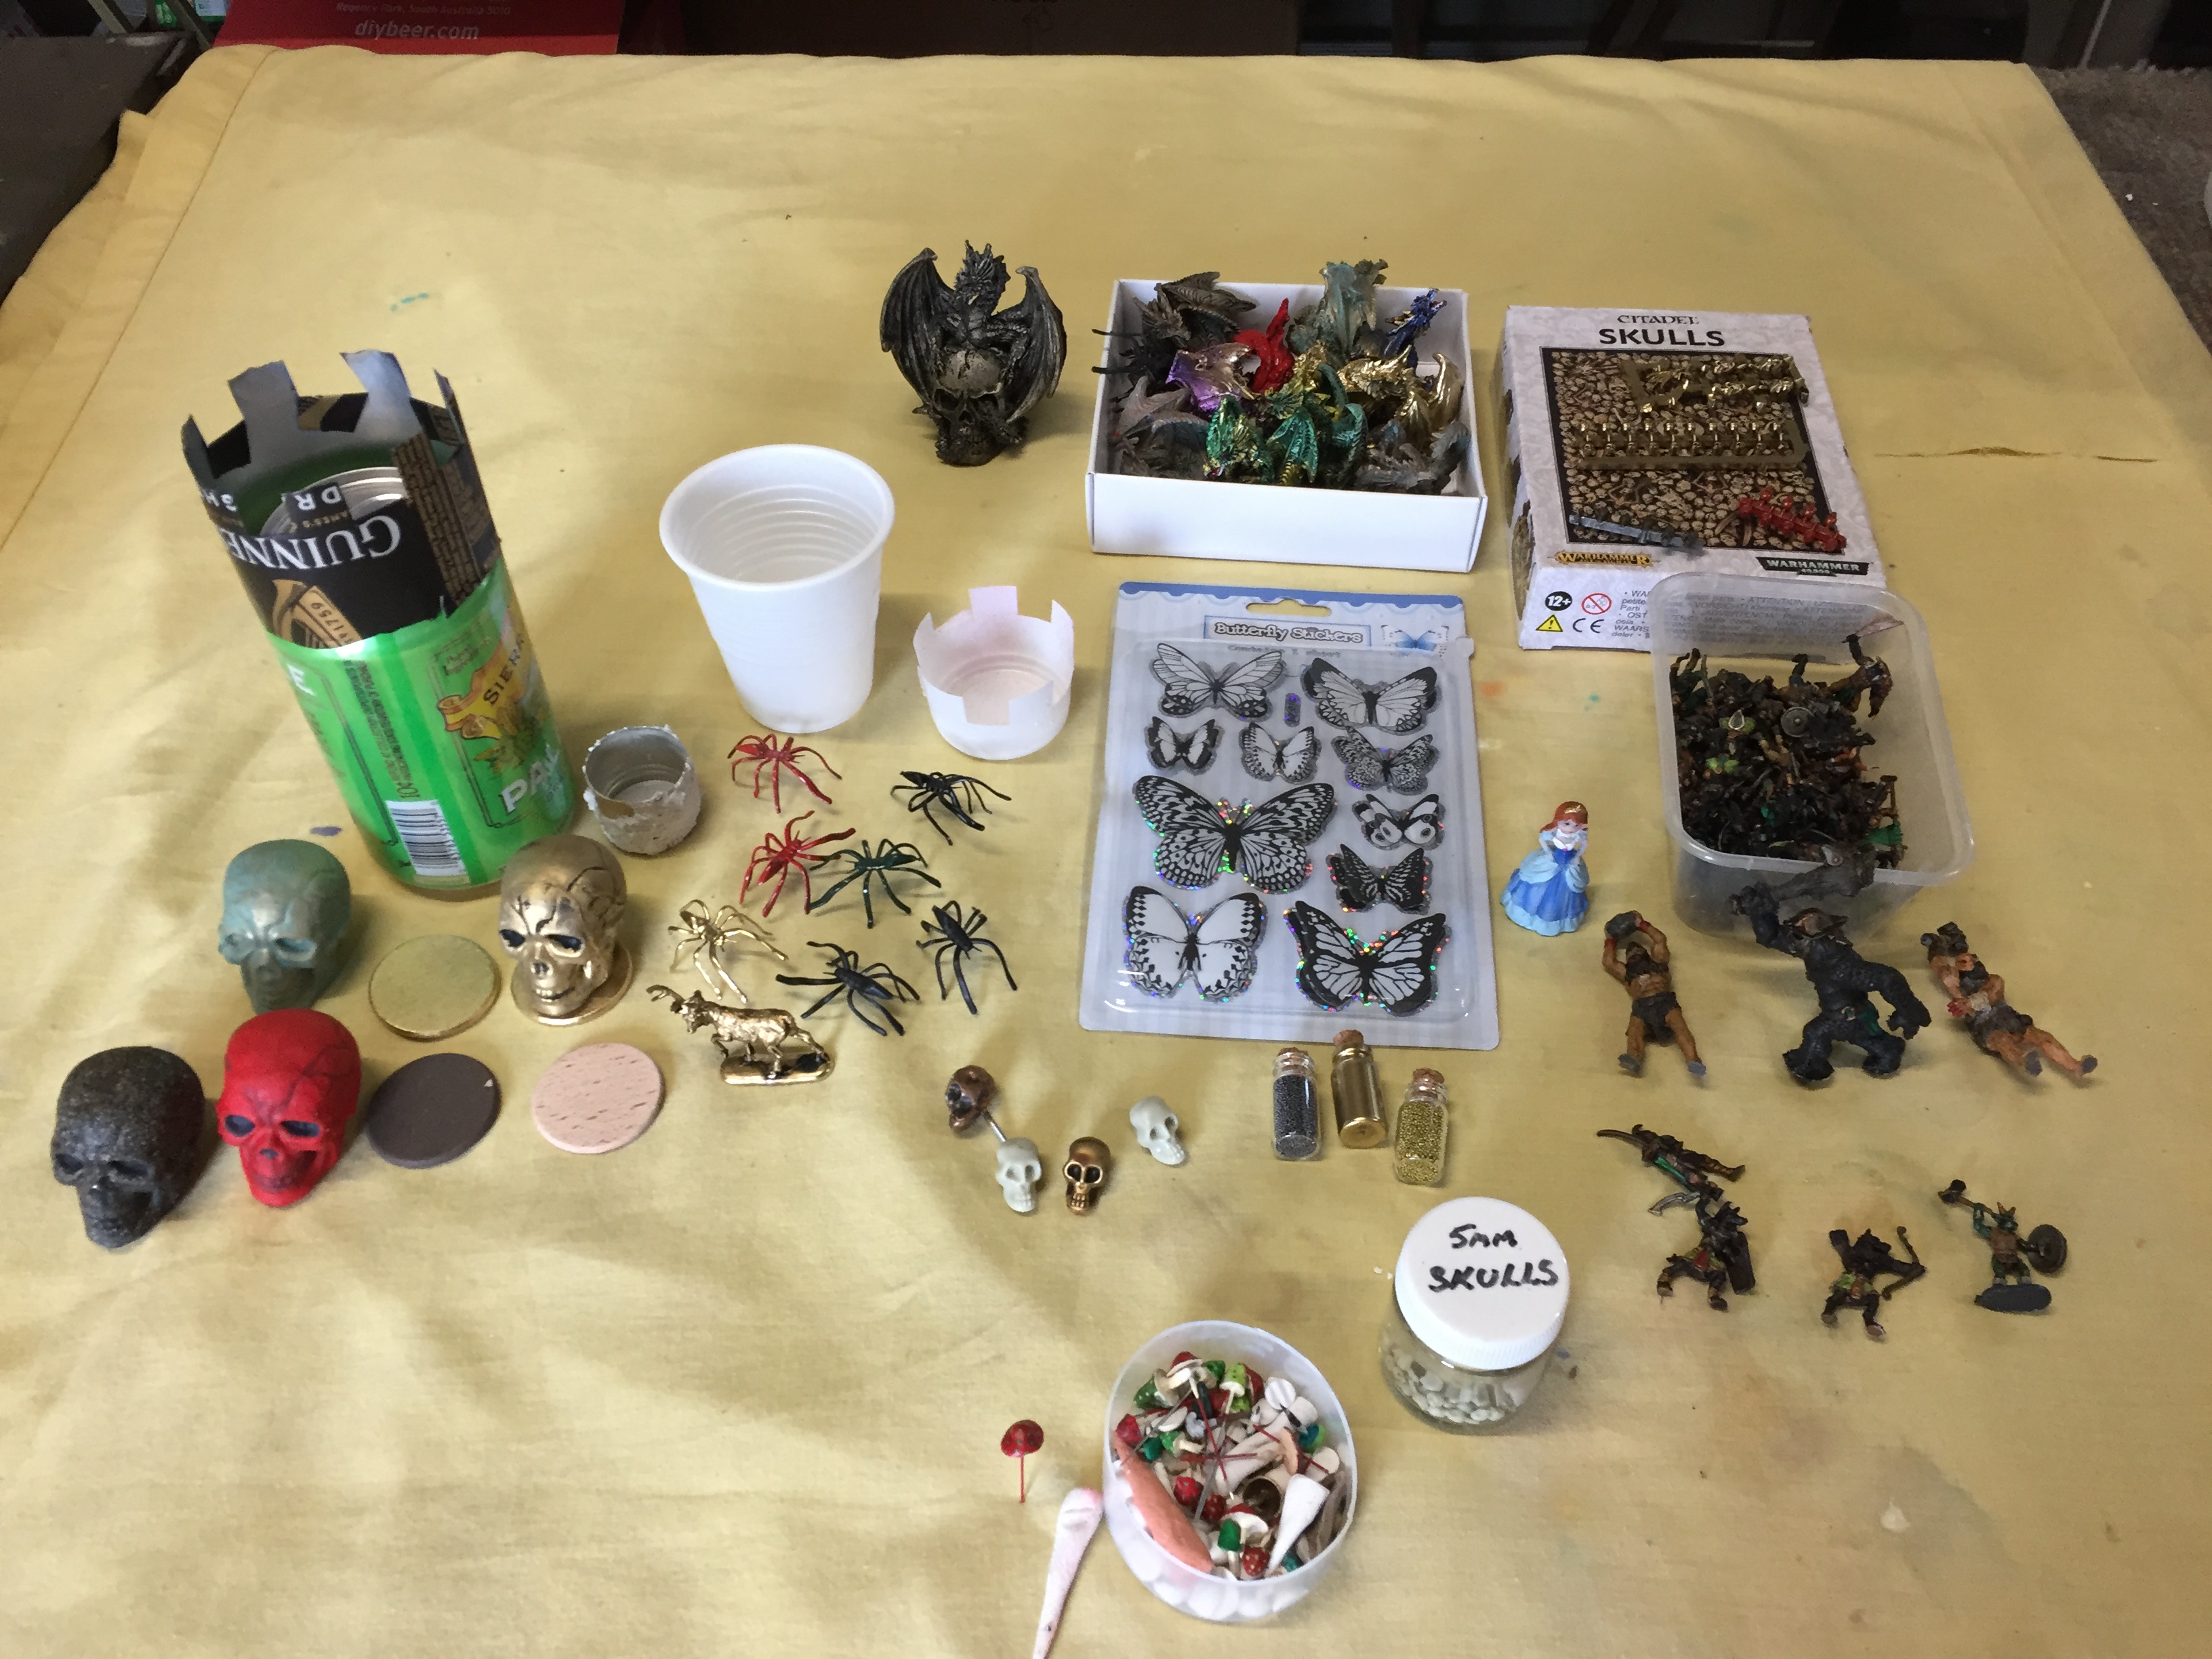
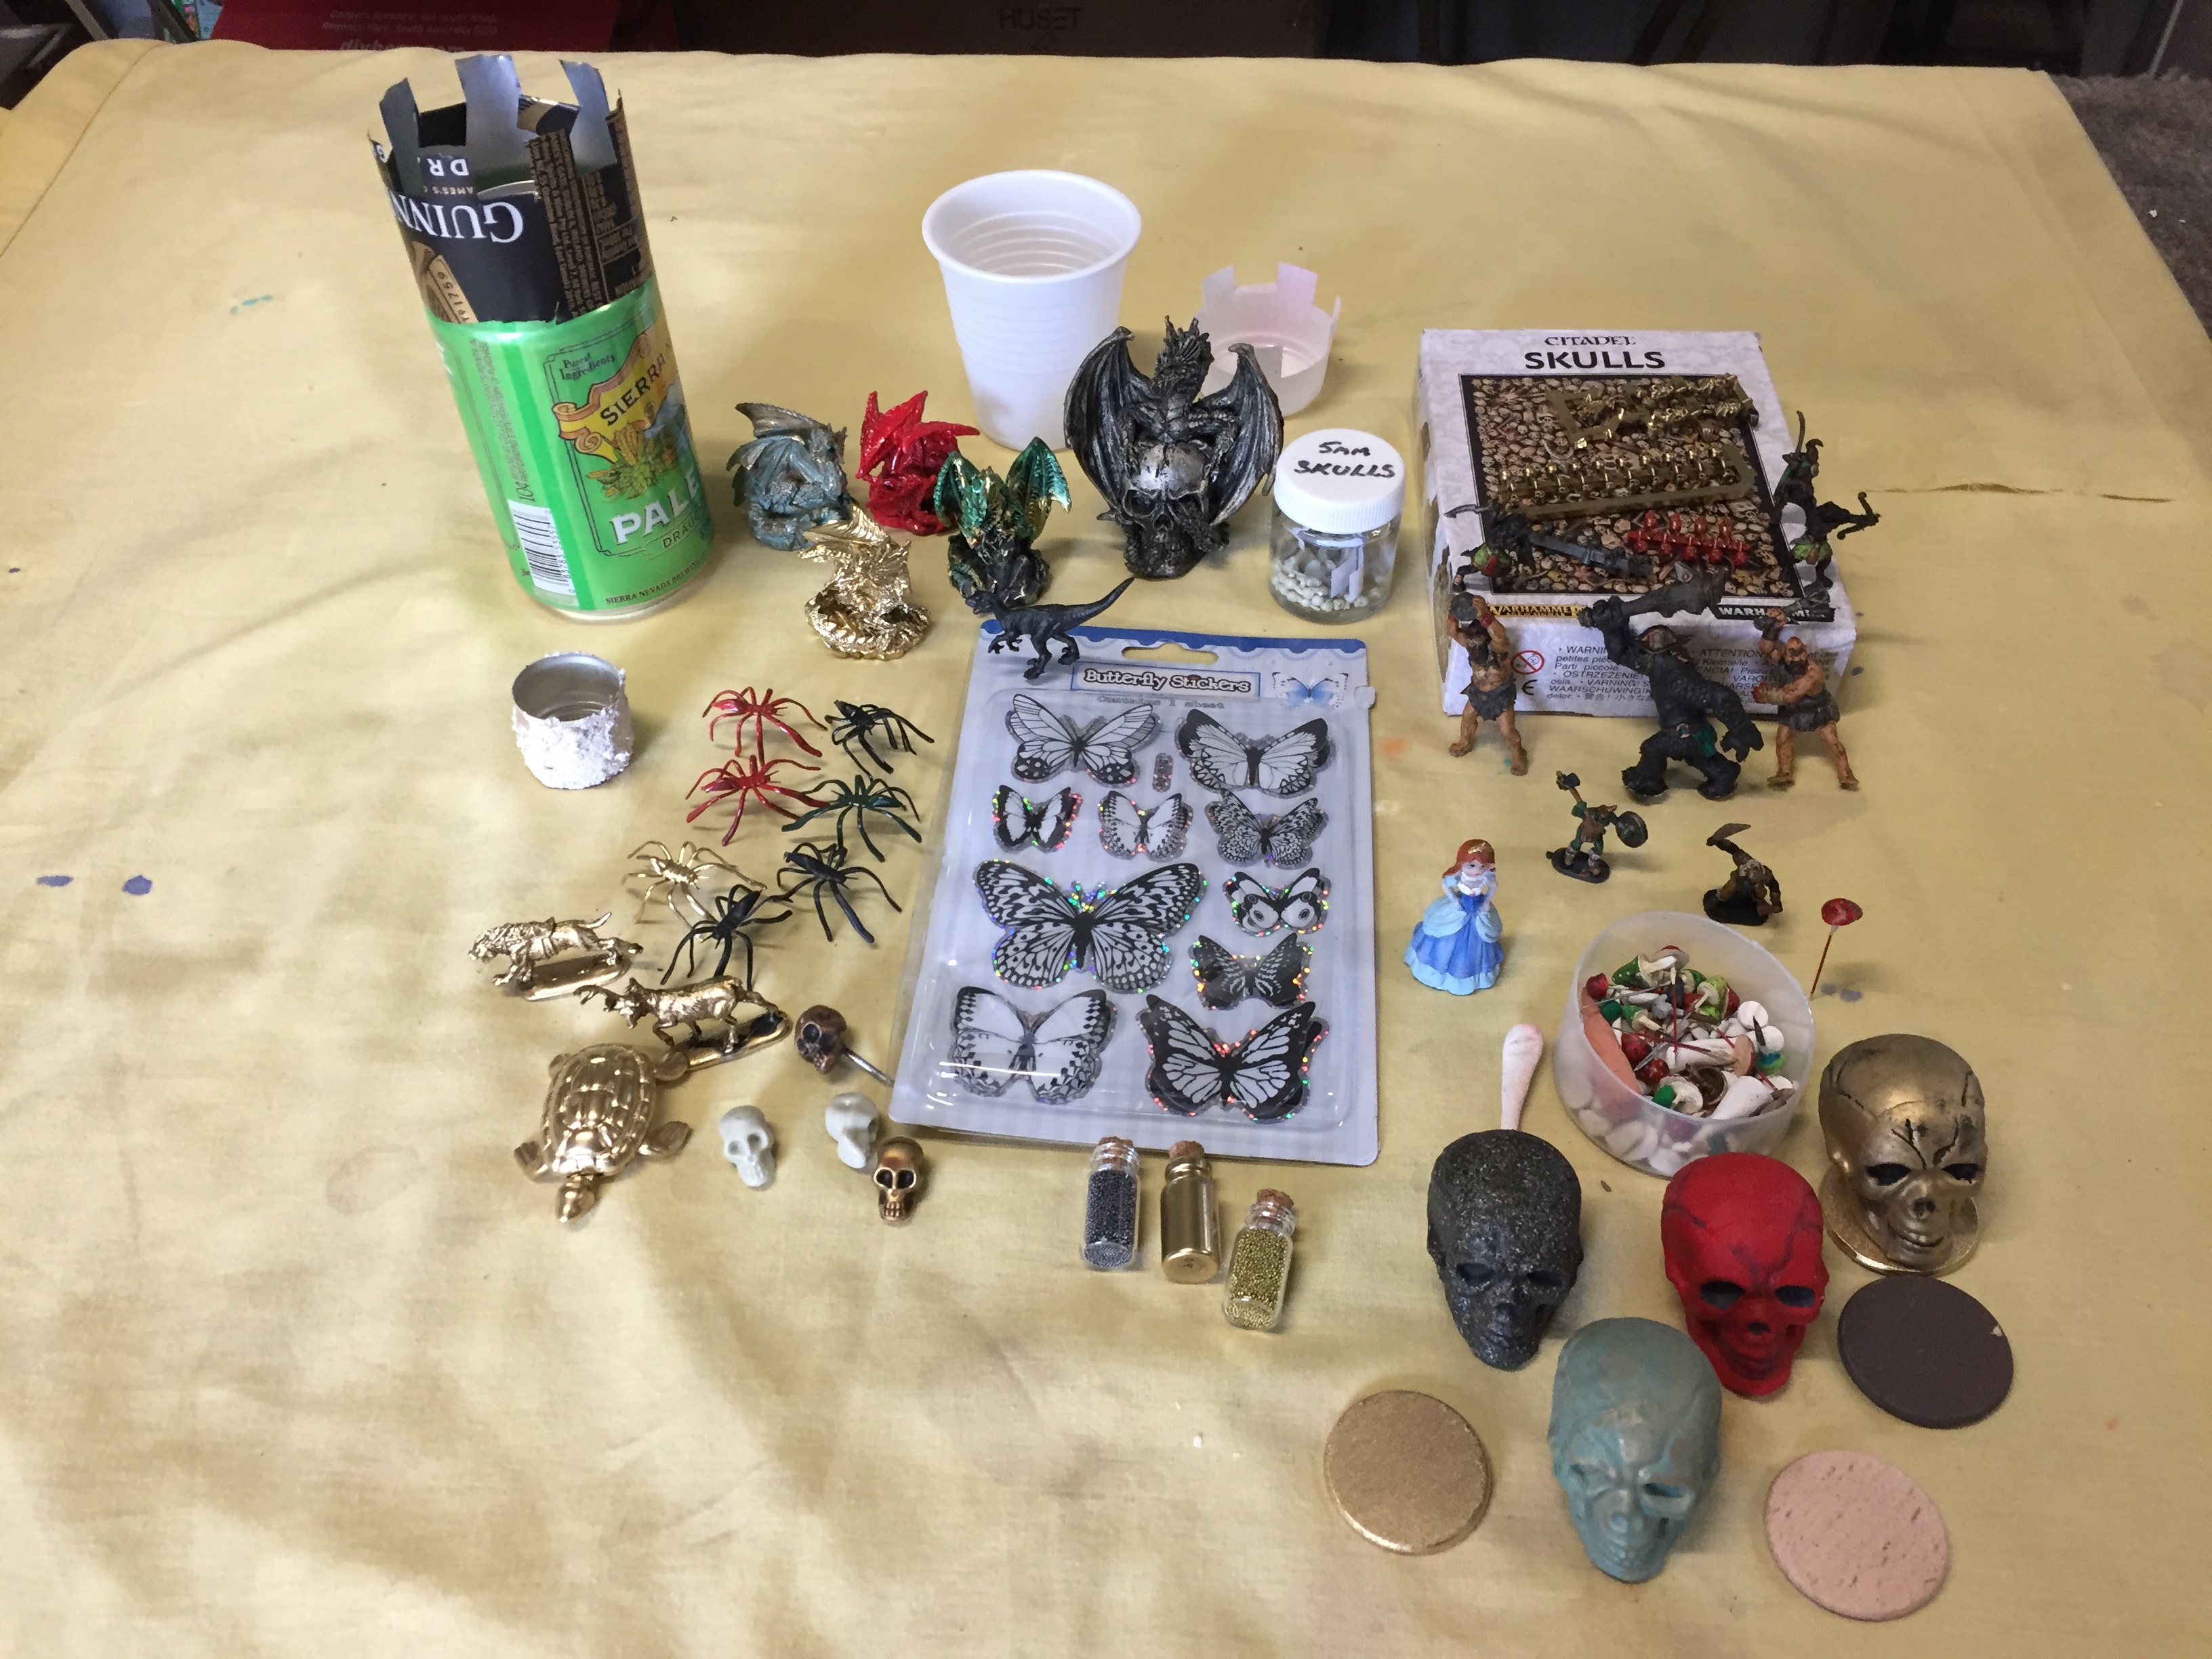
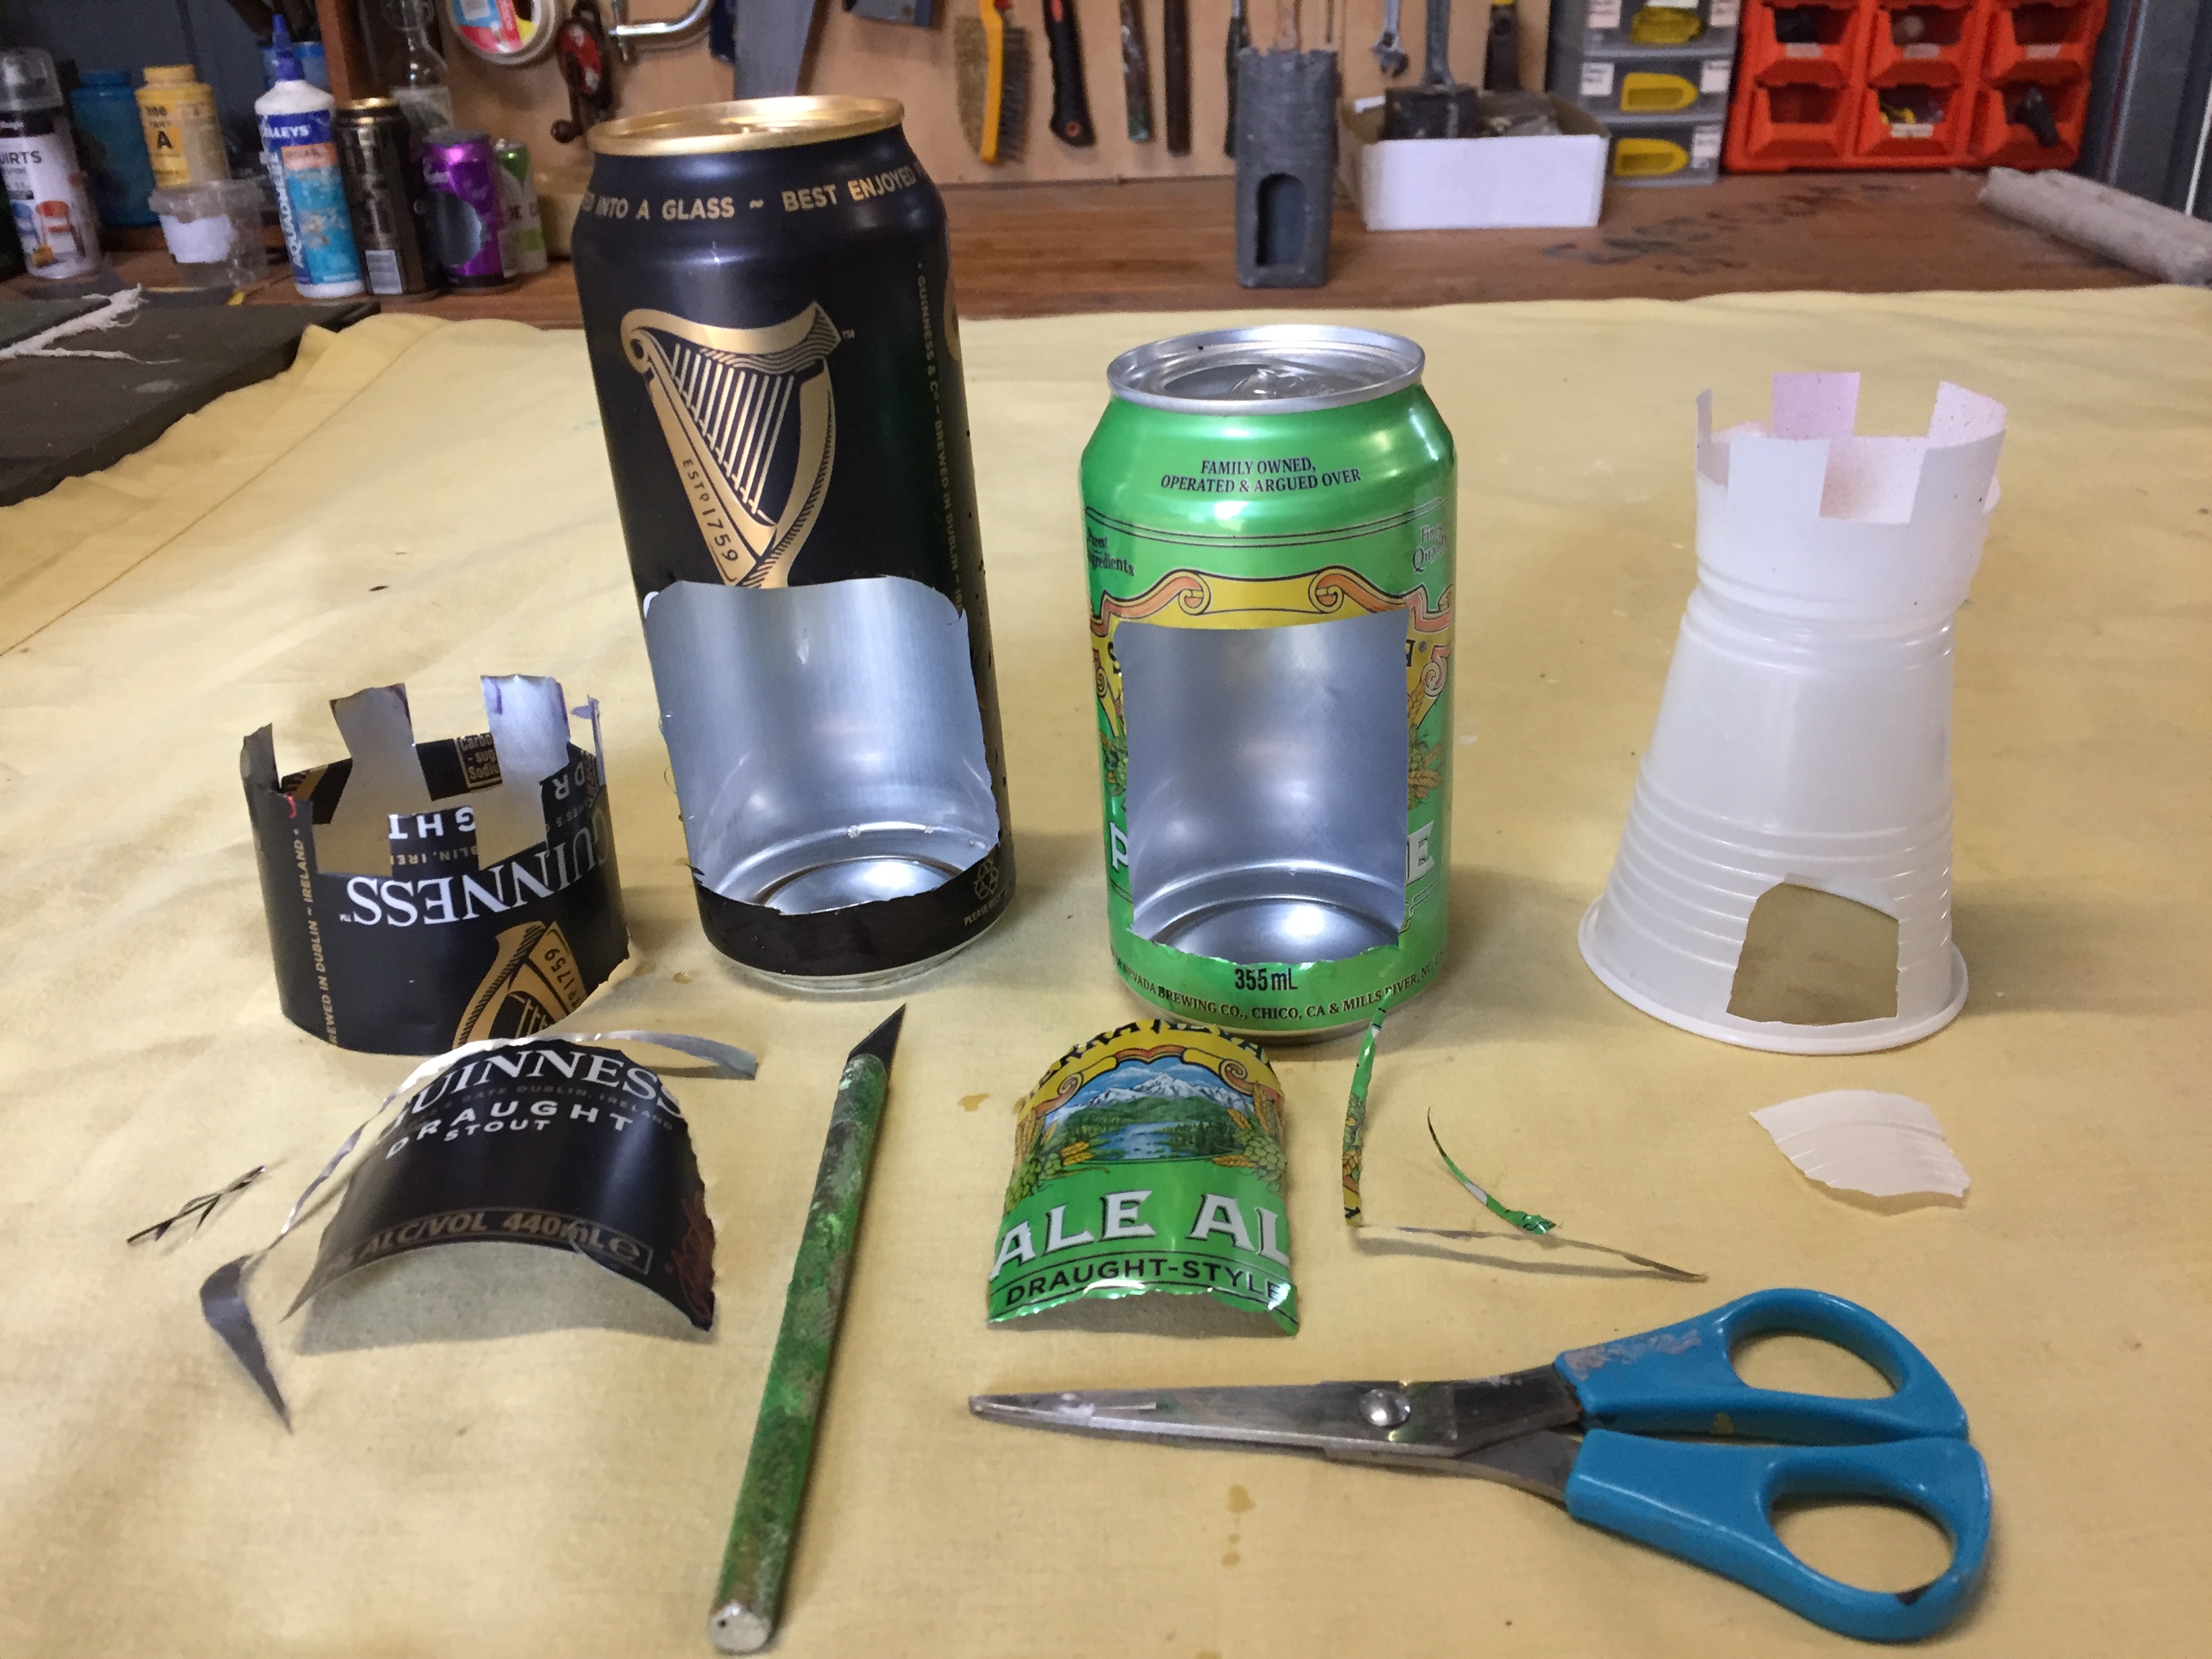
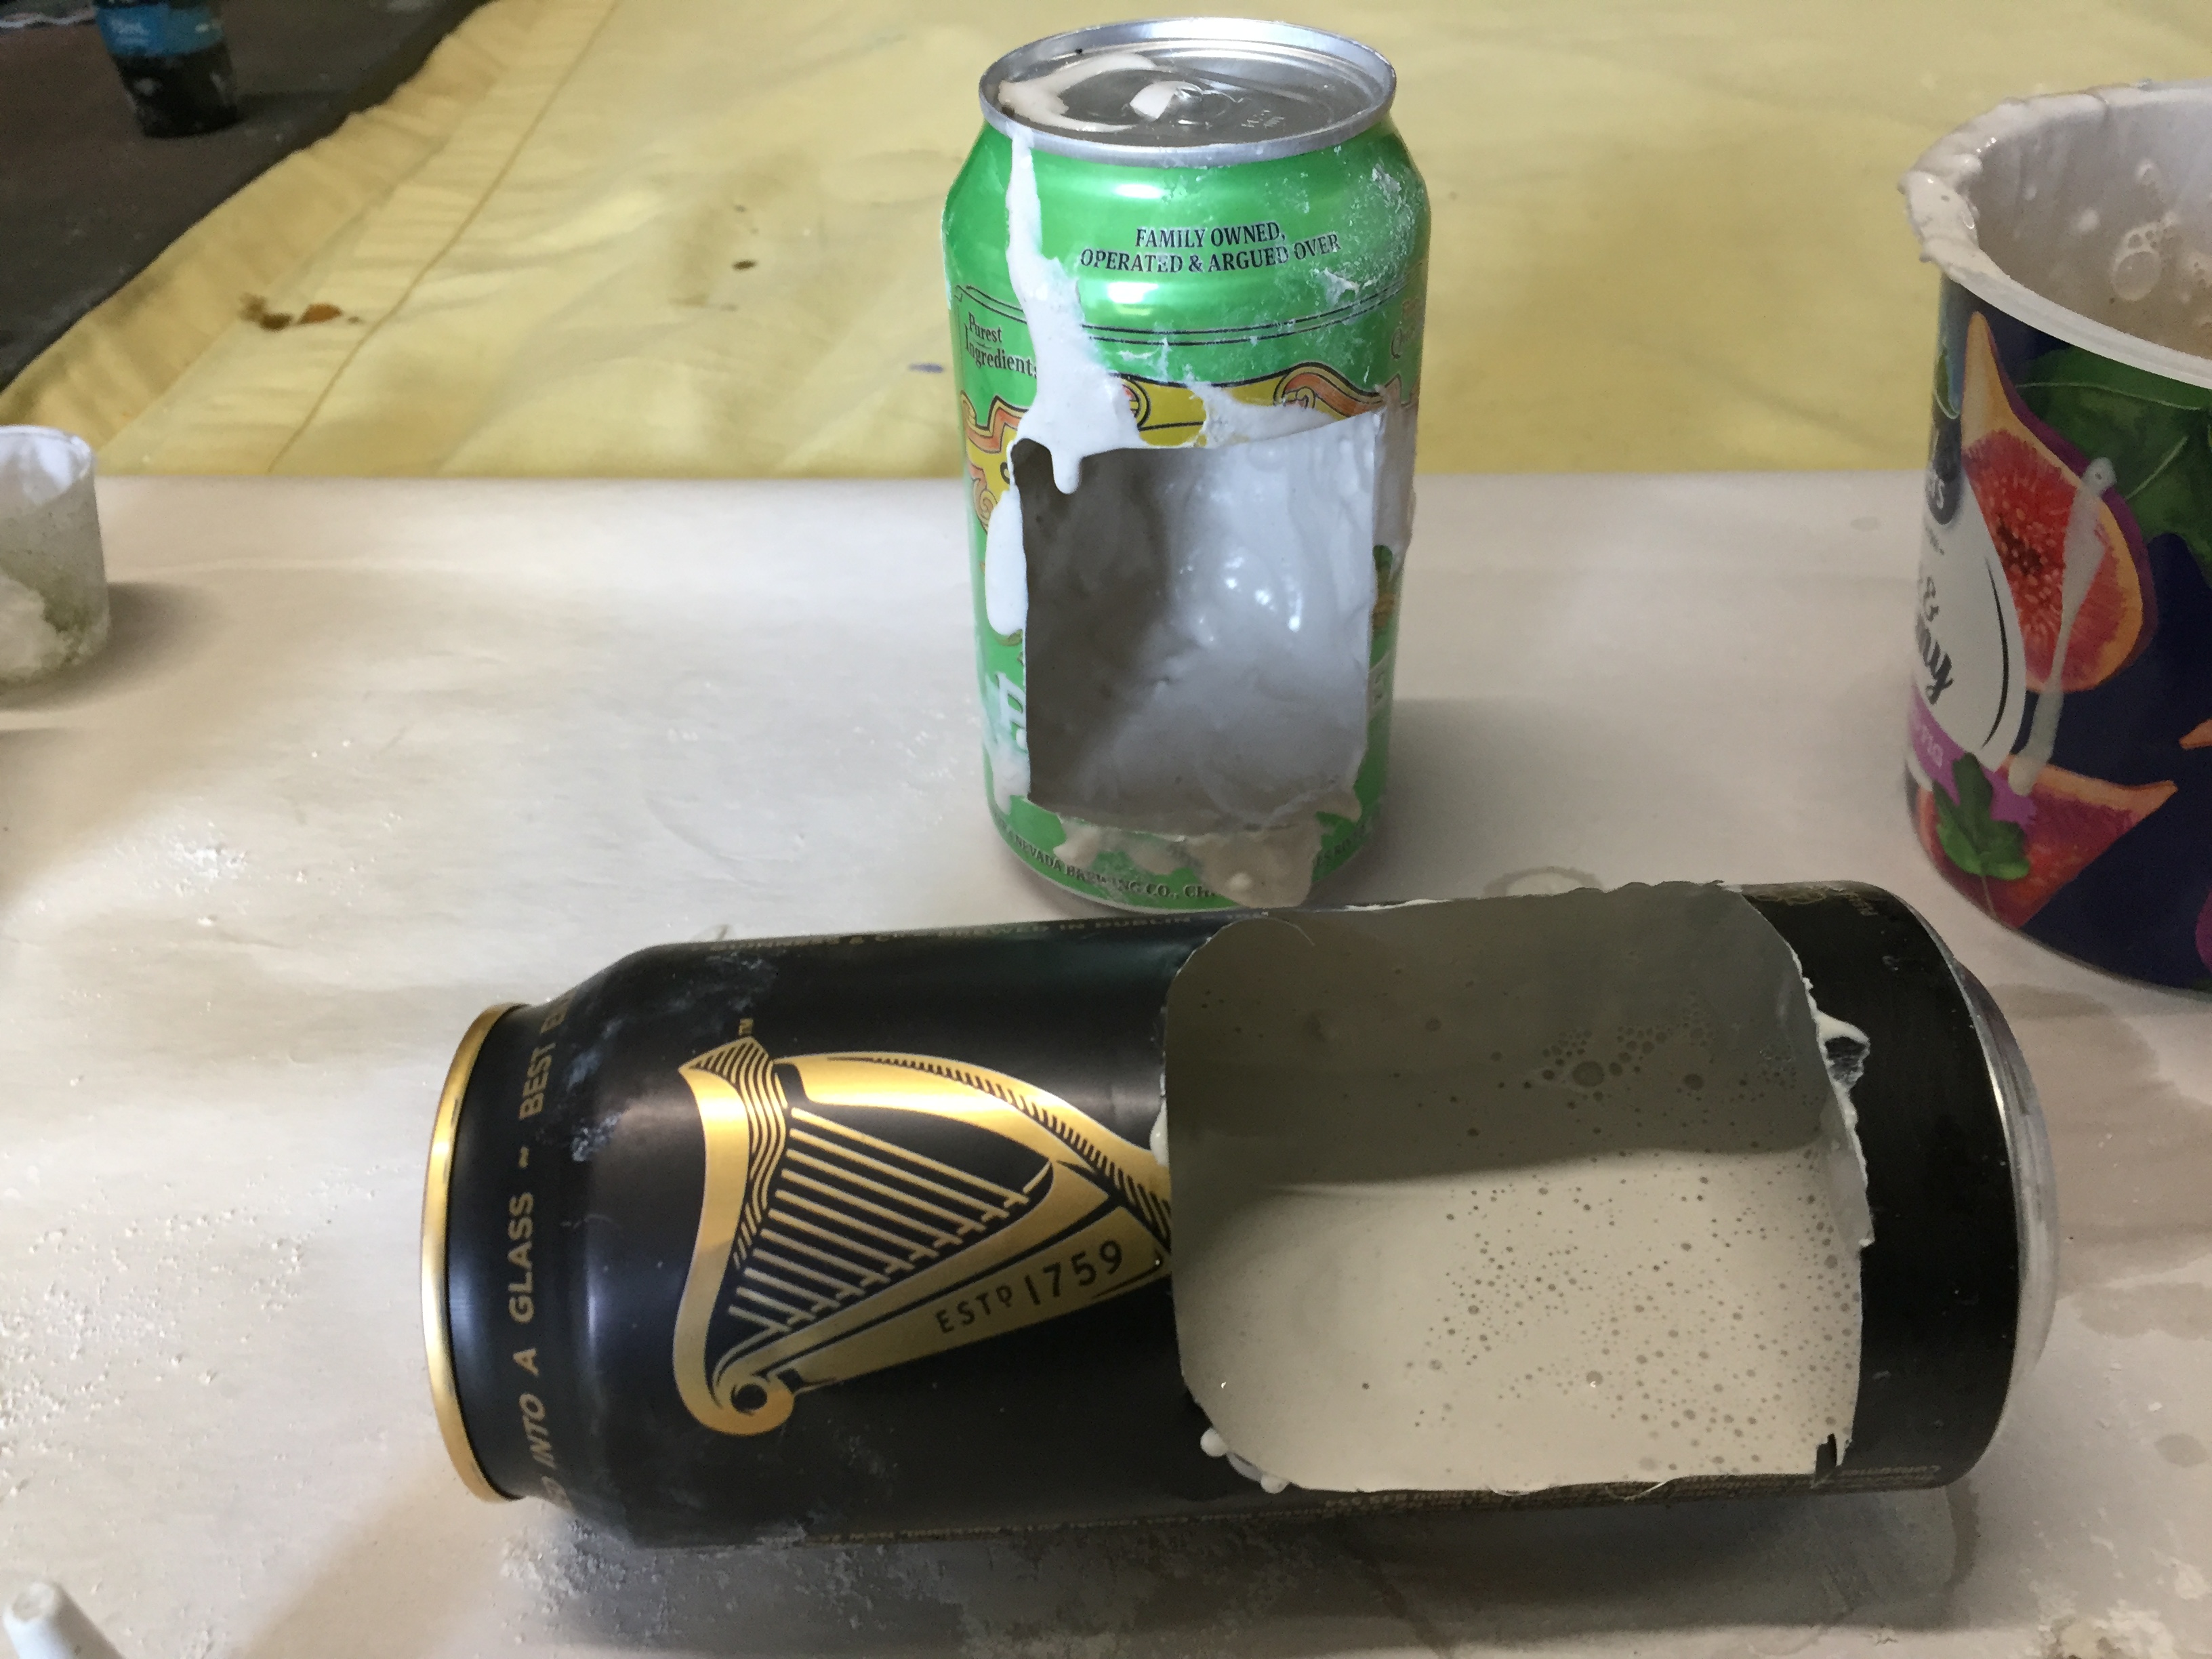
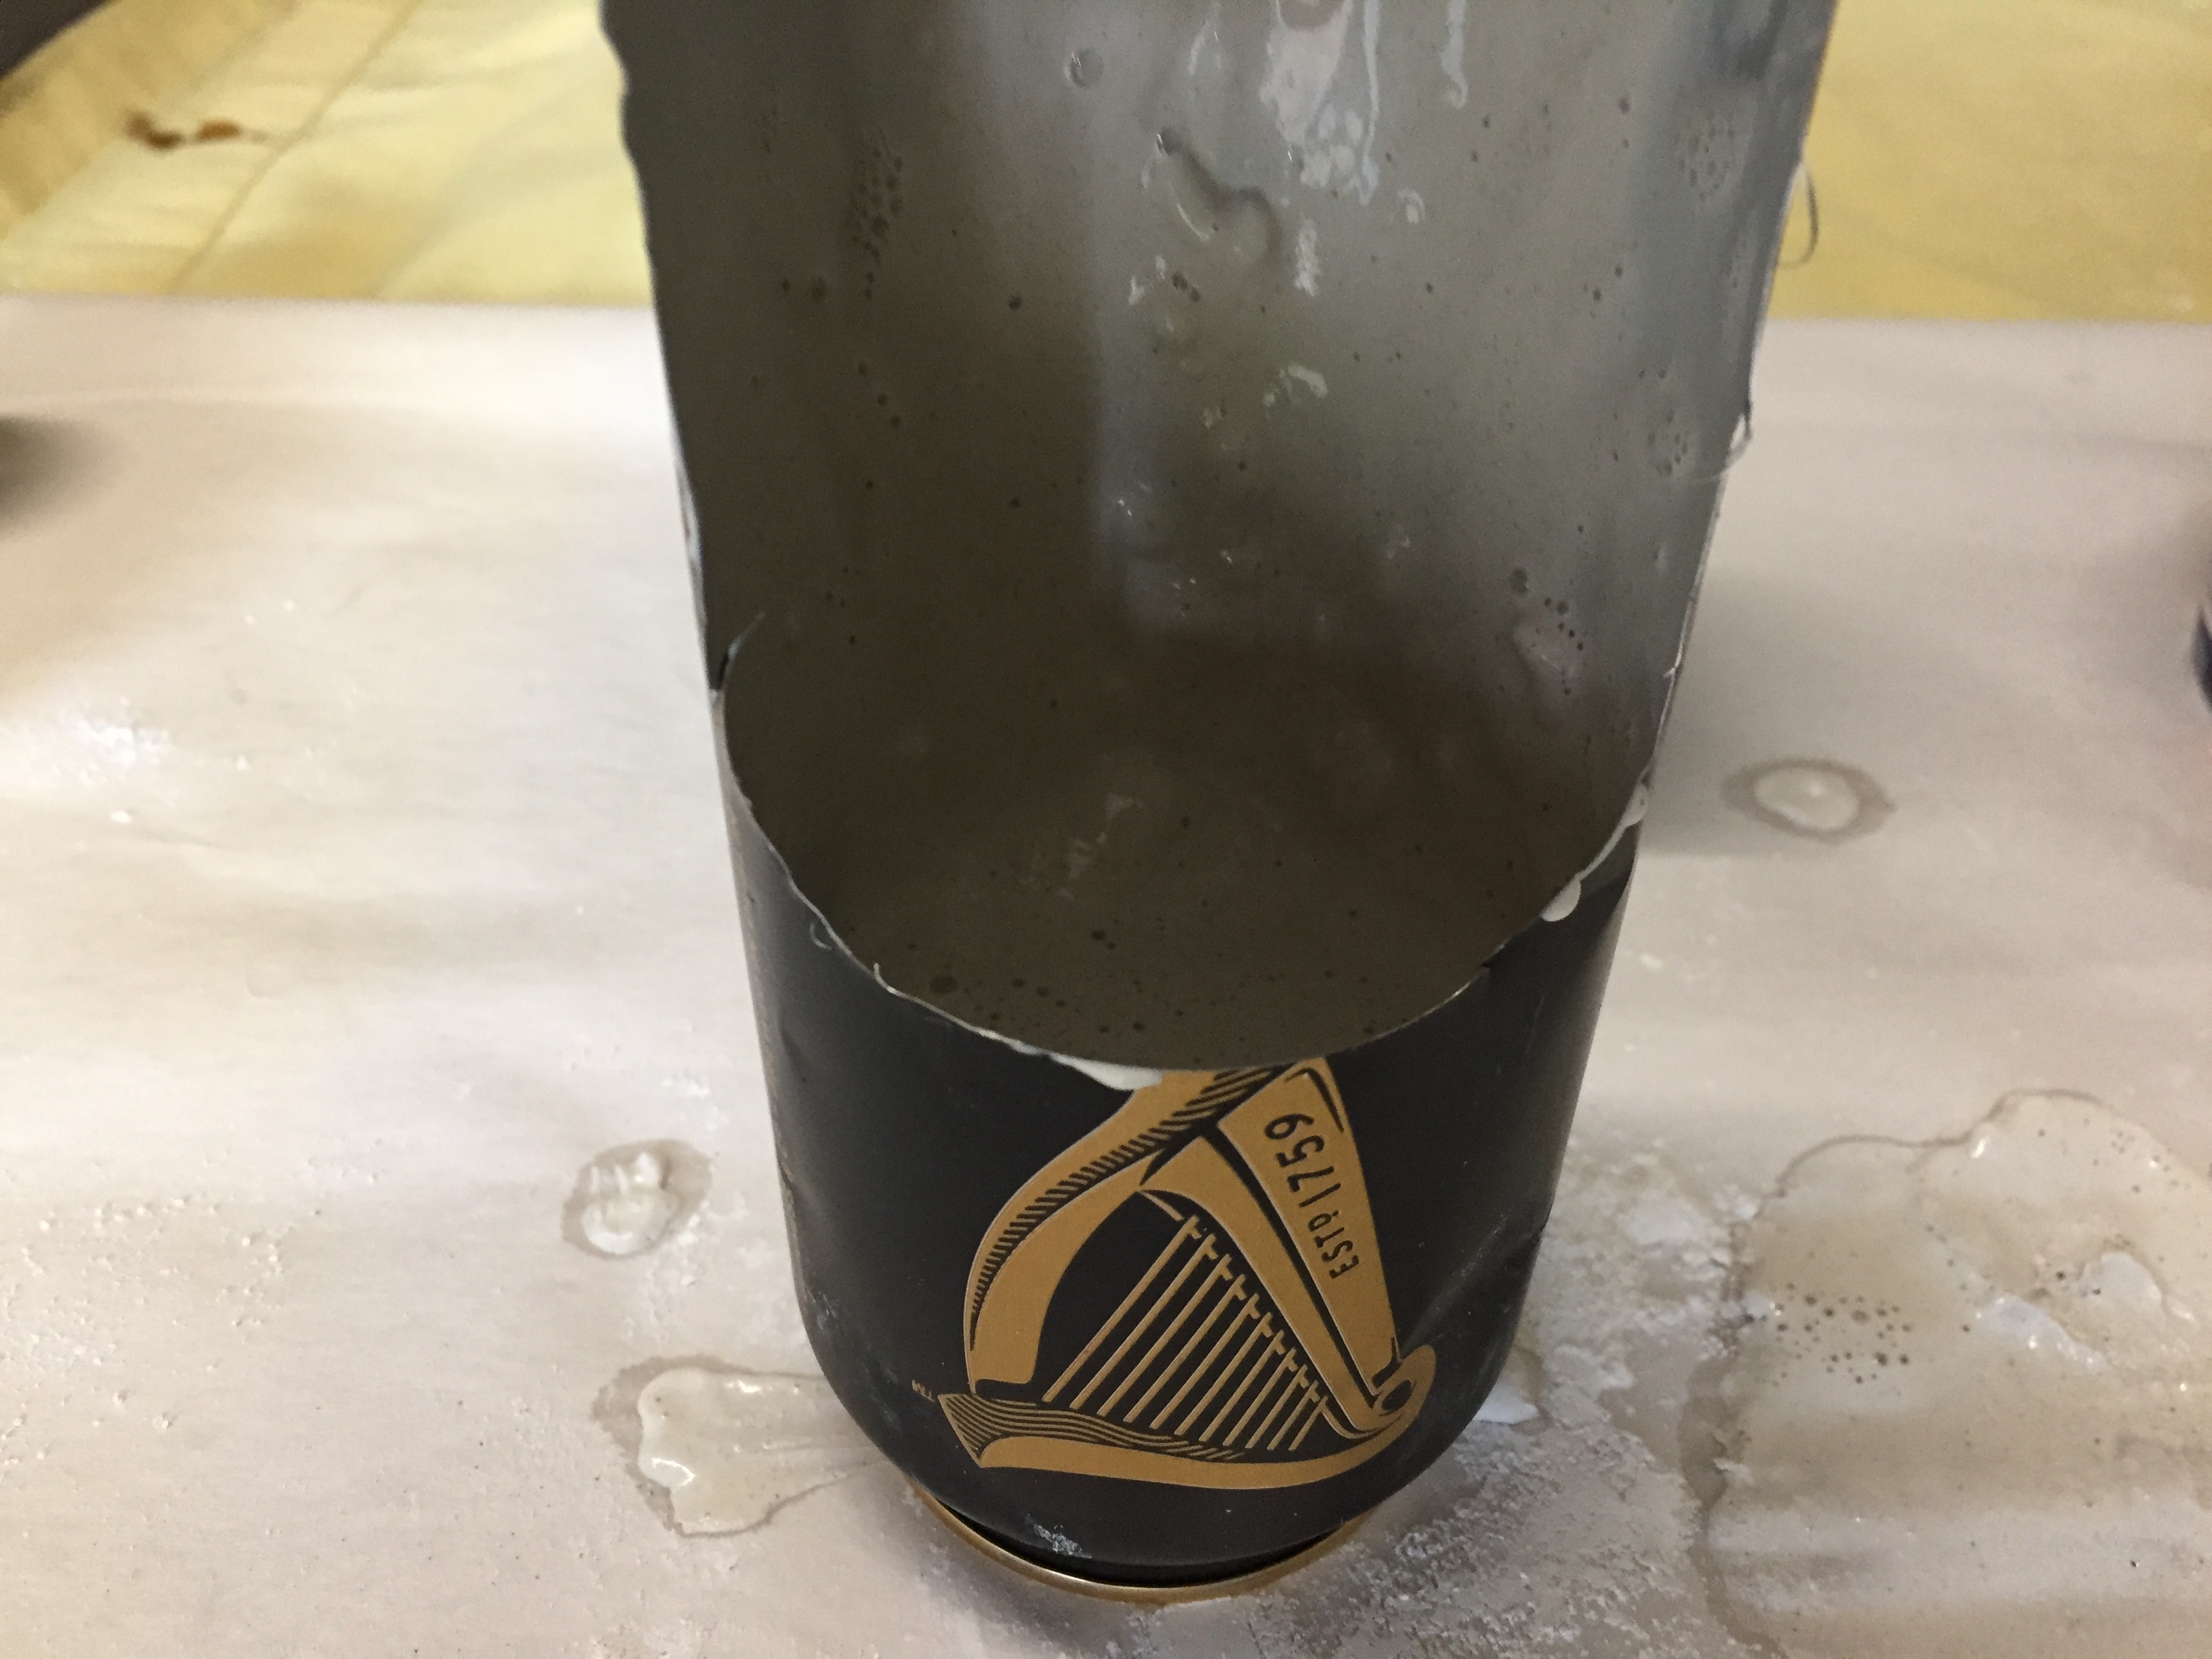
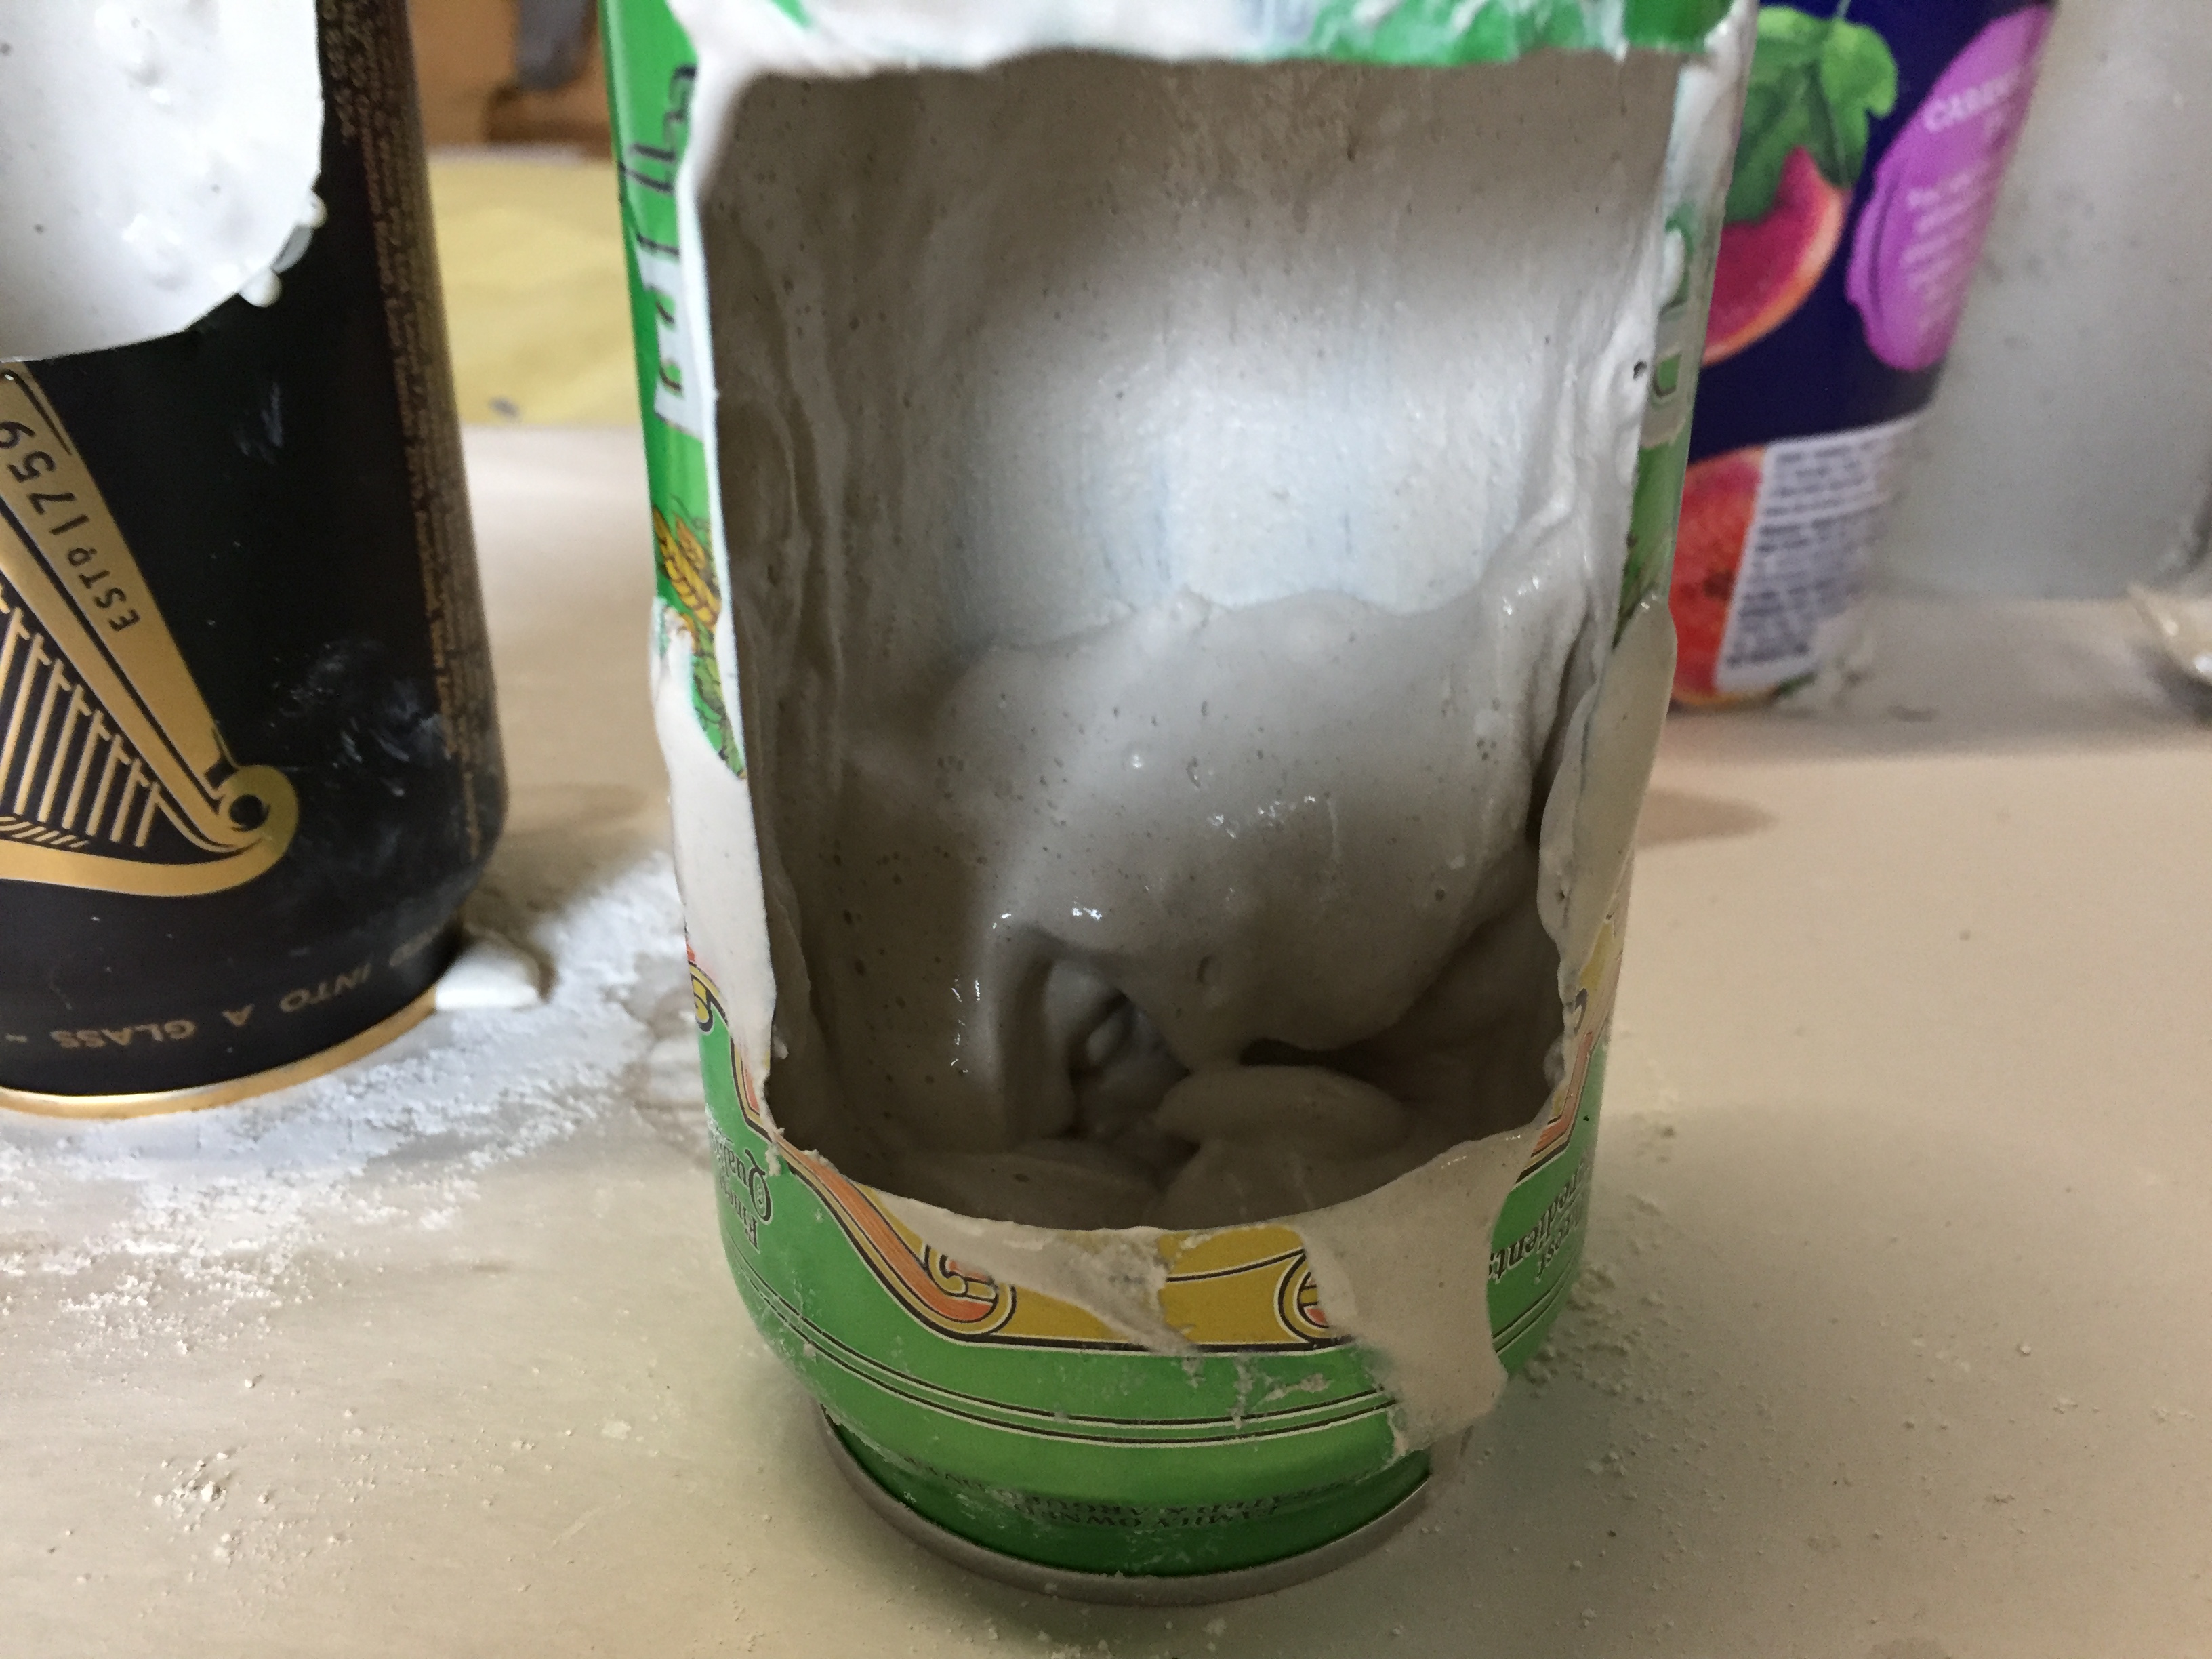
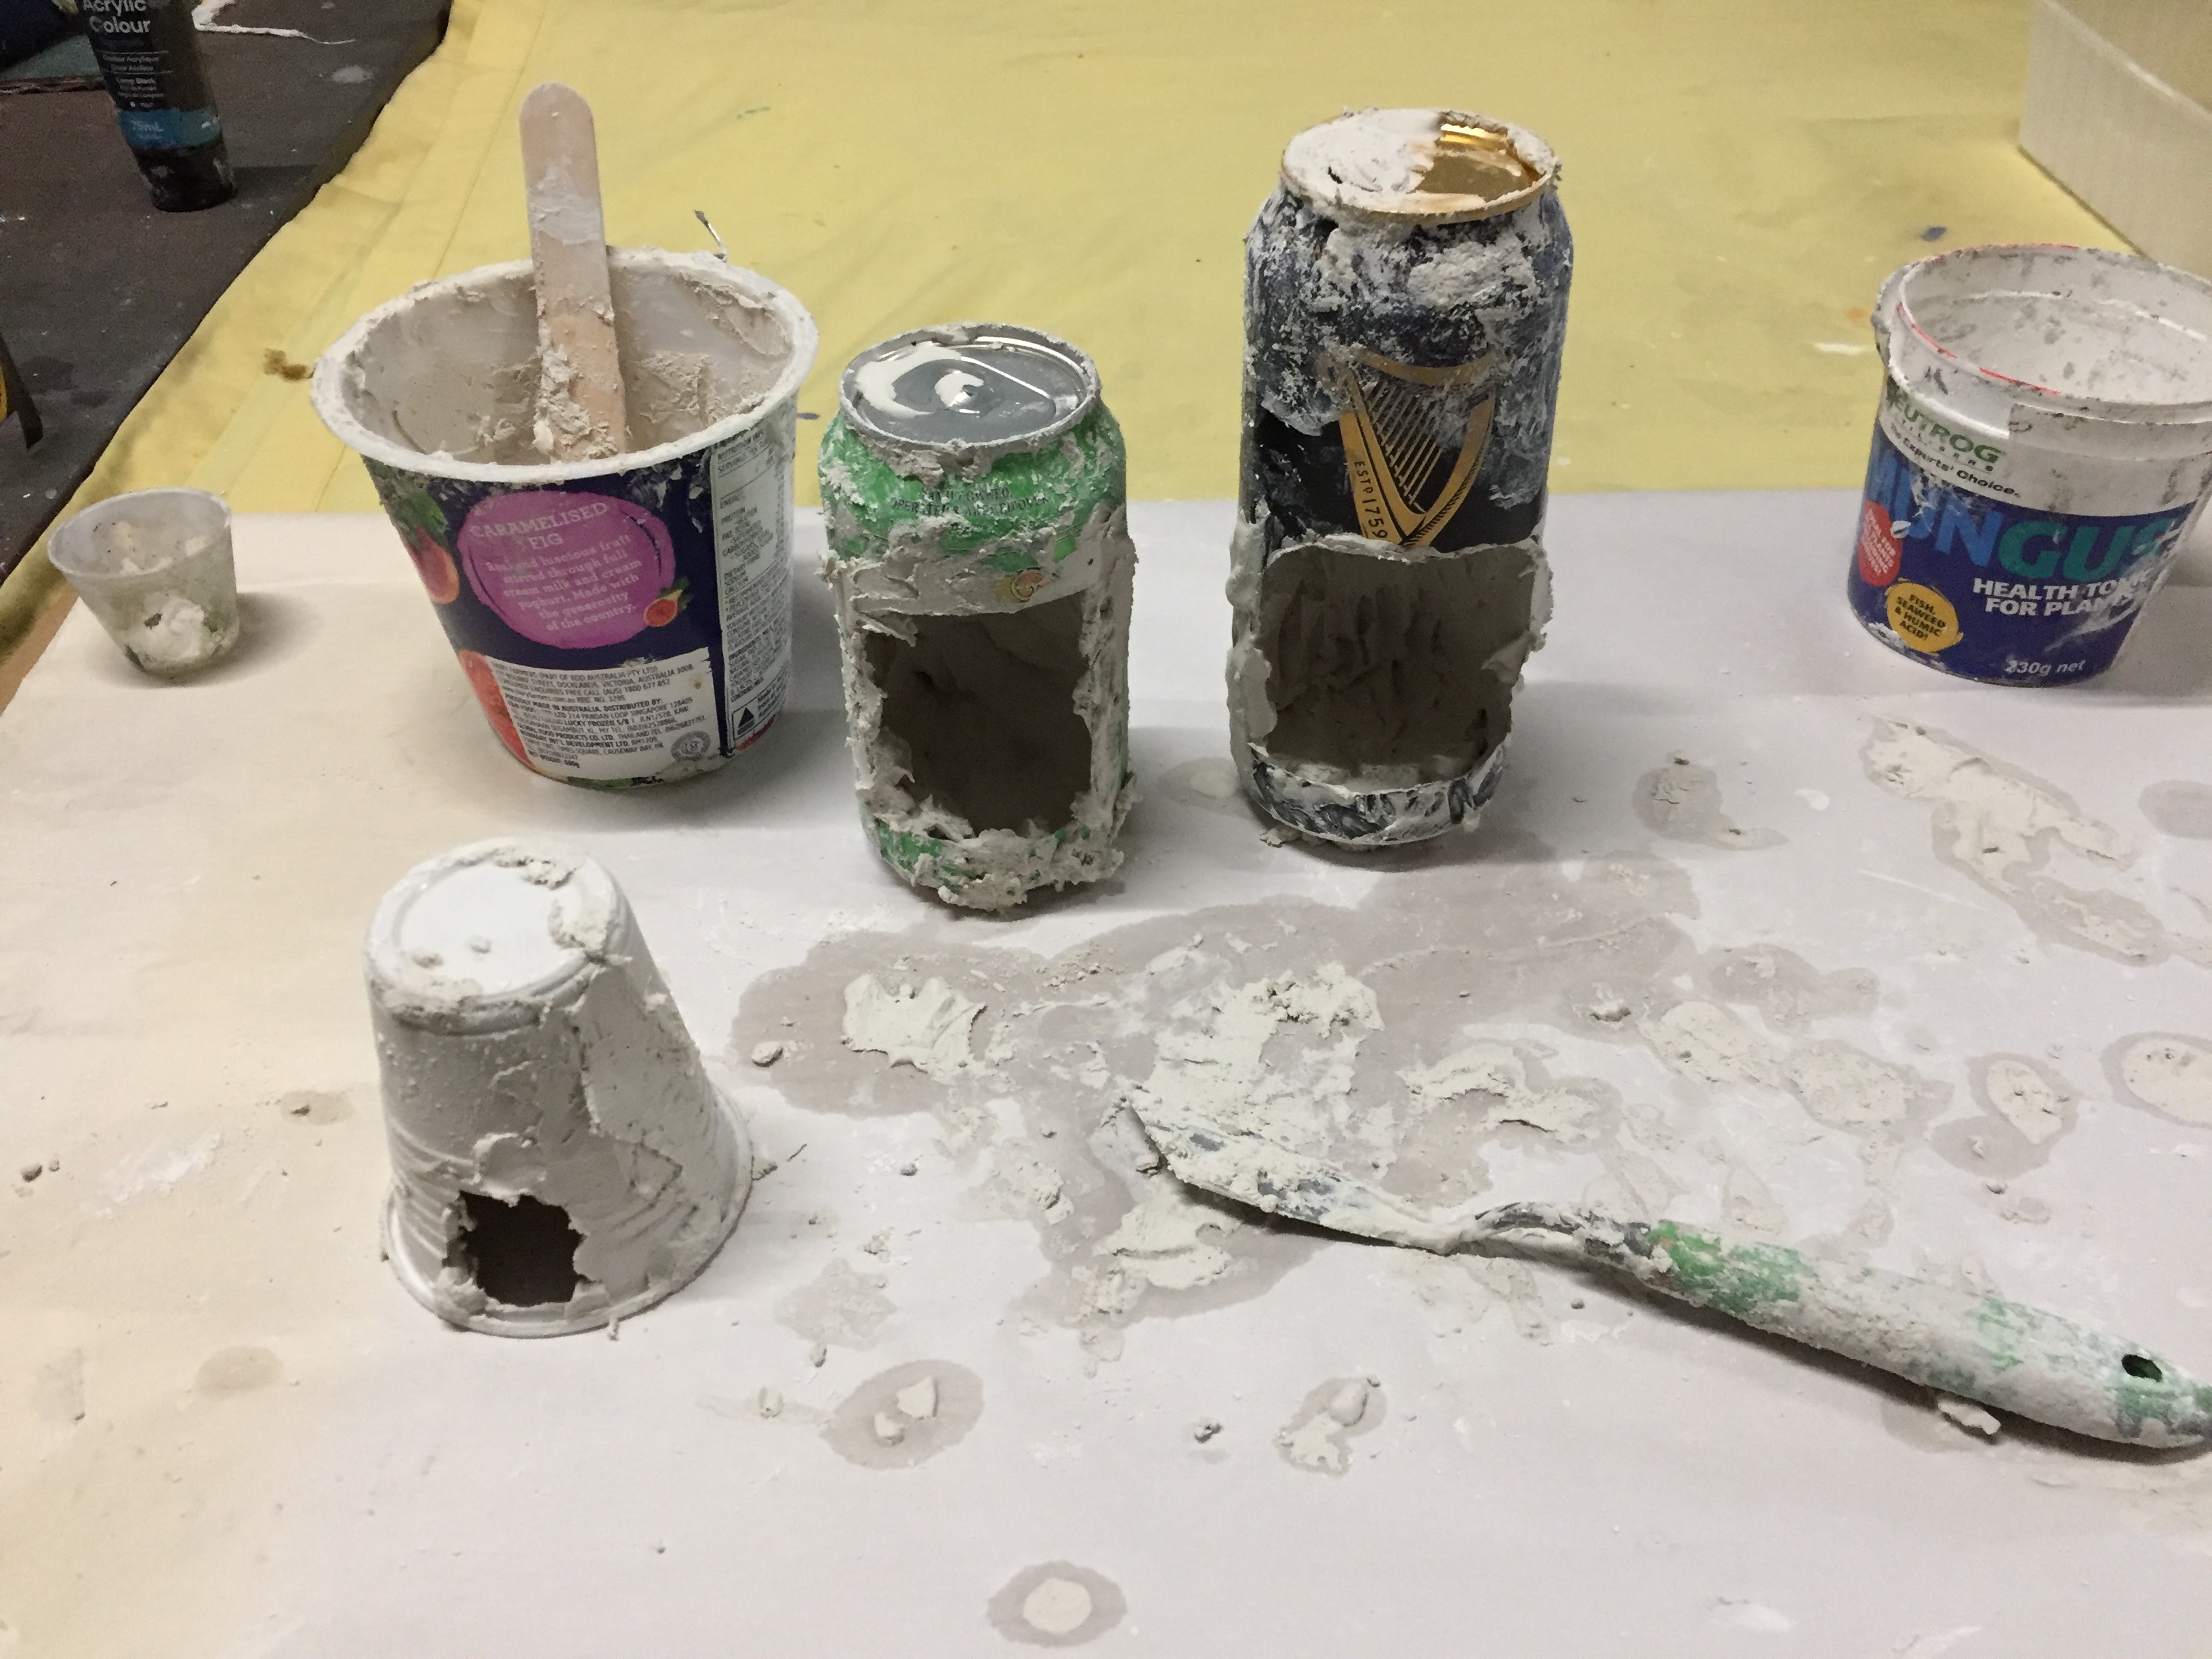
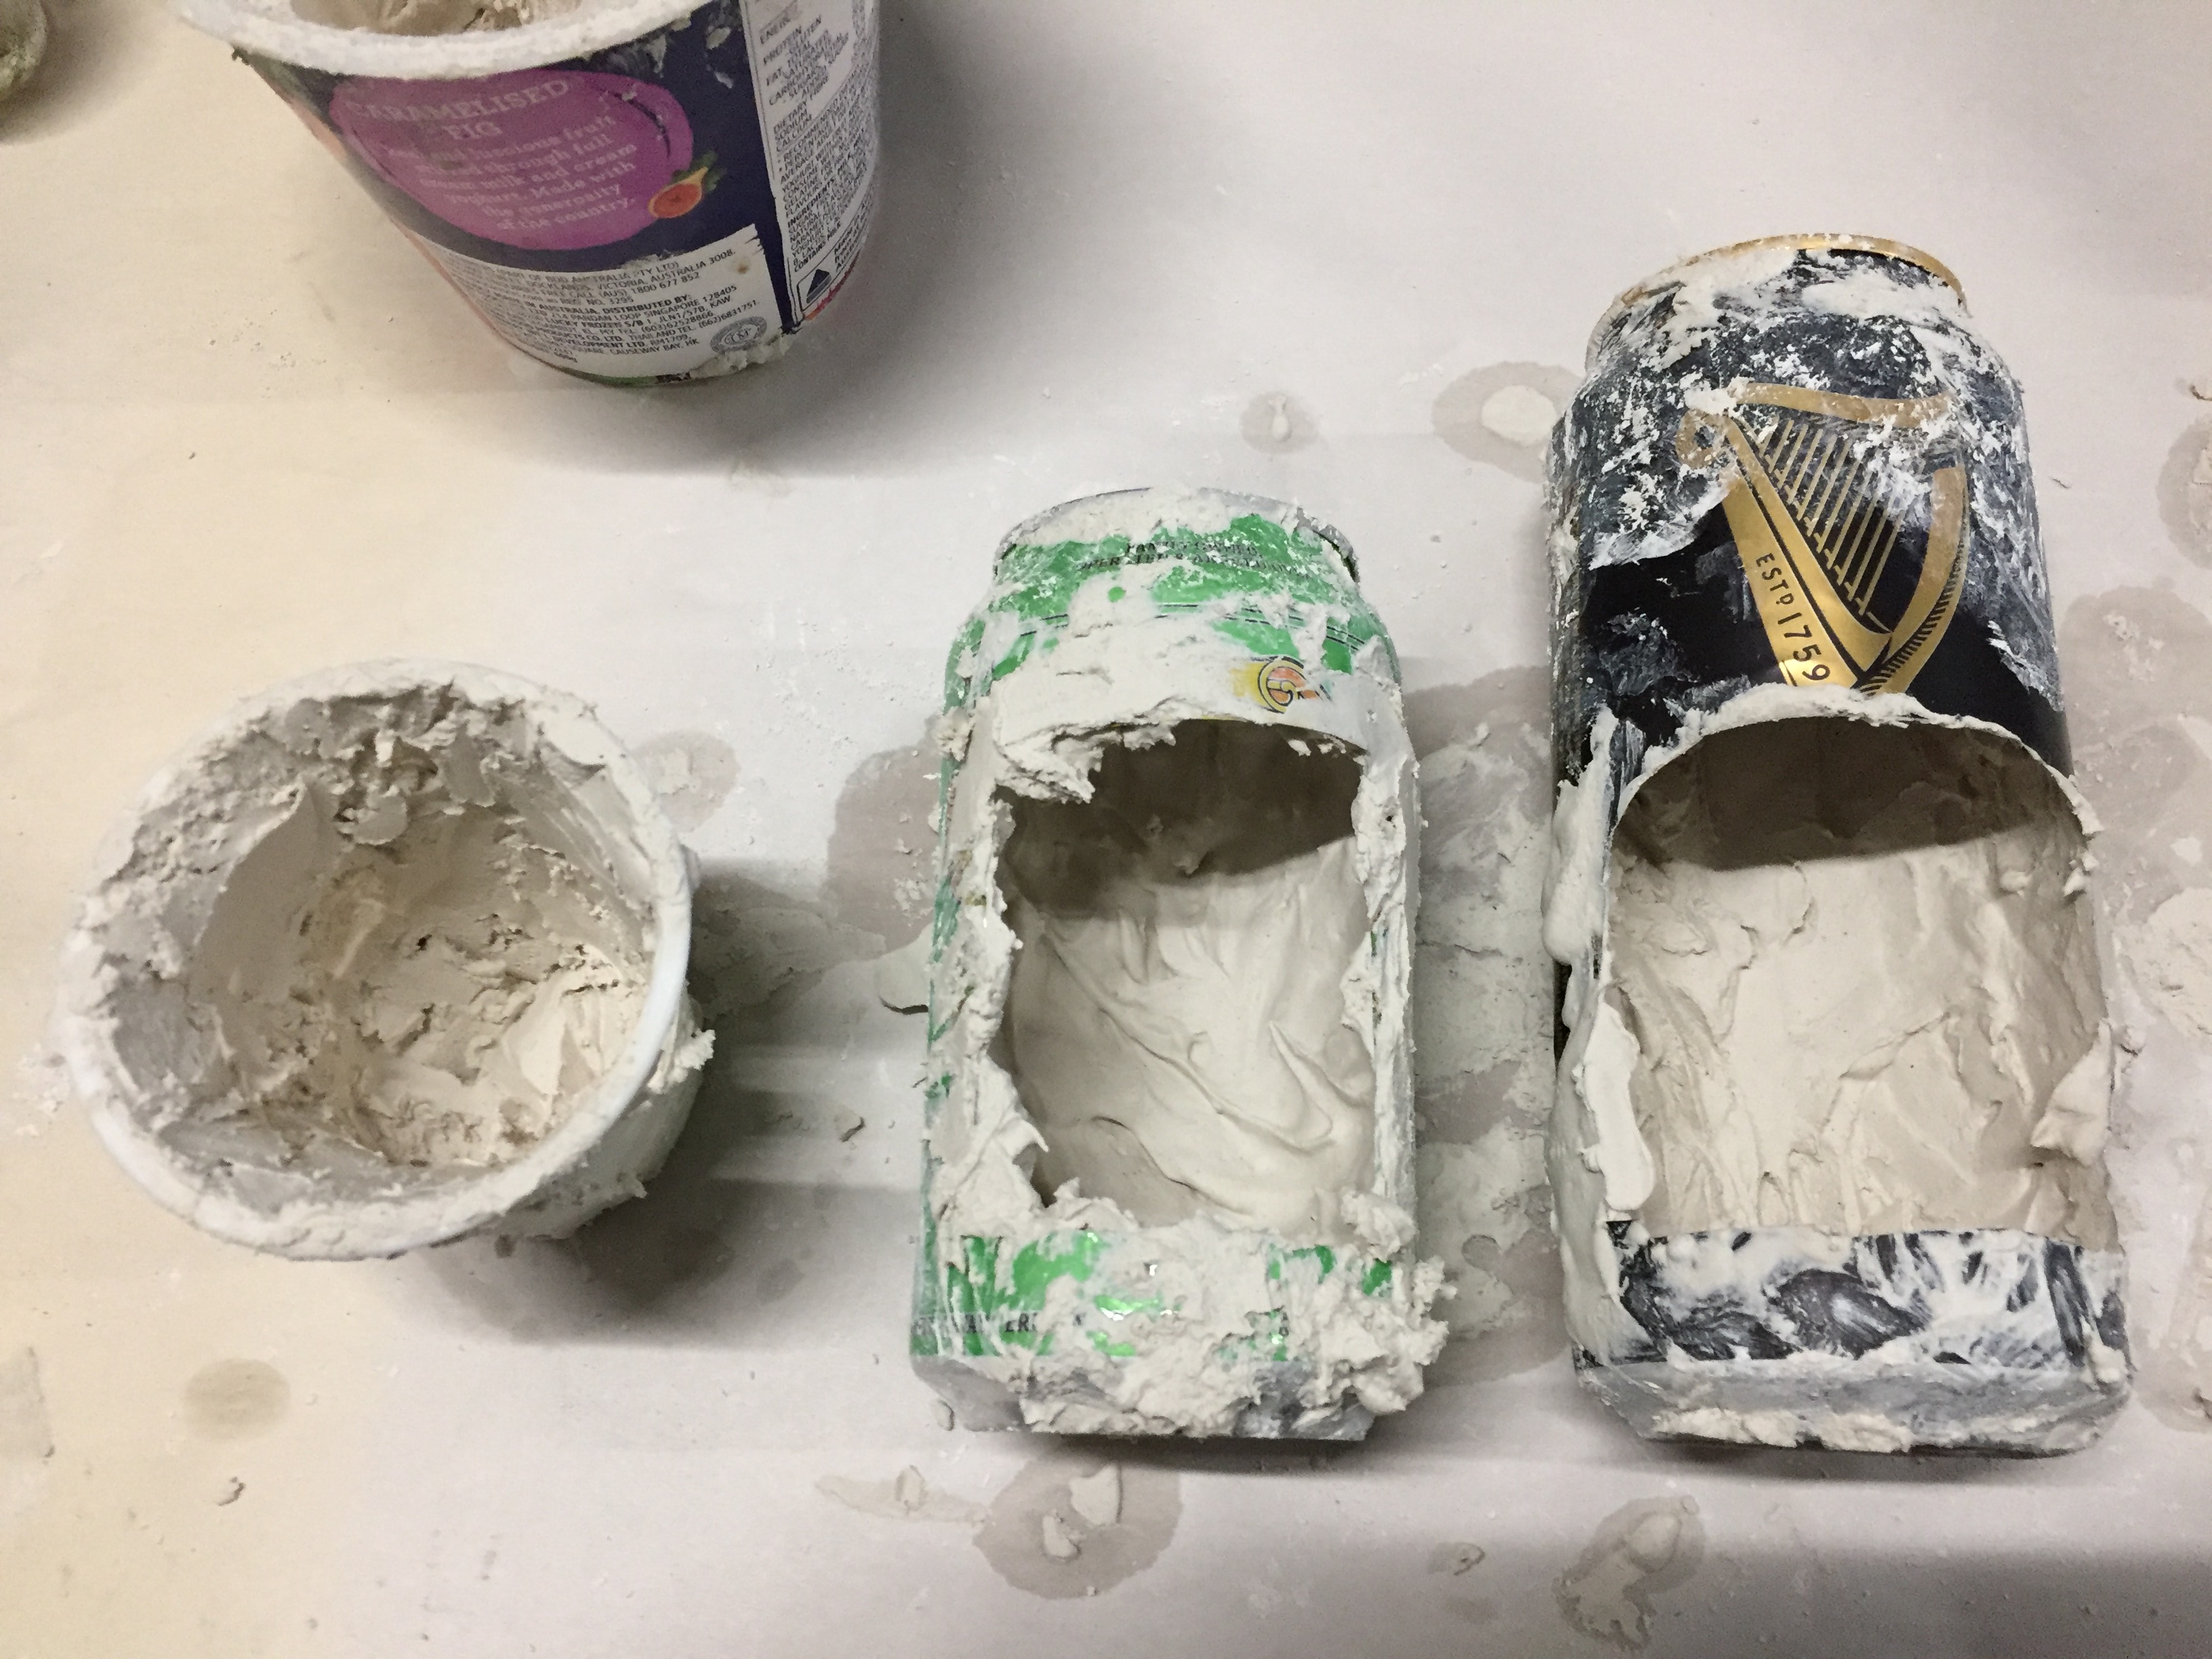
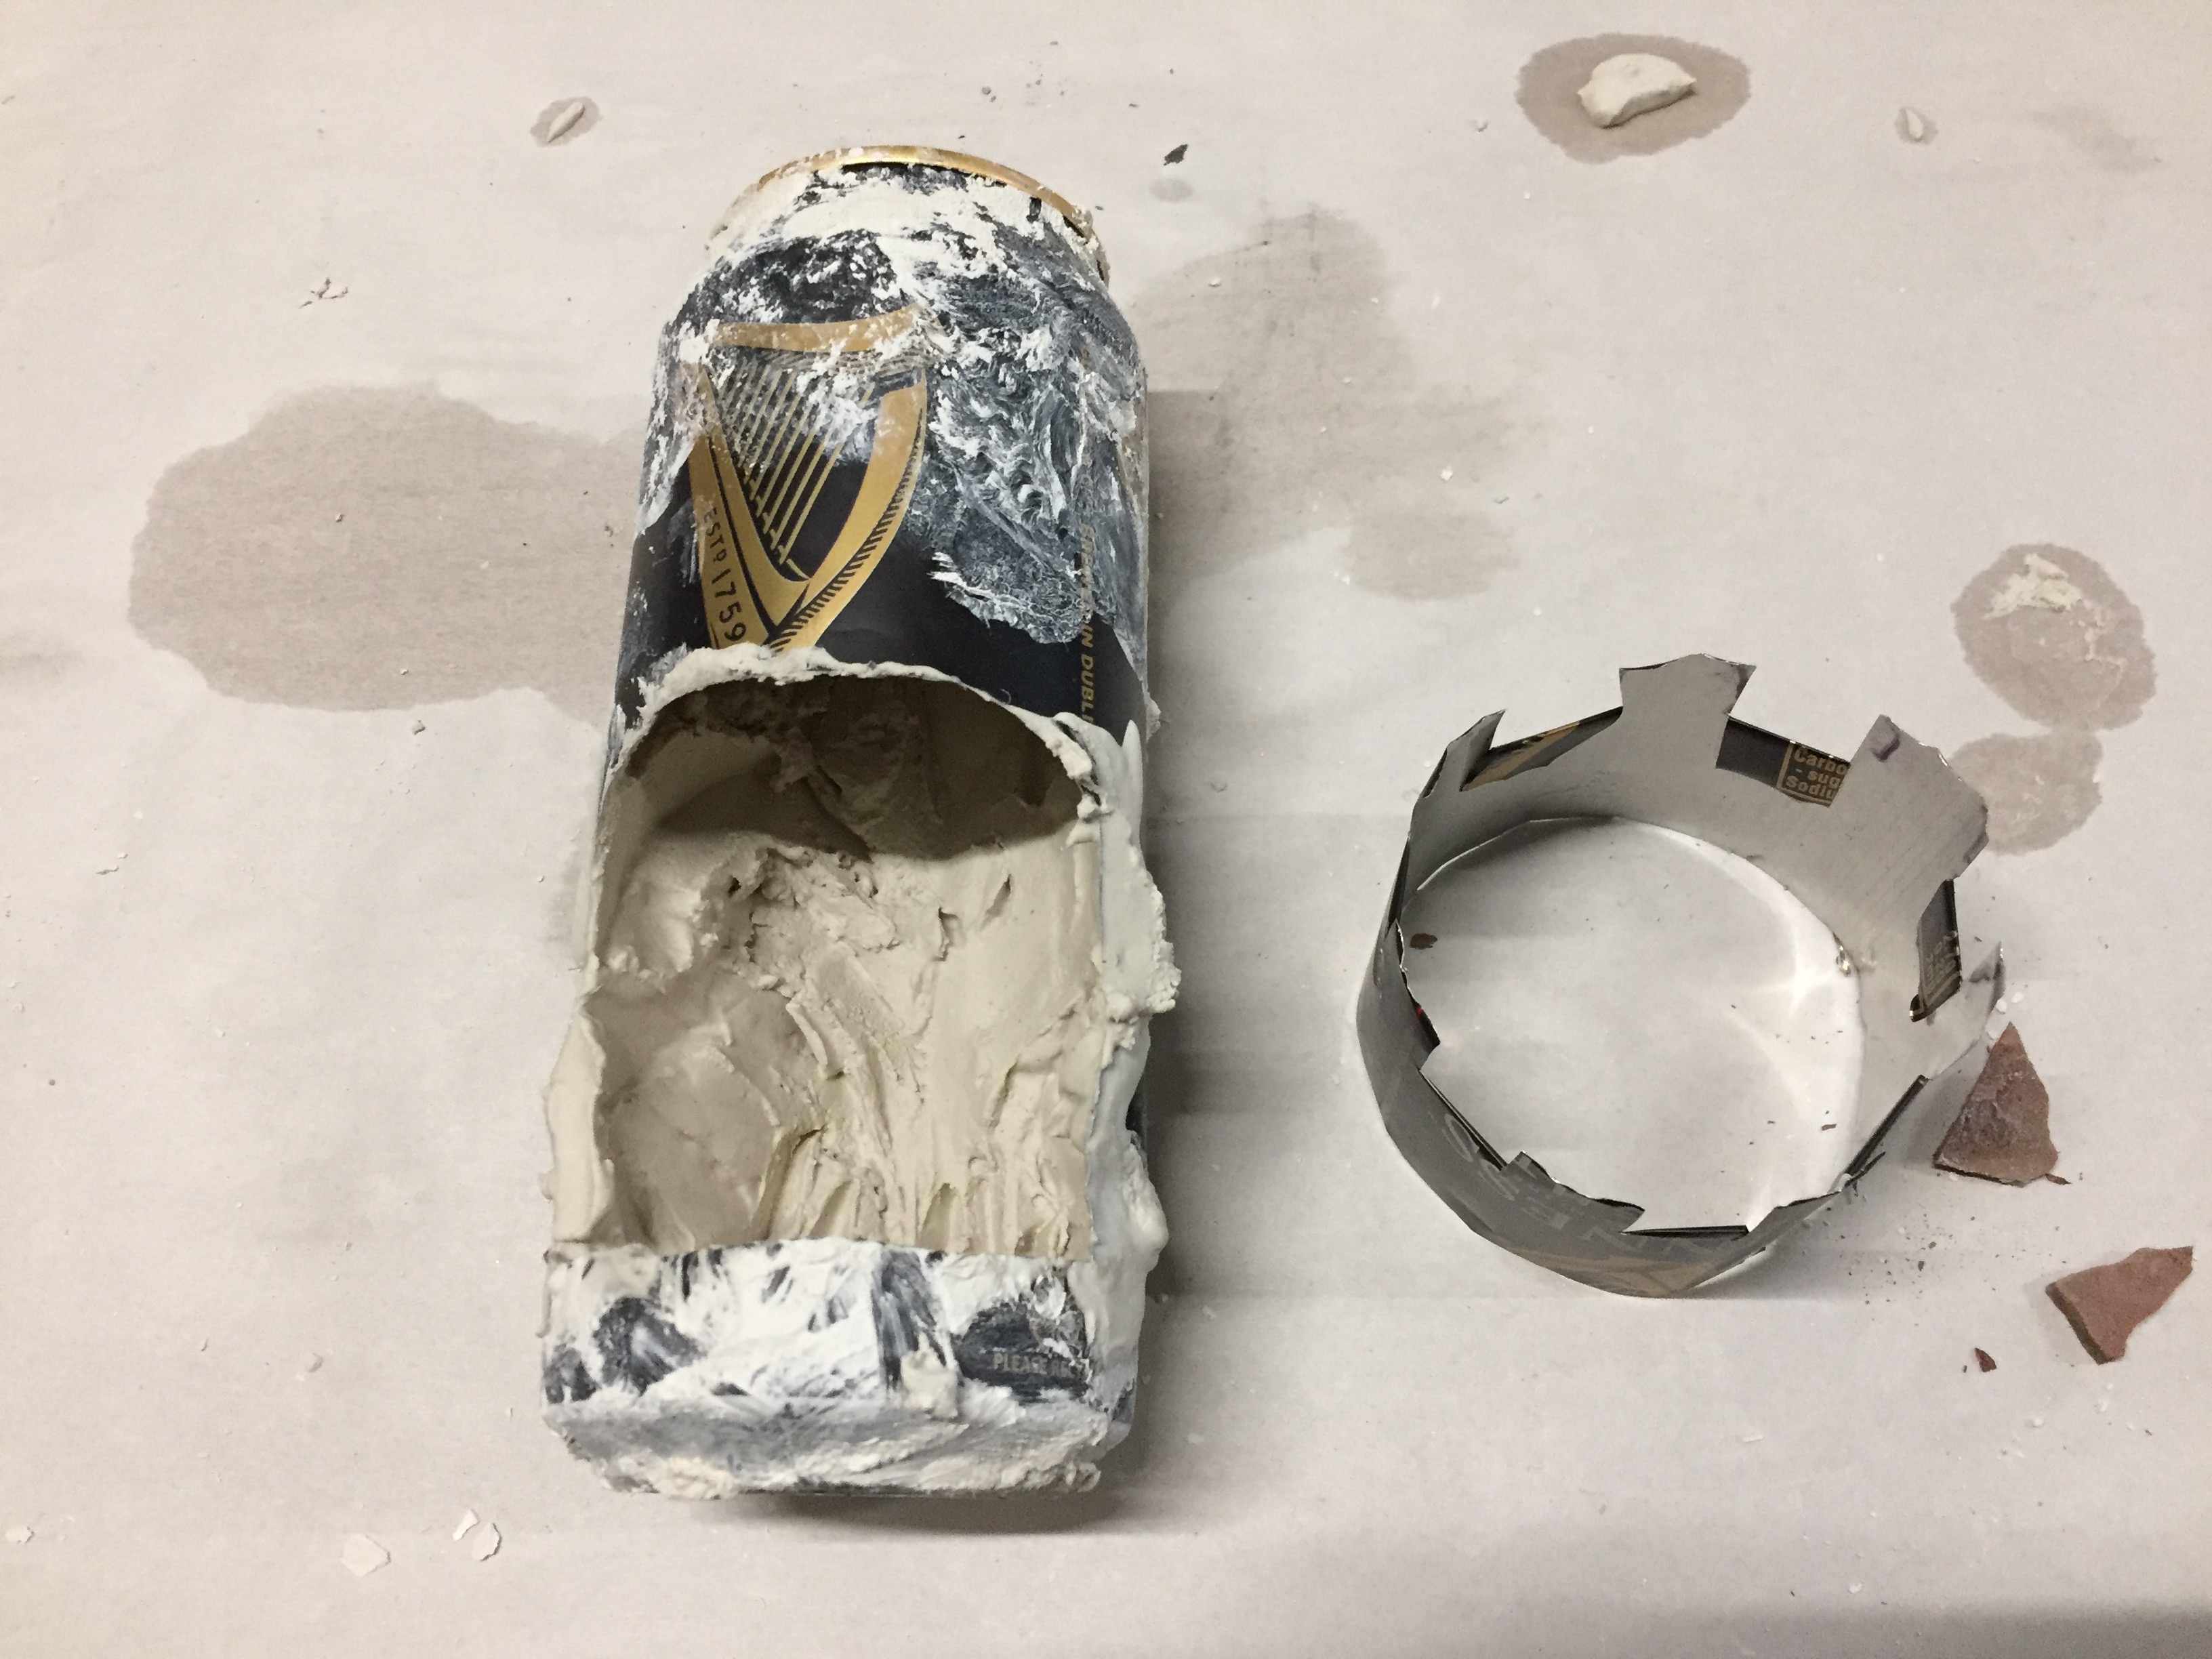
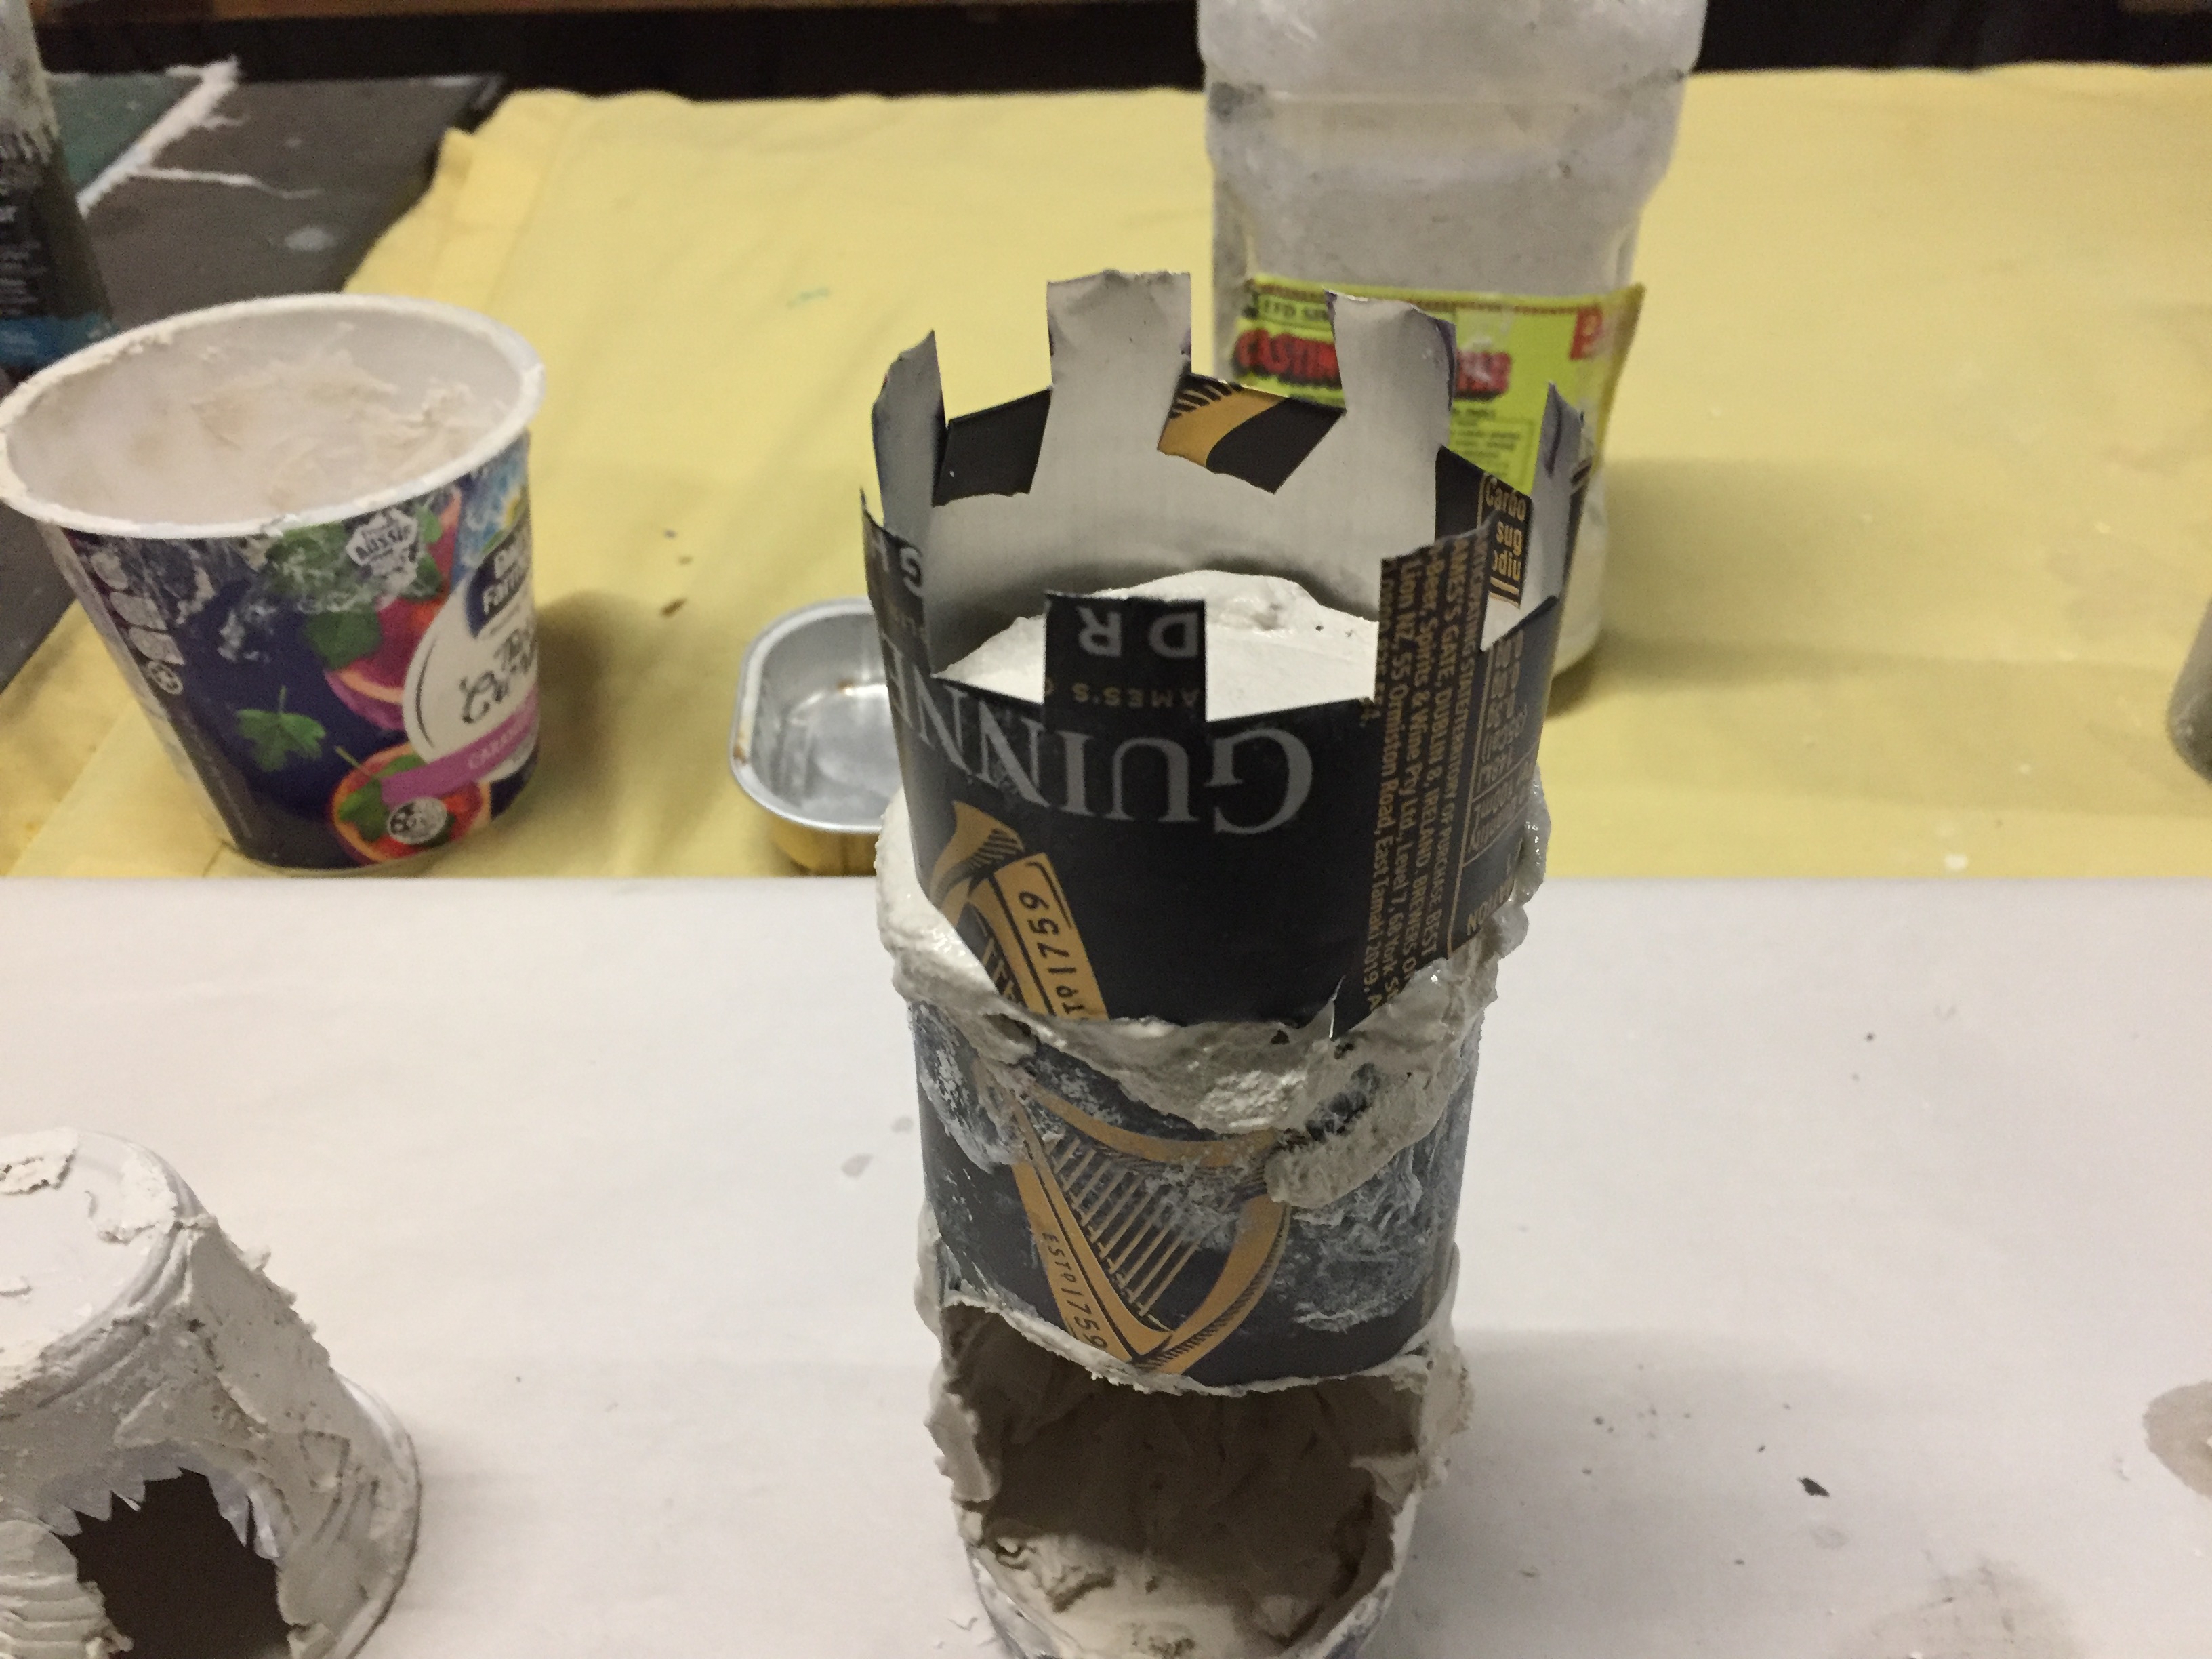
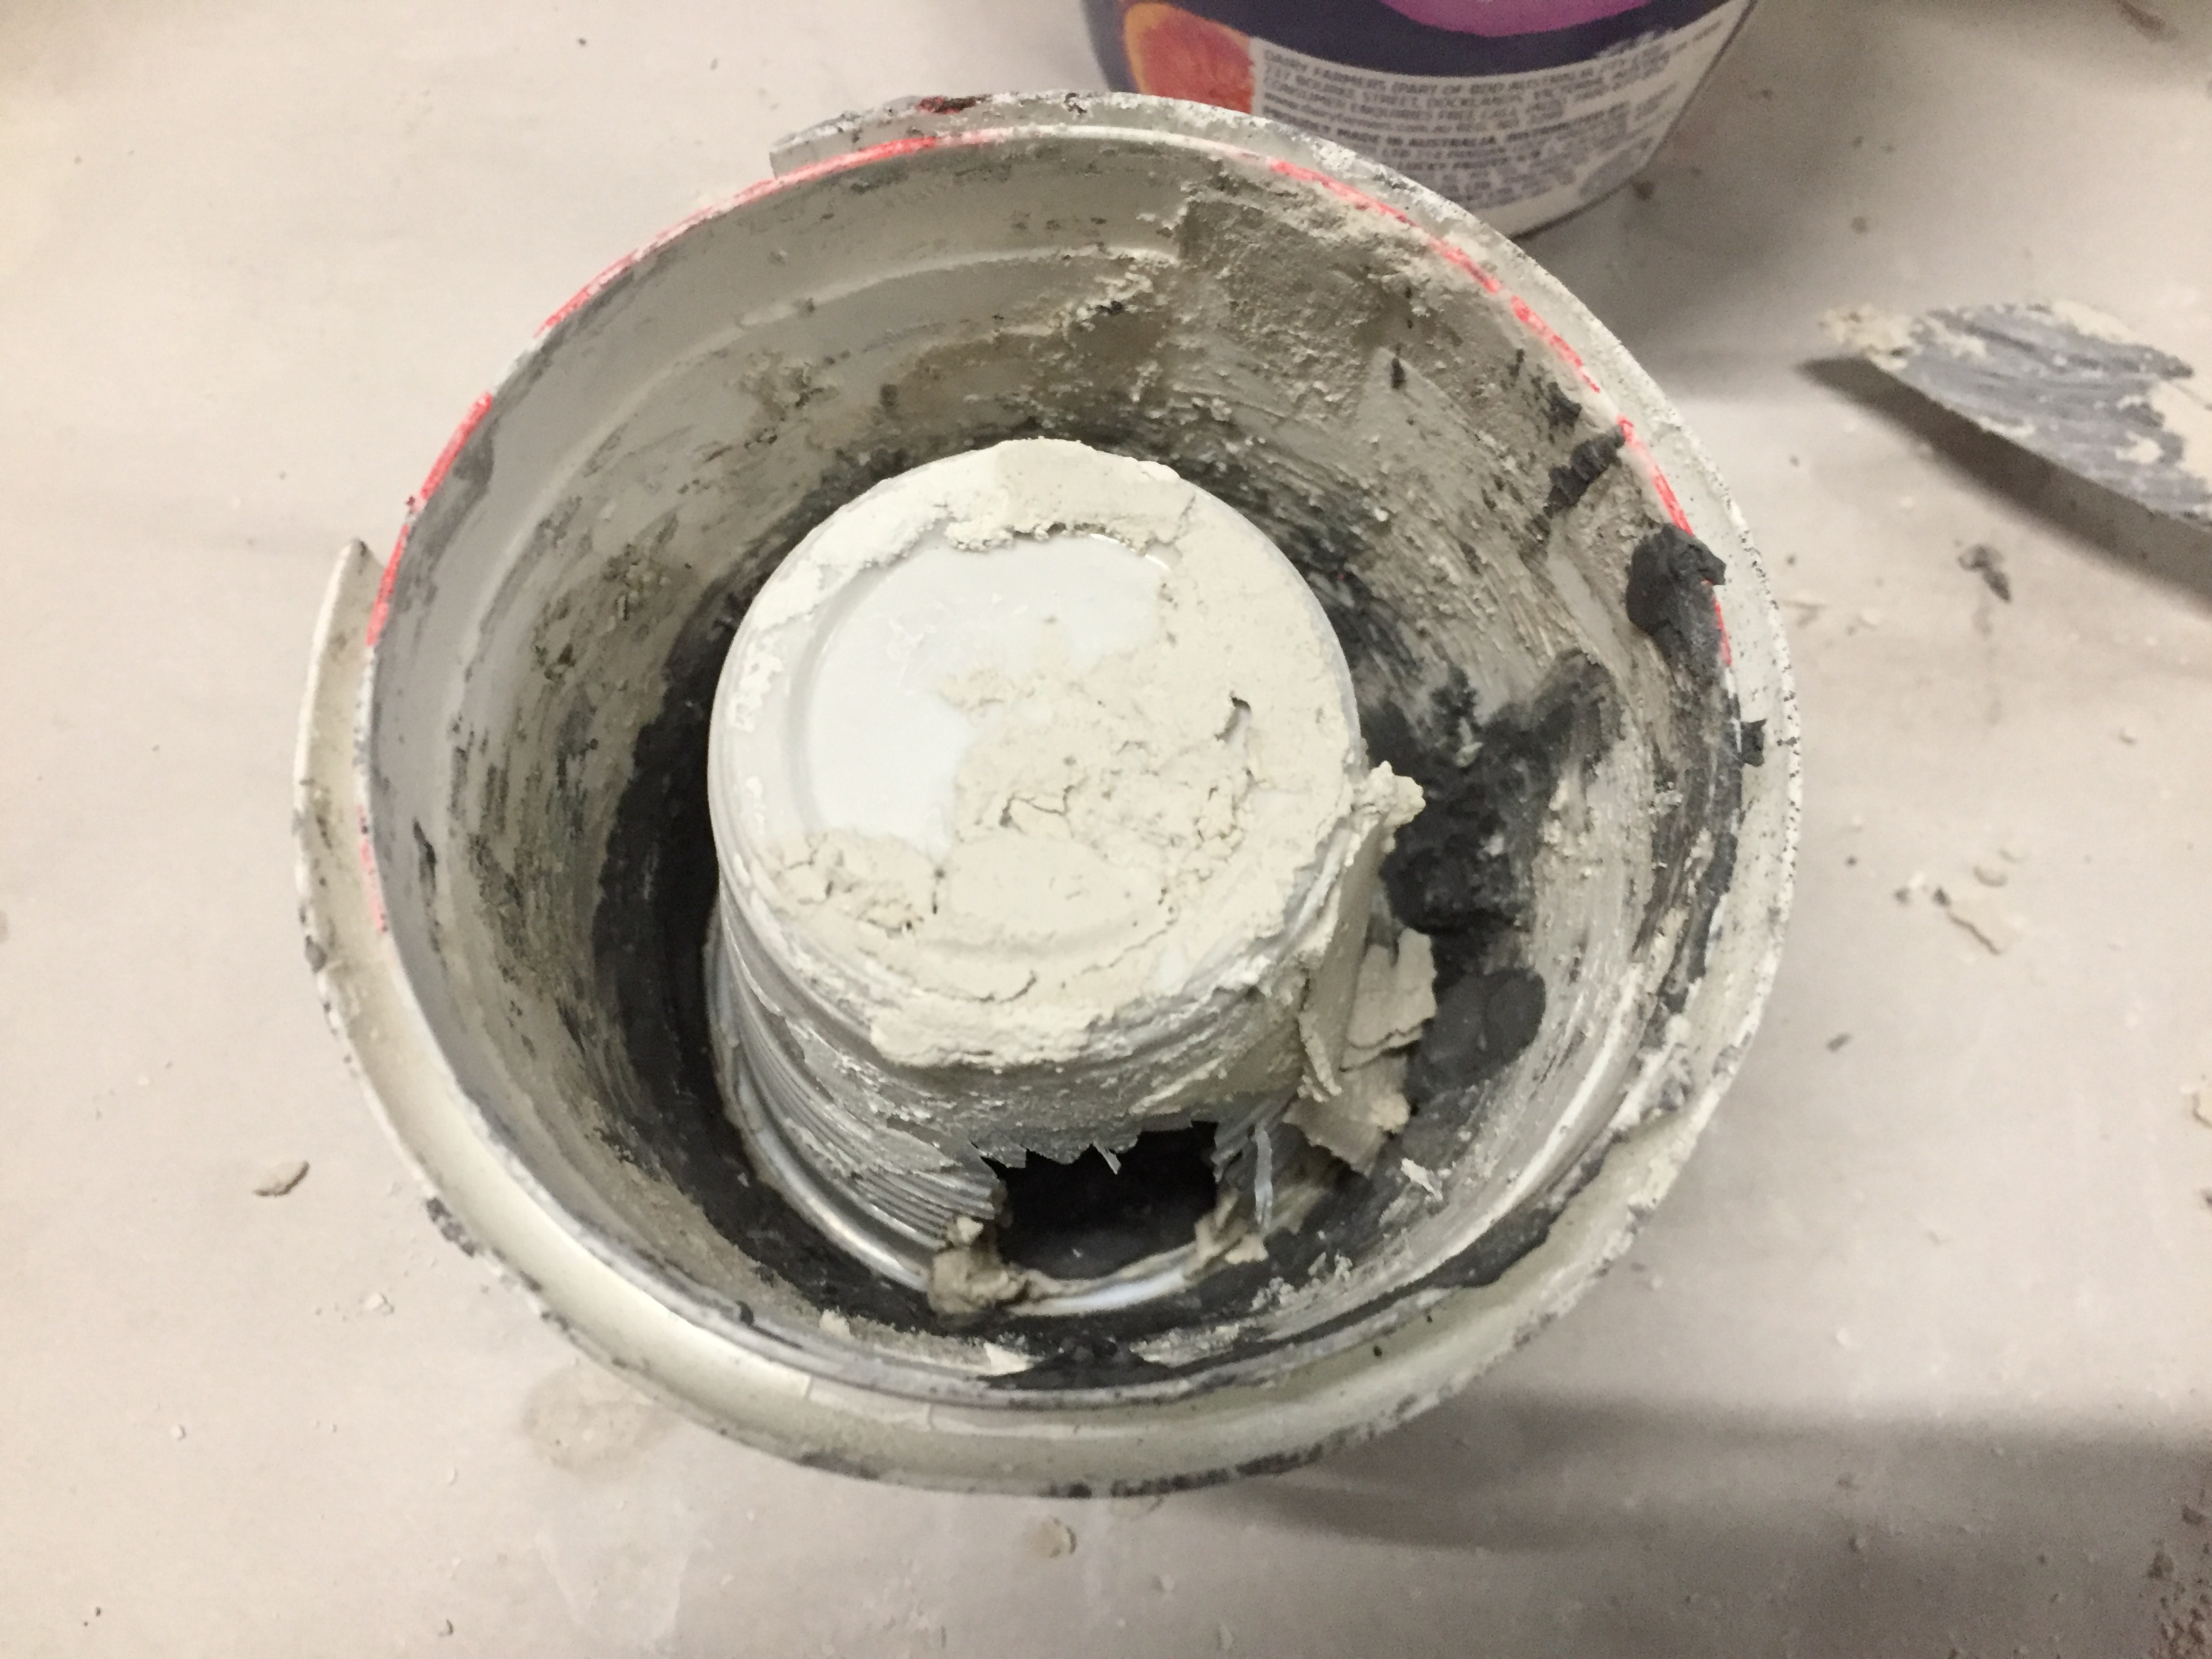
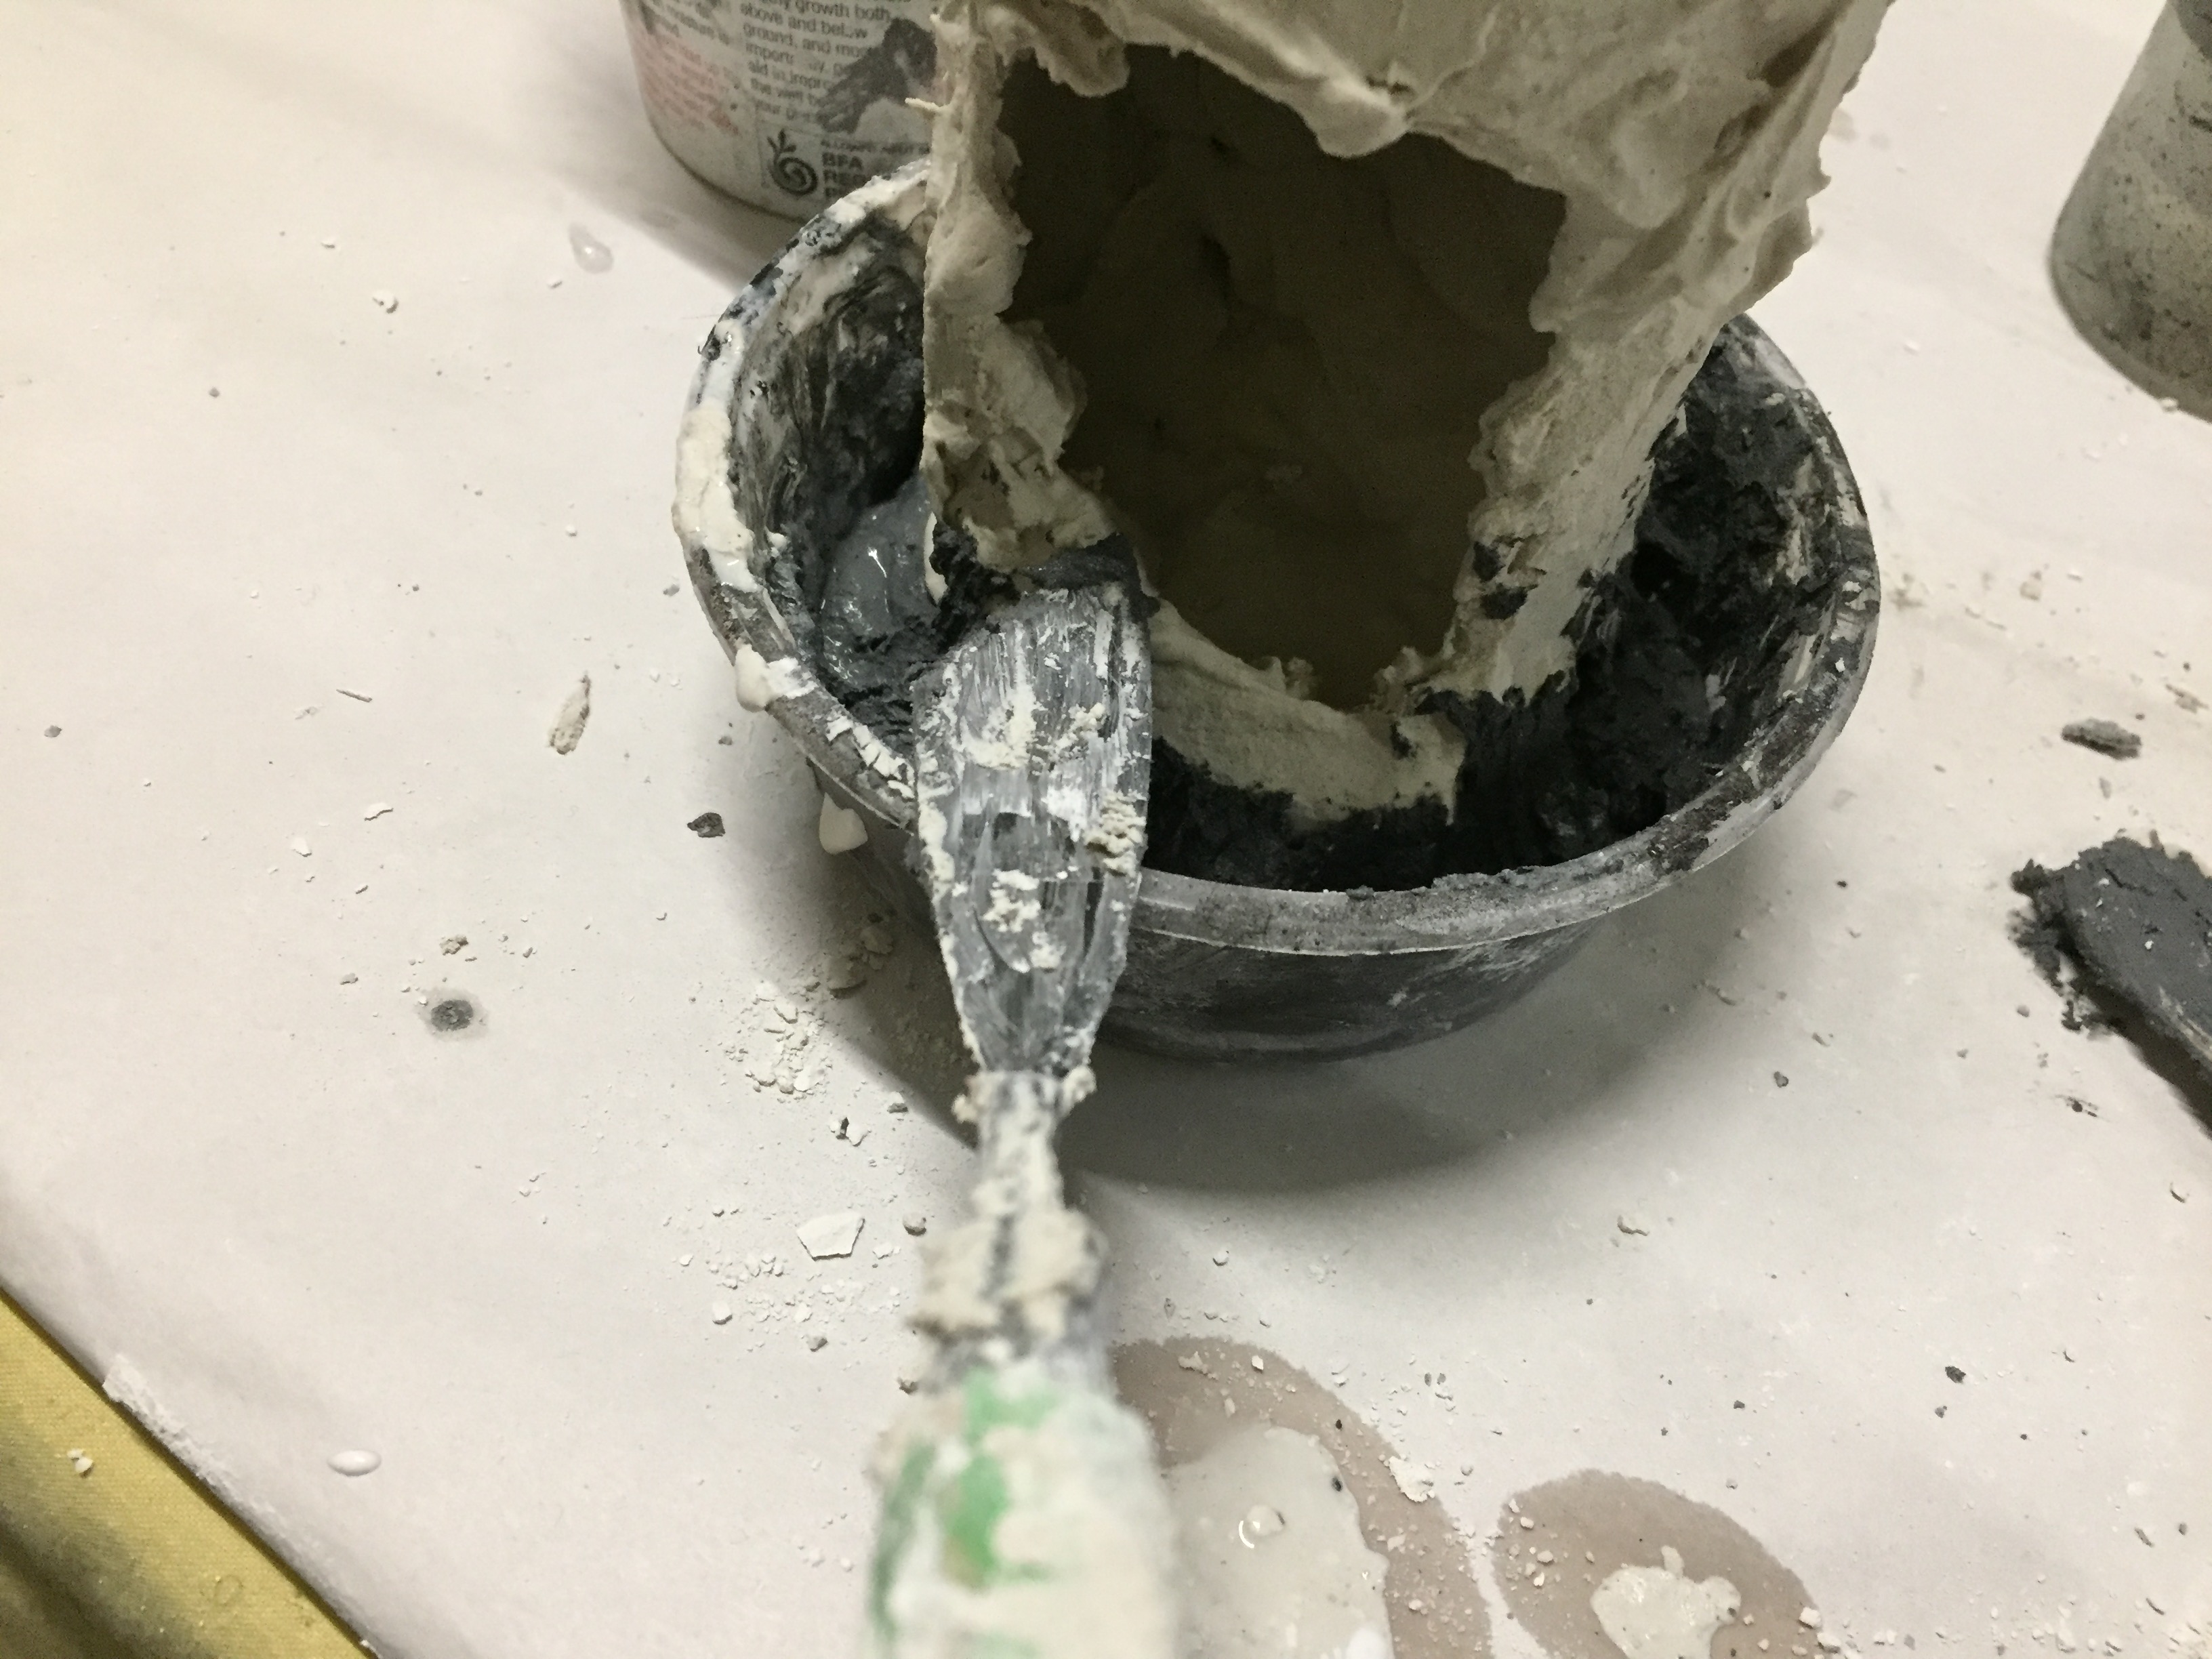
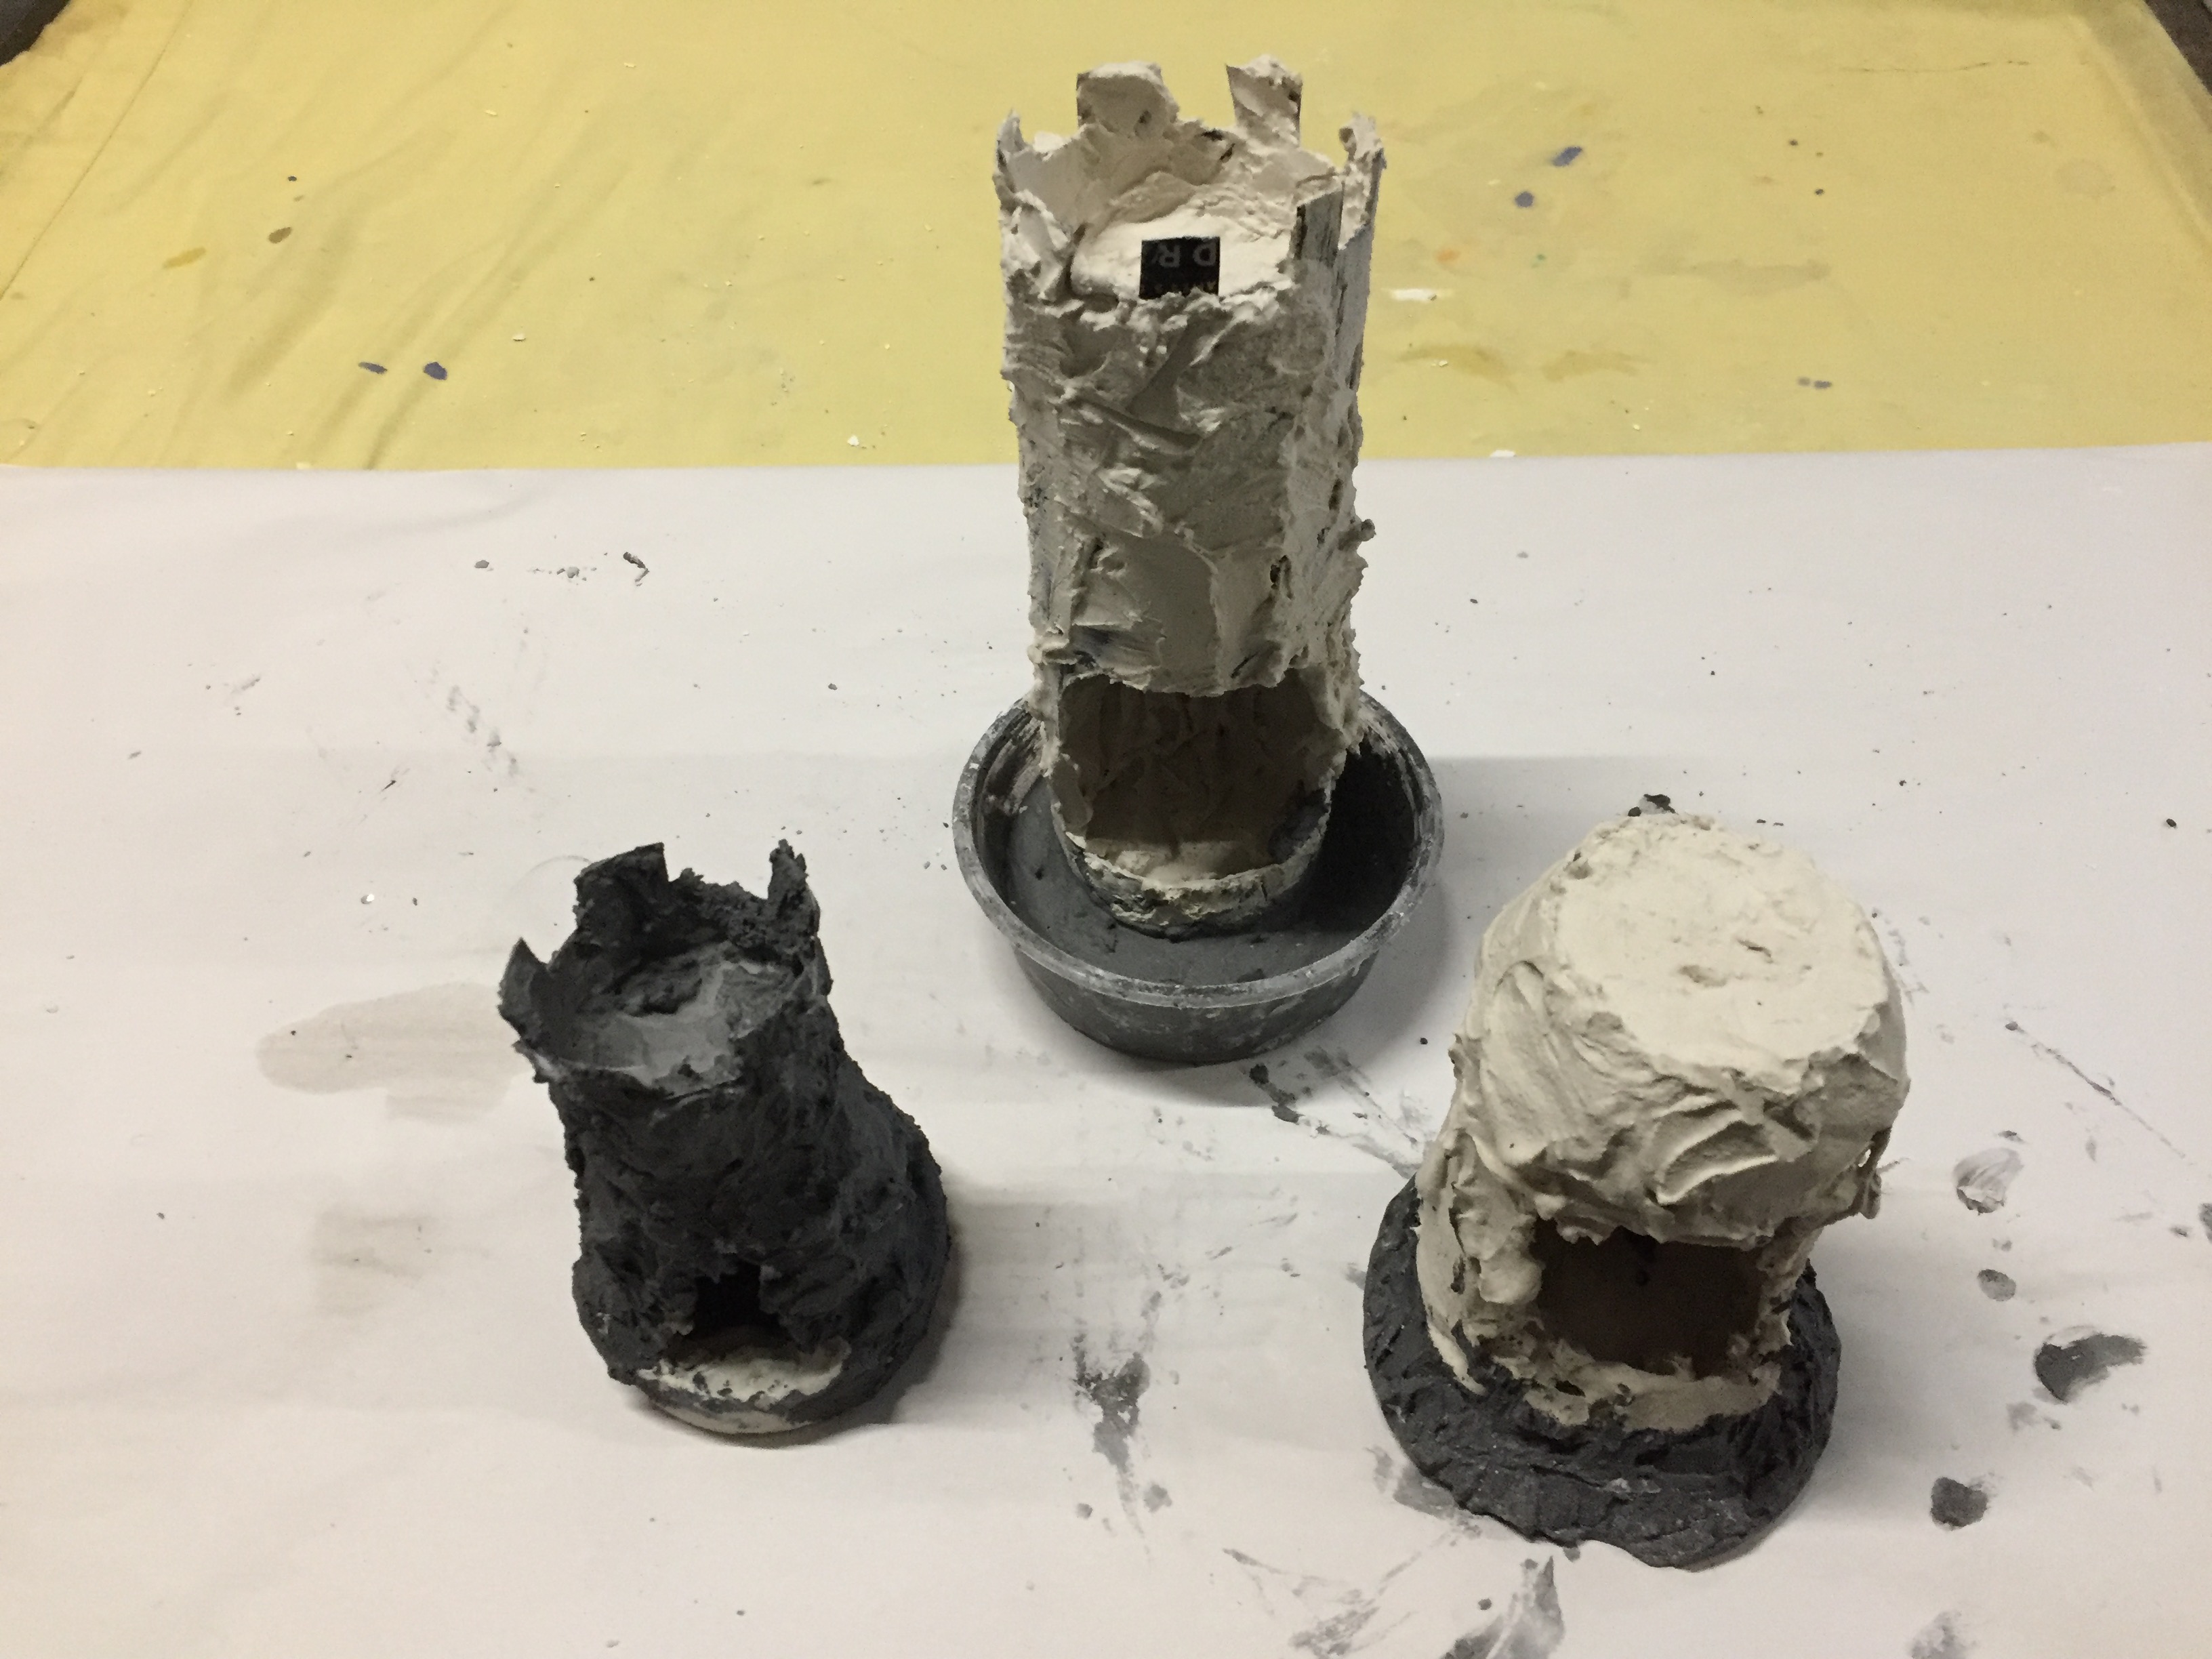
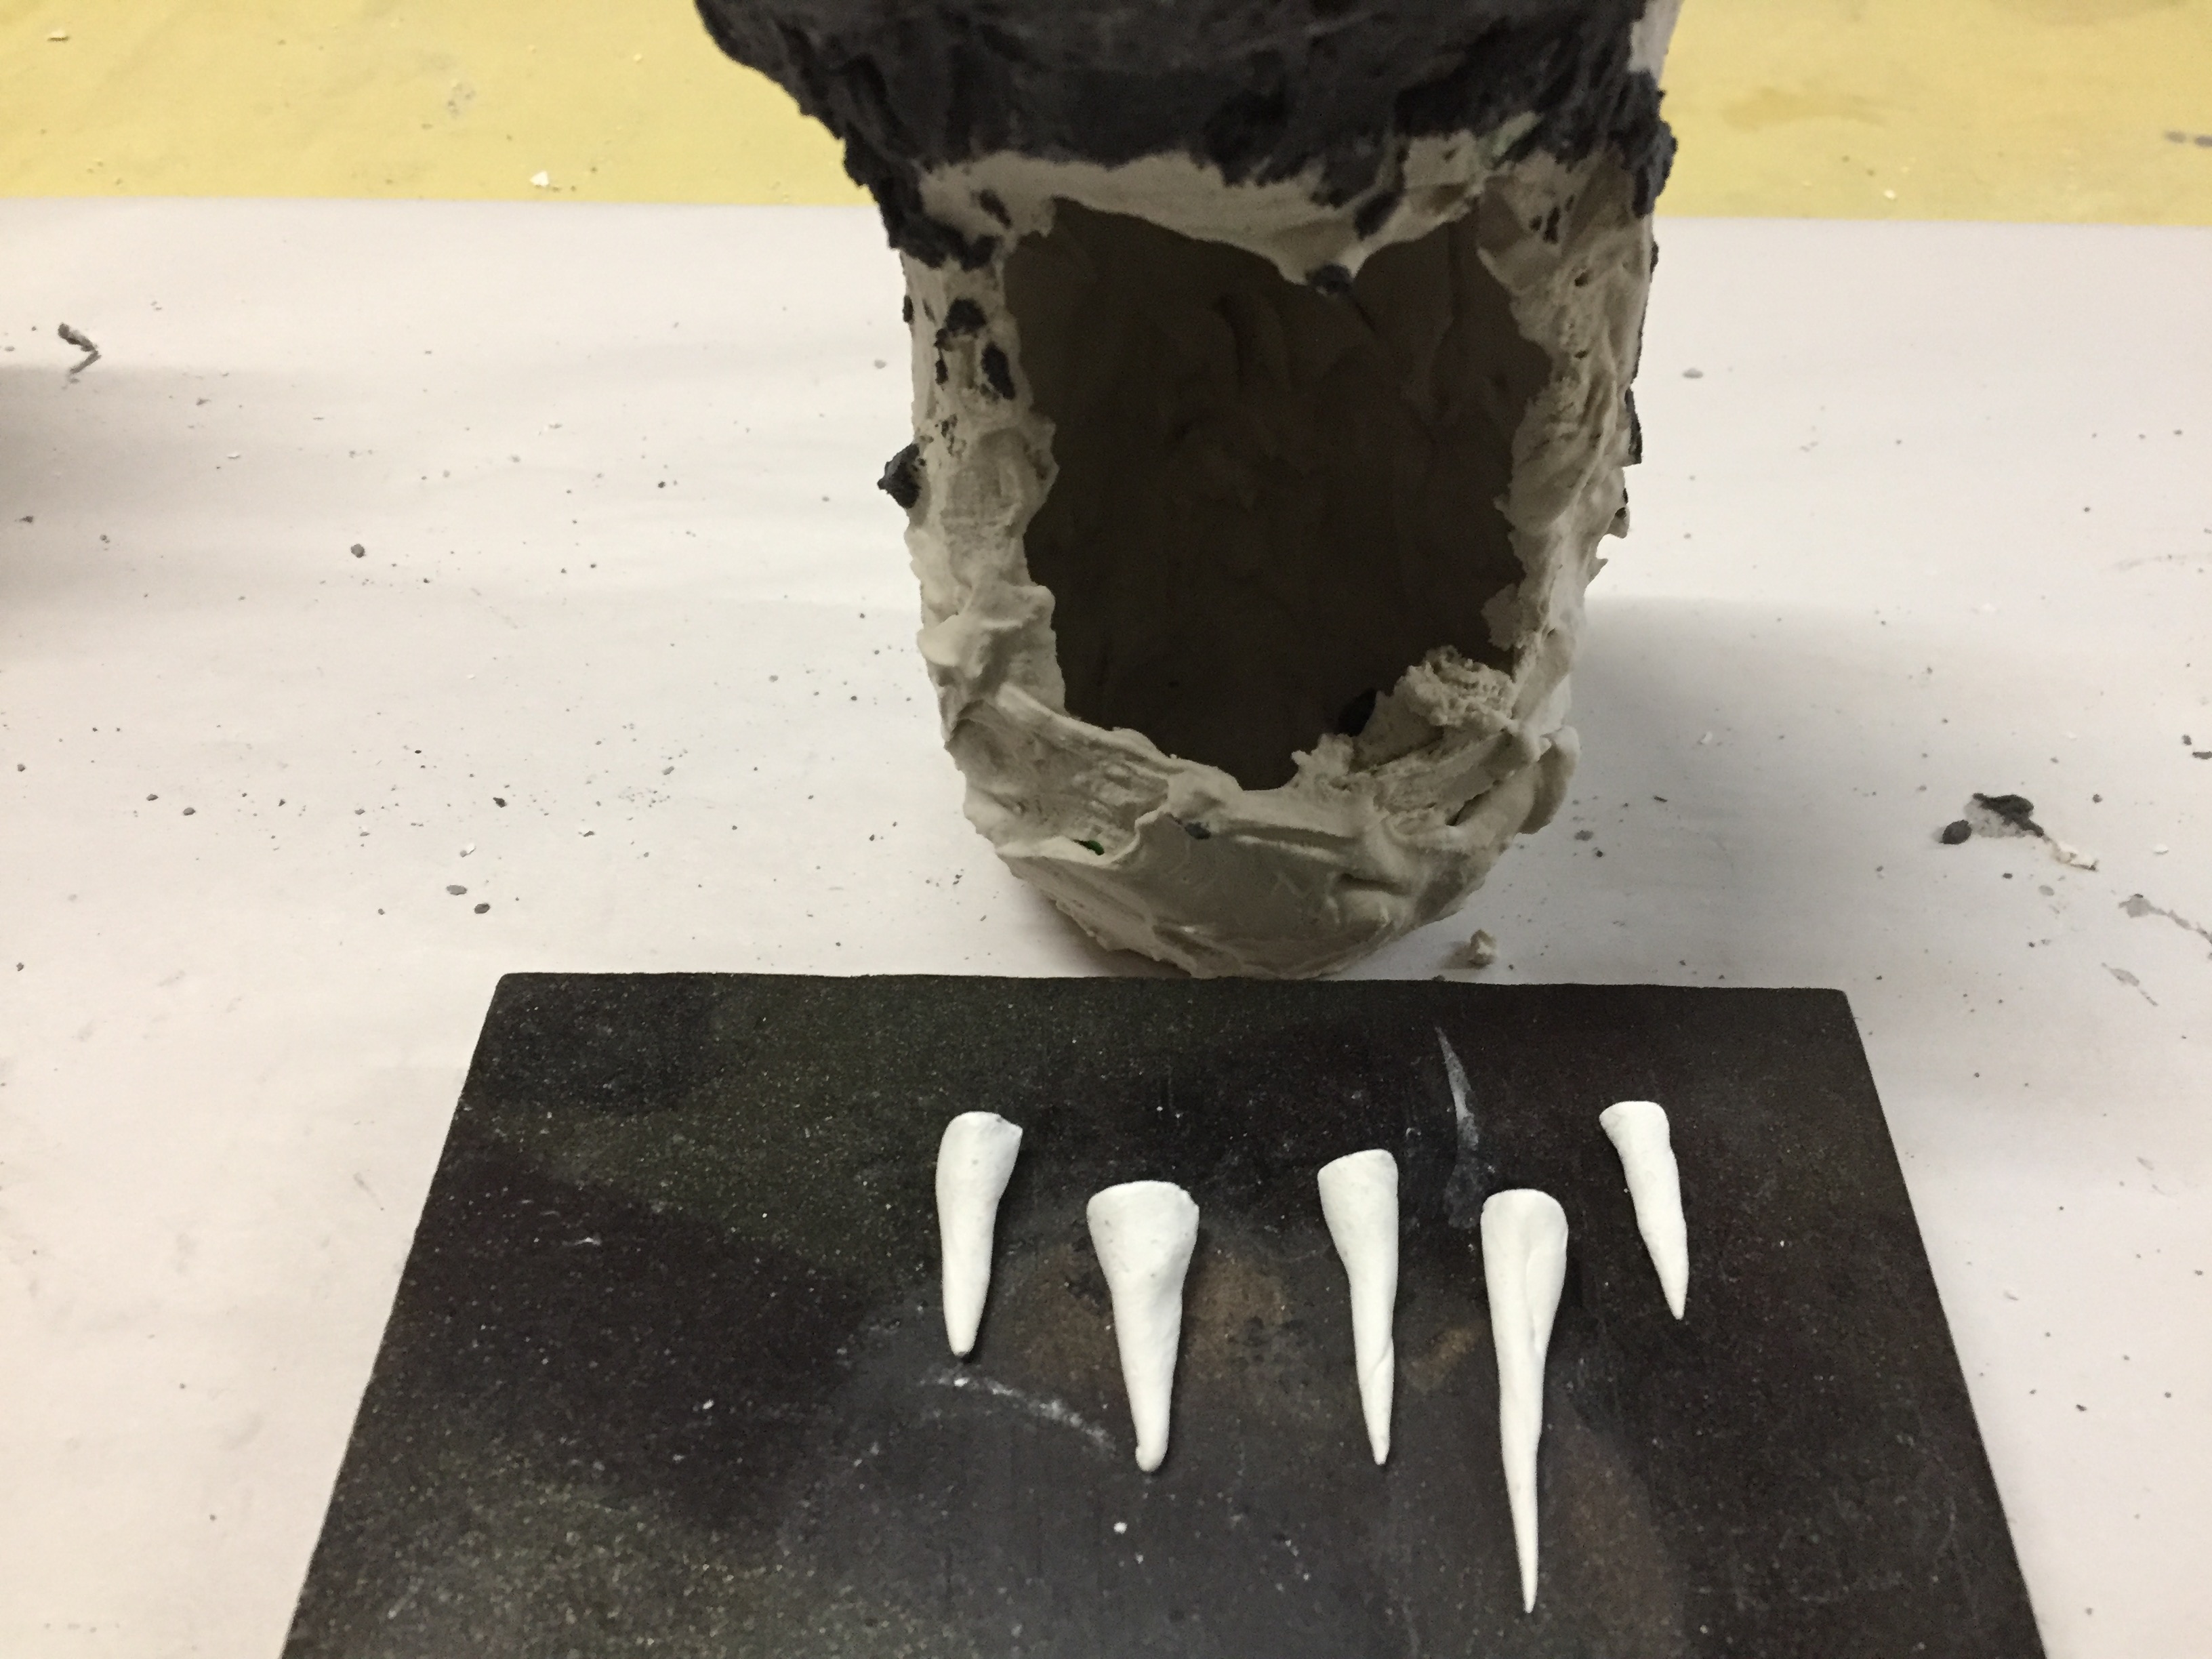
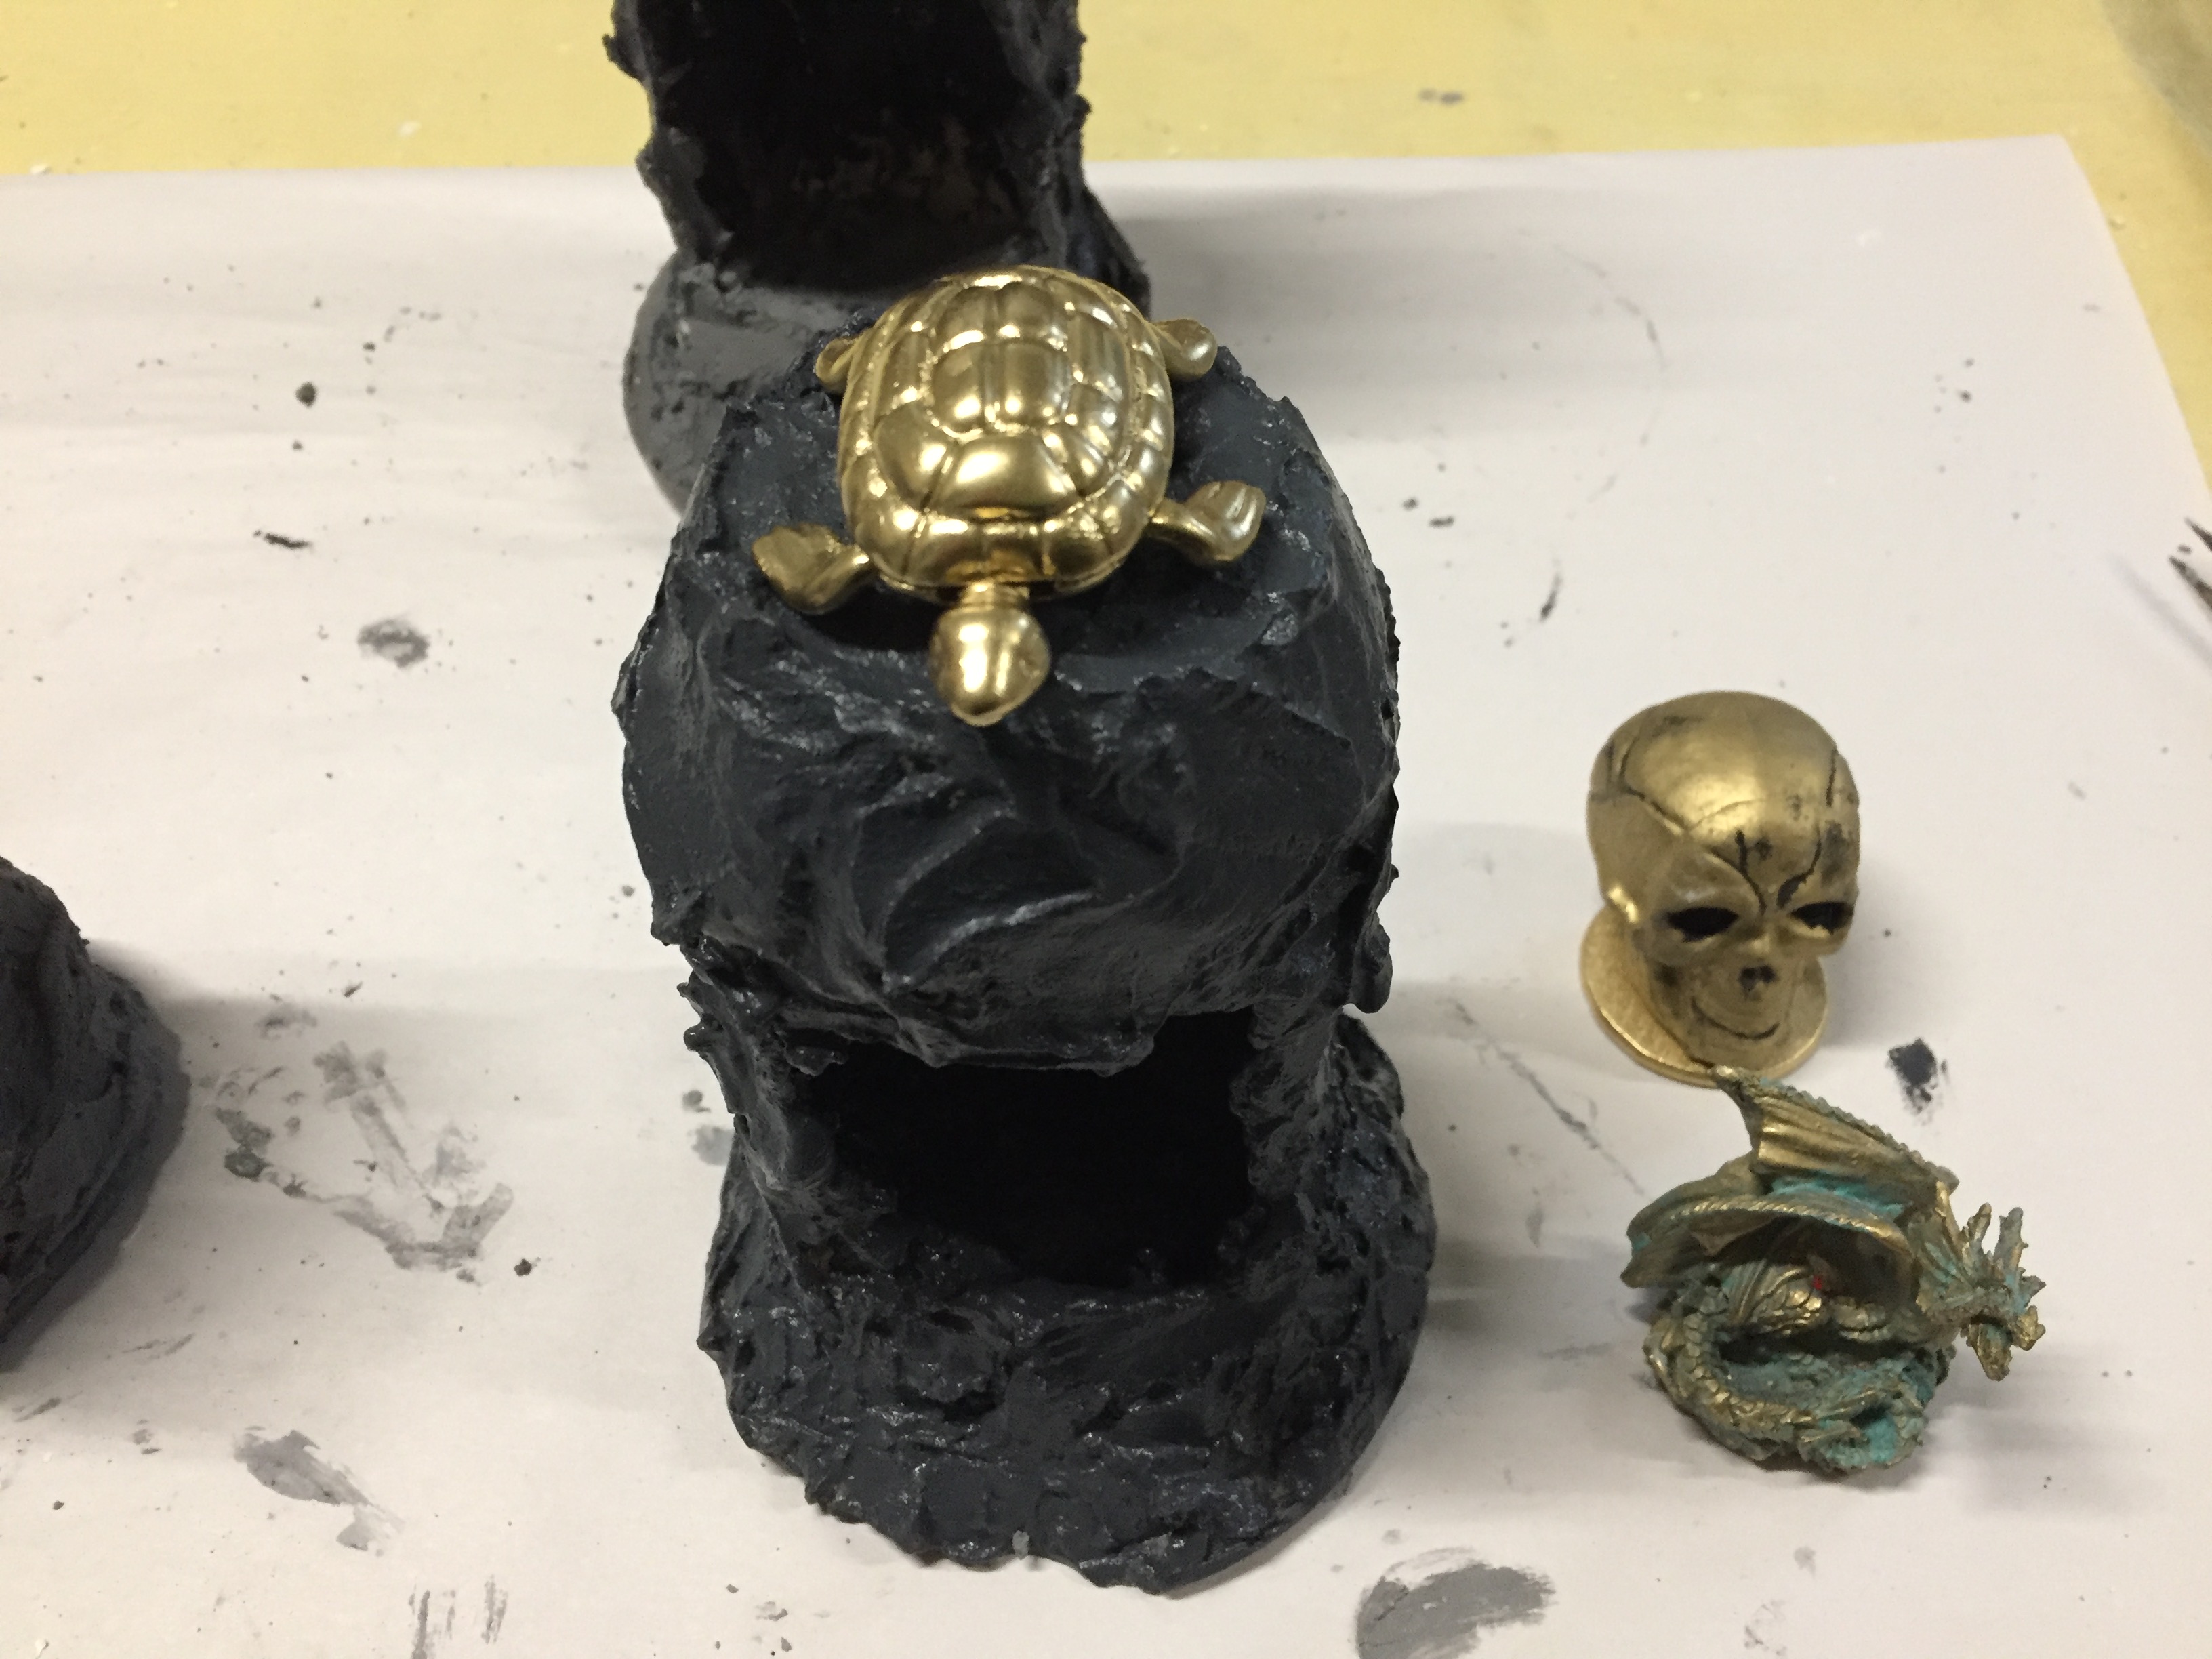
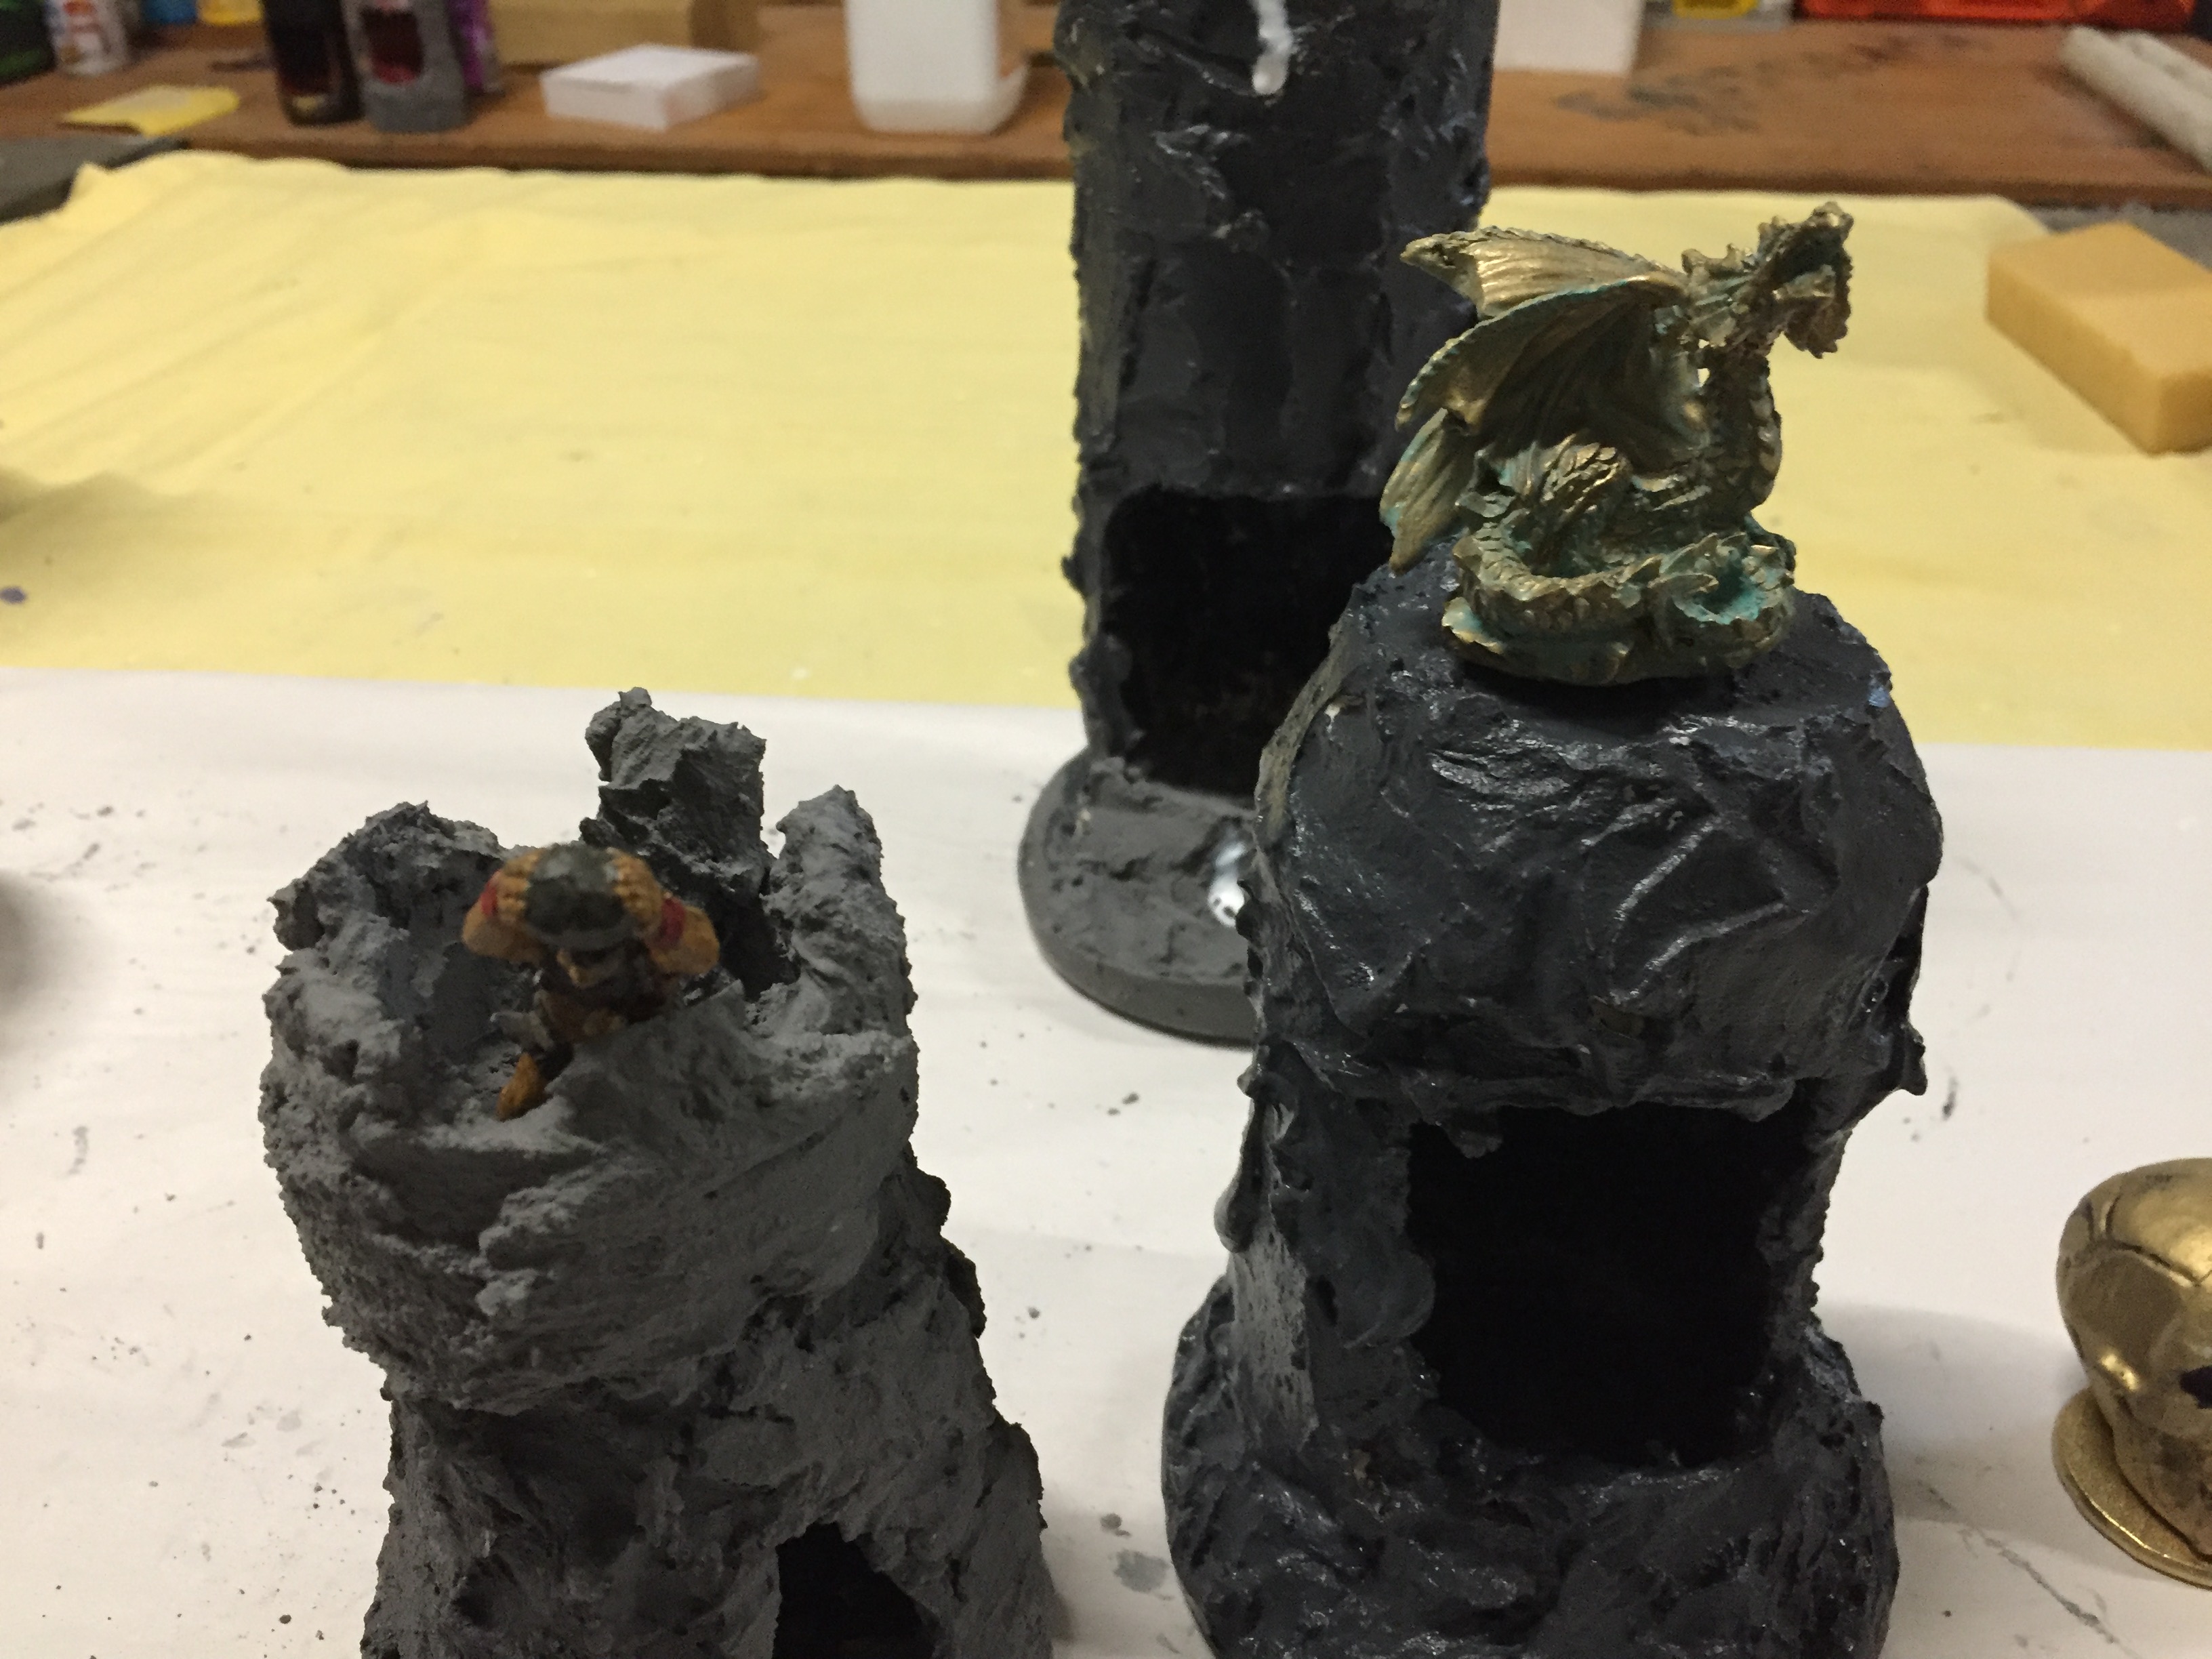
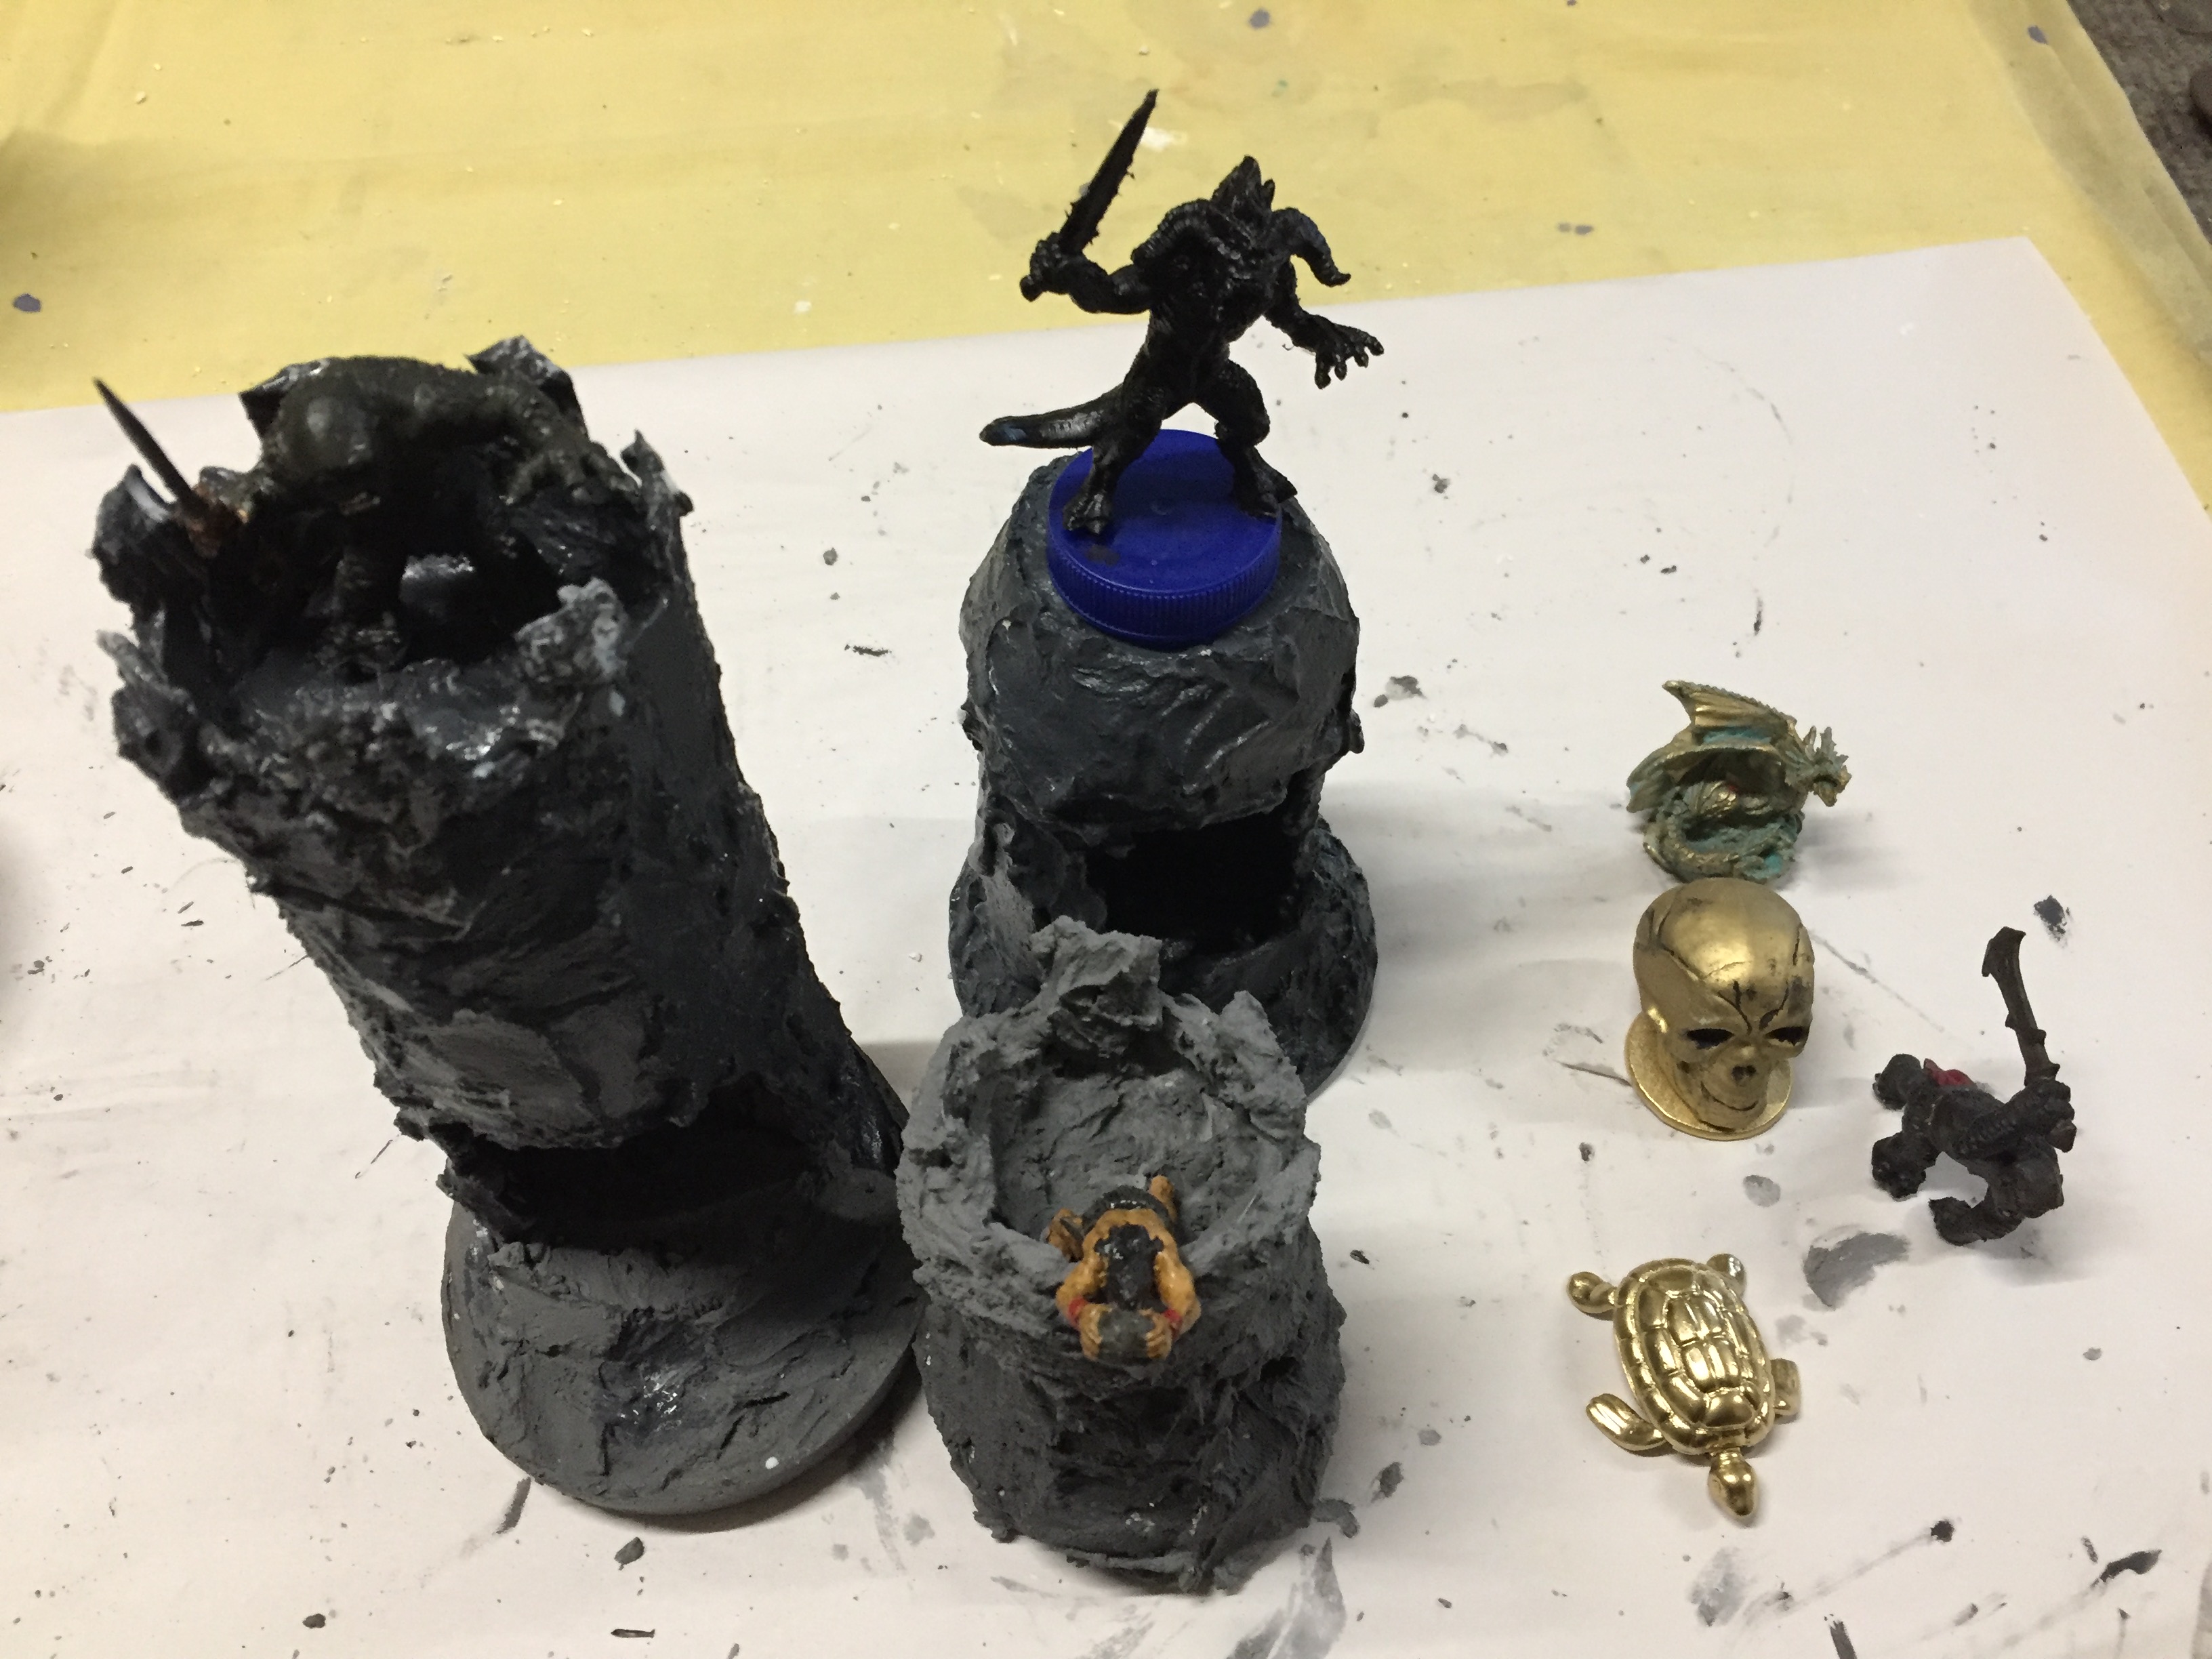
Now as you empty the can you need to cut a hole in the front, best started with a craft knife and trimmed to the required shape with scissors, push the seal back in place or stick some tape over the hole to prevent all the plaster you put on top dripping through into the can. Once this is done, you will need to round up the various figures and other bits and bobs you are going to use (anything goes as the ball is in your court to how it appears in the end). Just a note here, I have made my stalactites and mushrooms using air-drying clay. After trying a few methods this seemed to be the easiest.
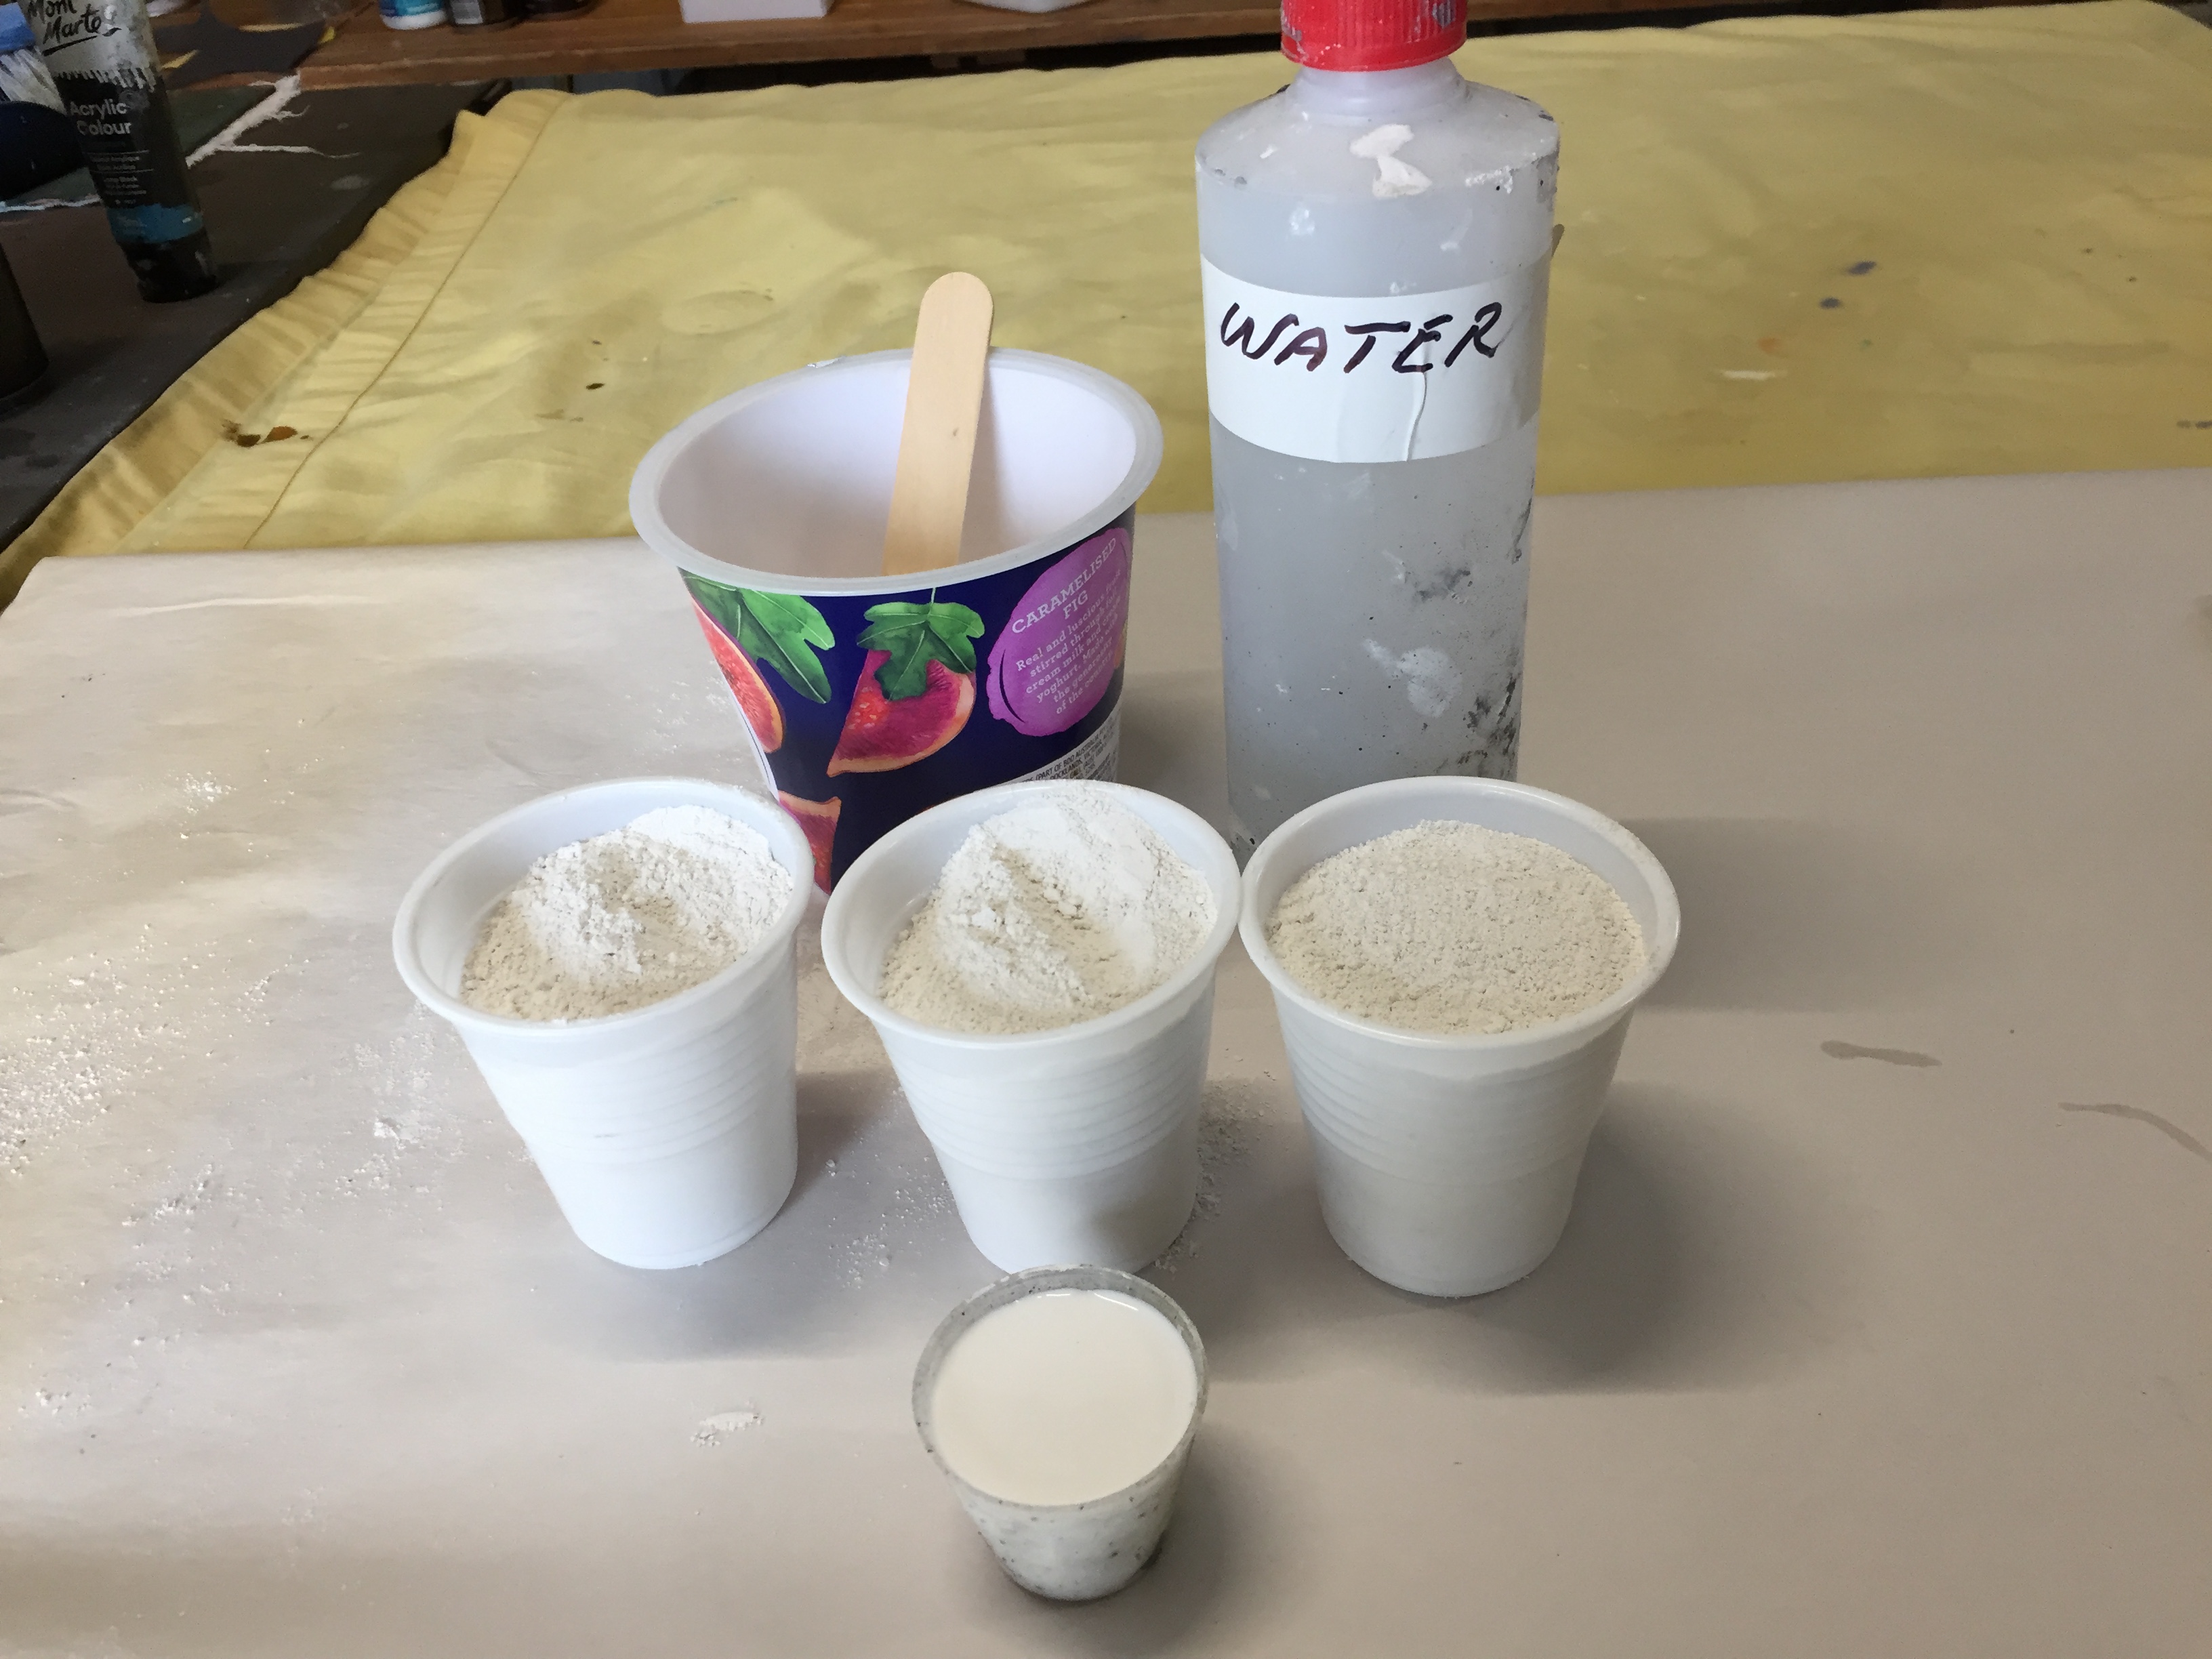
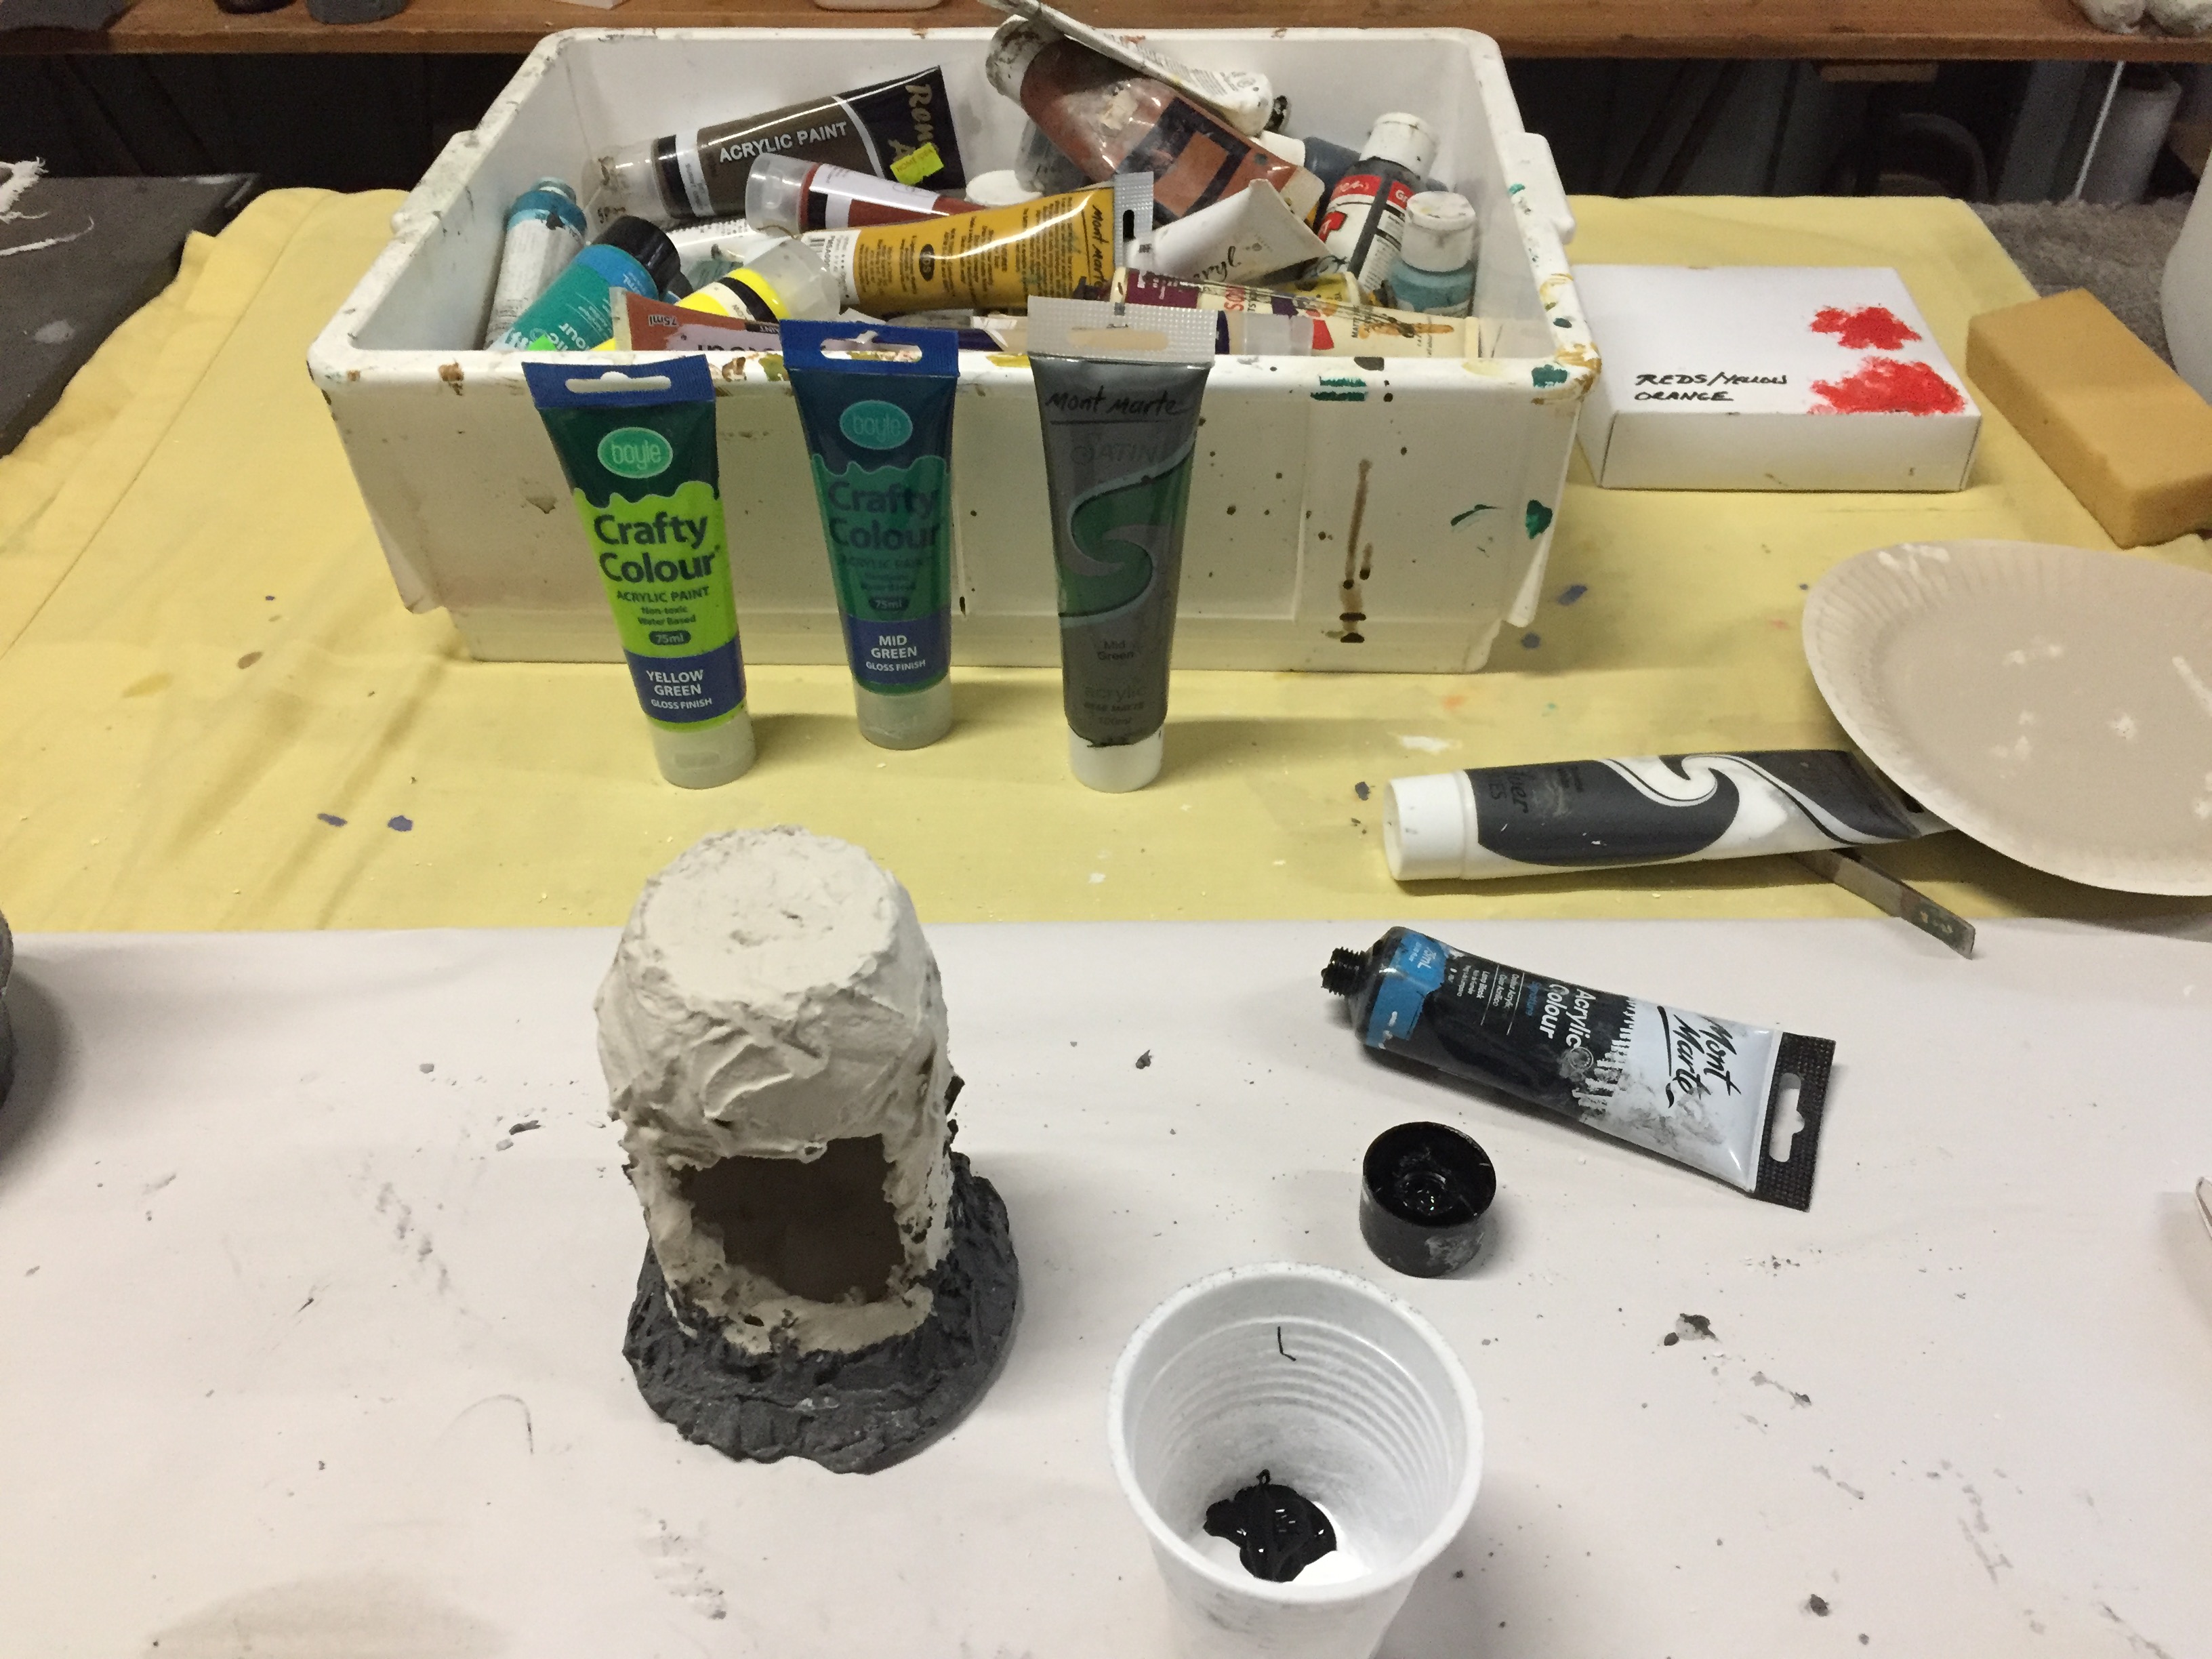
Ok, to the plaster mix, I use plaster of Paris with a little PVA (white wood glue) and if I want to a little acrylic paint to colour the mix. As a rule, it’s about three plastic cups to 30 ml of glue but it’s up to you. I only put it in to give it a bit more strength but I may be wrong, Ha Ha!
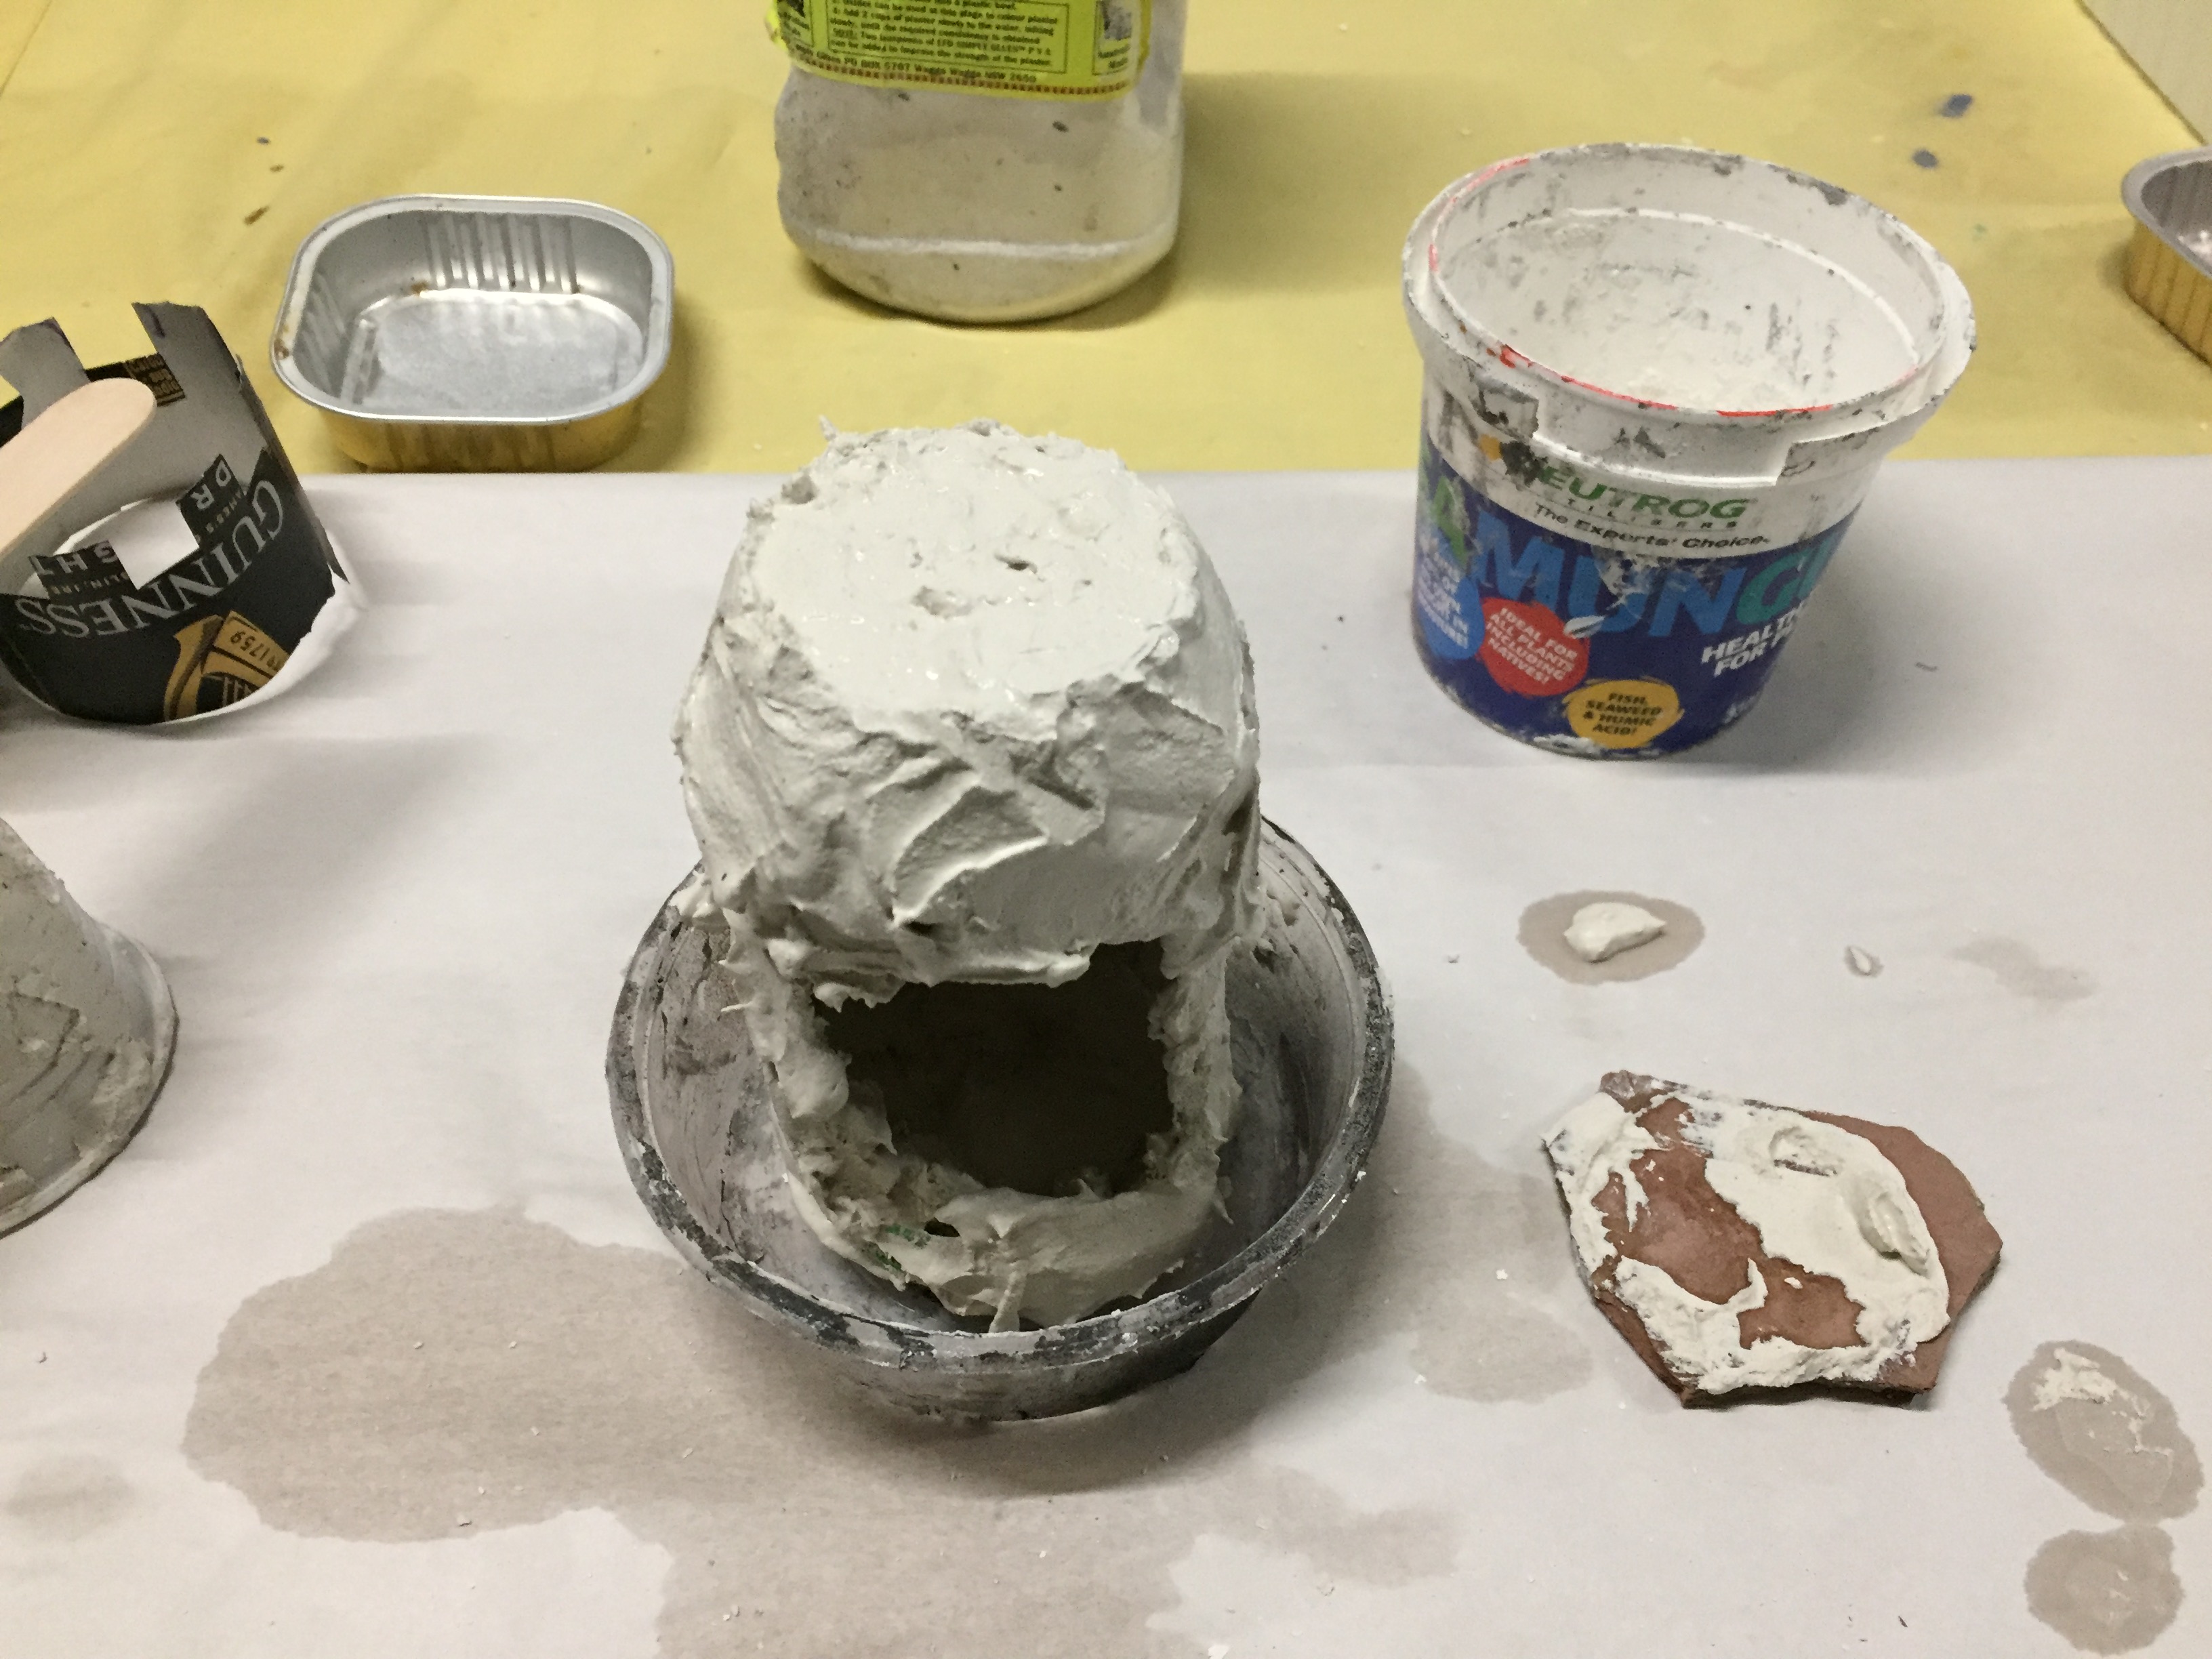
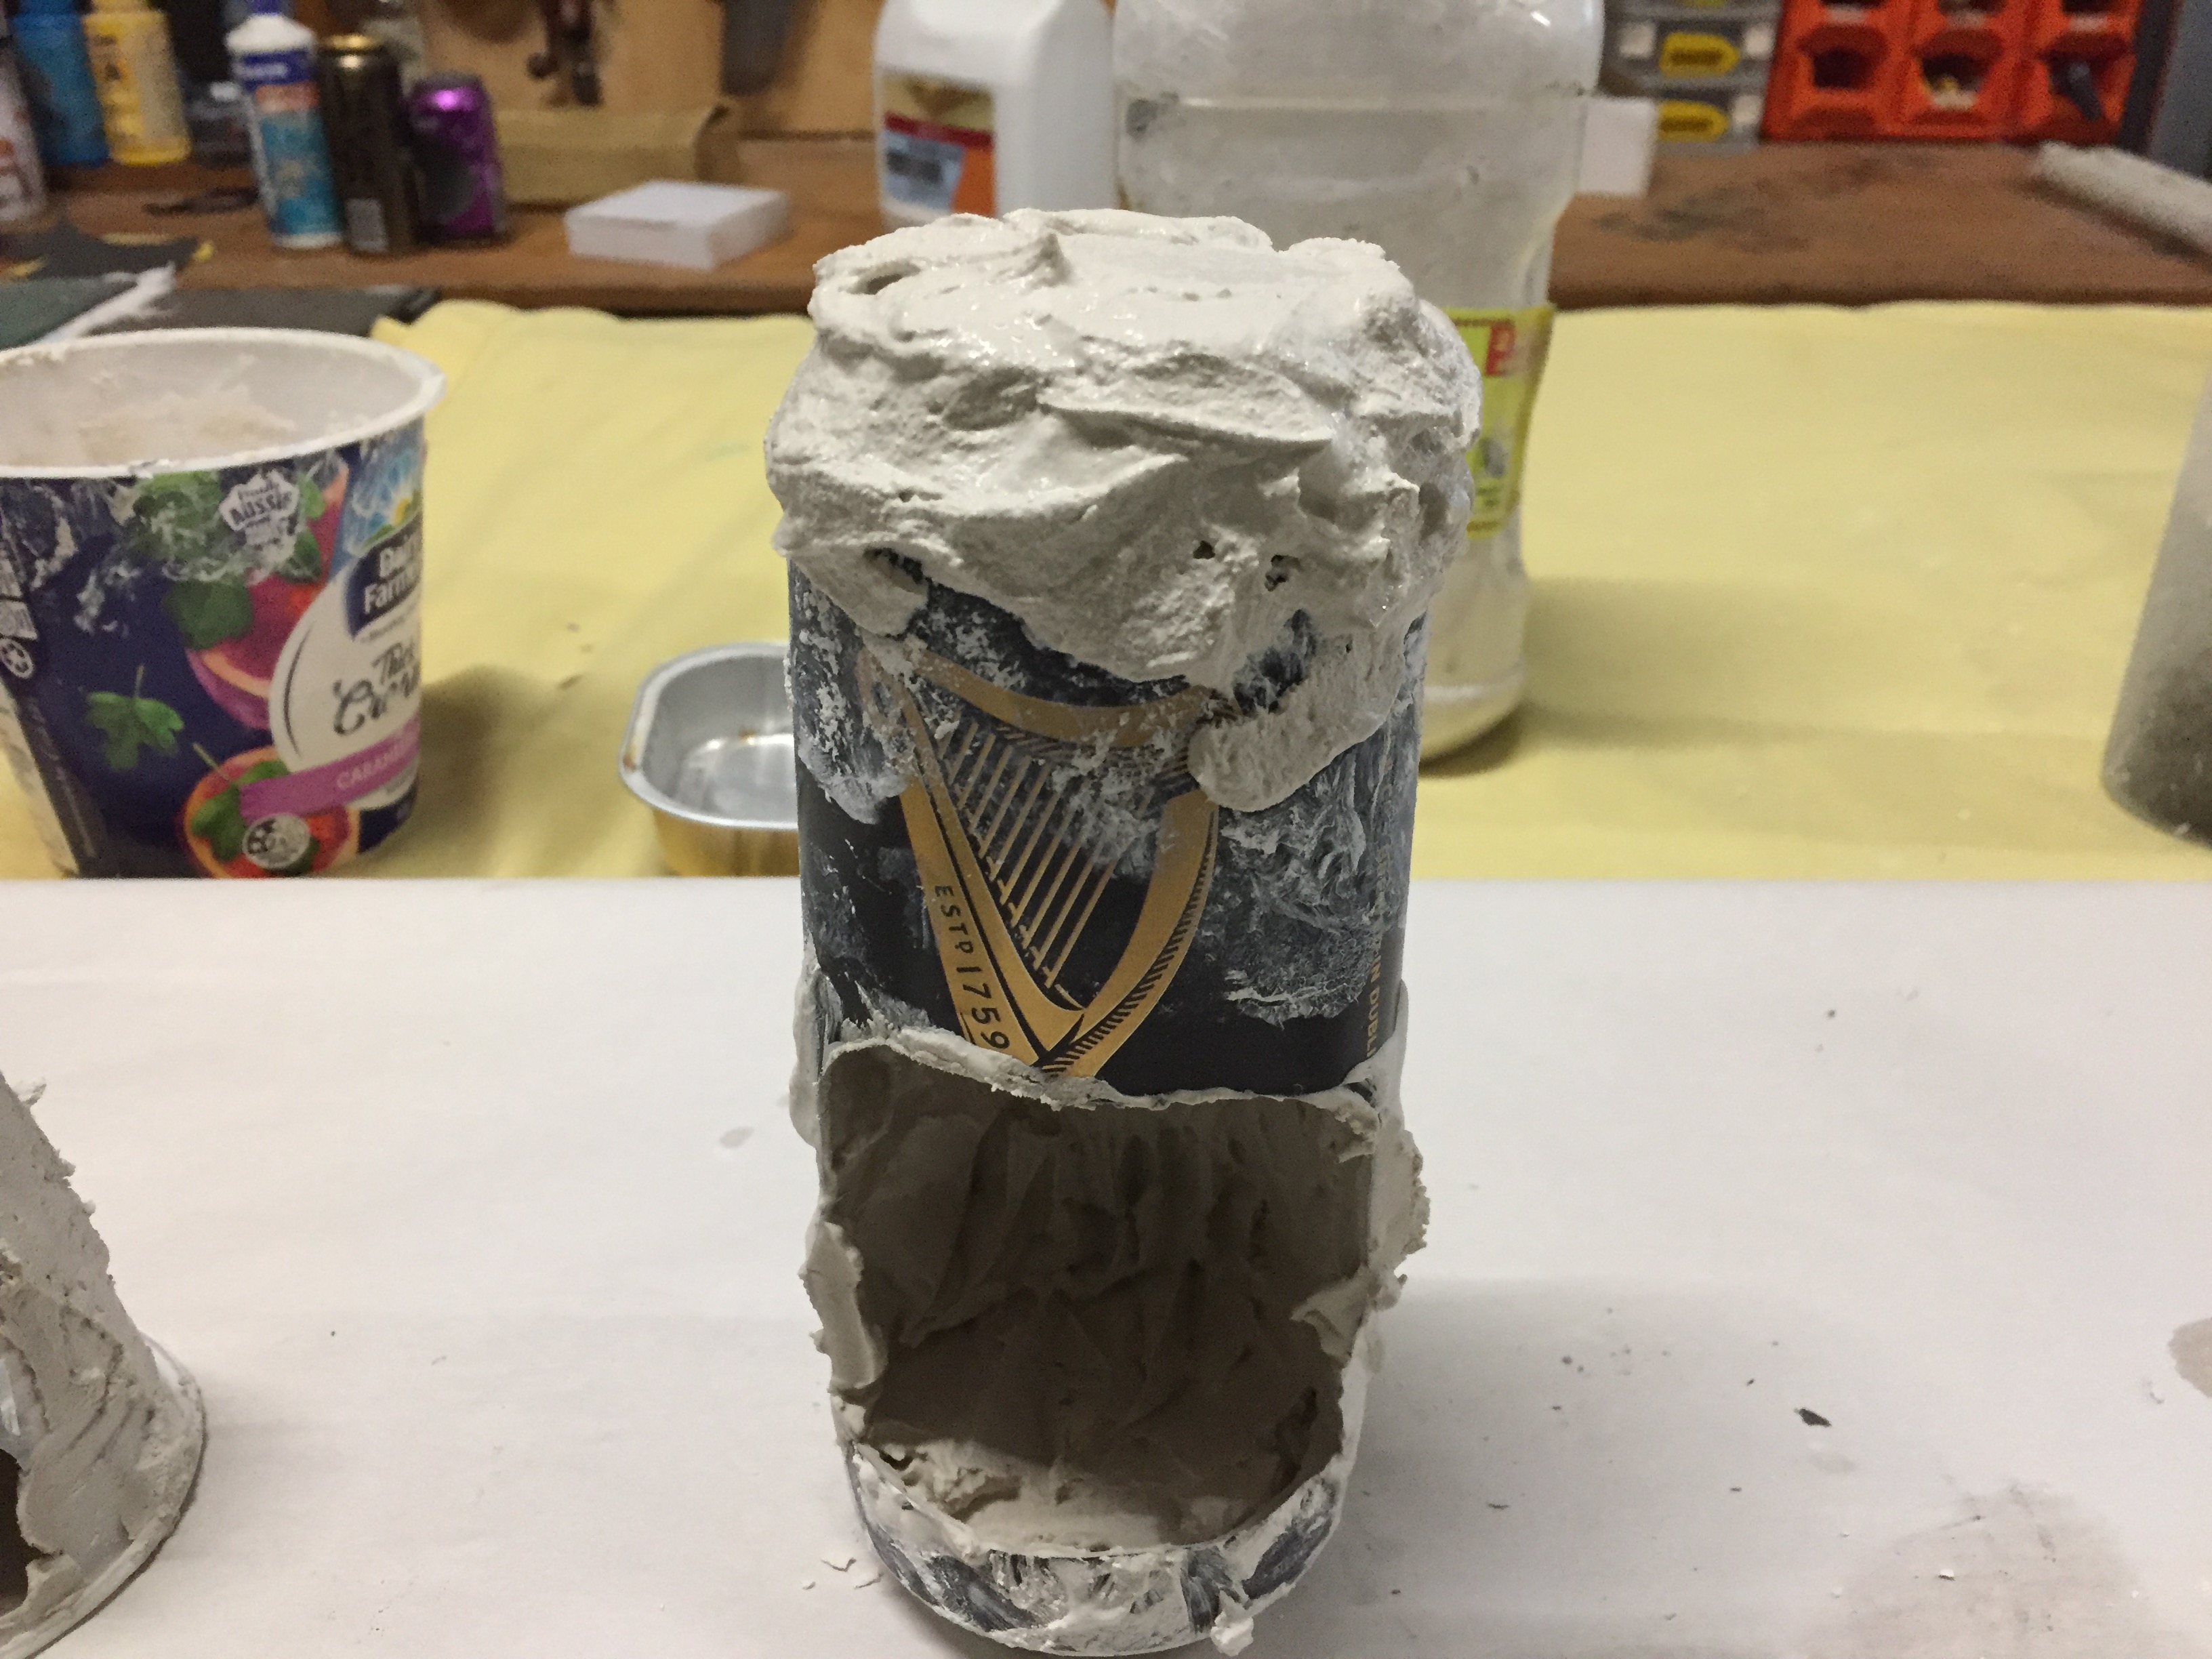
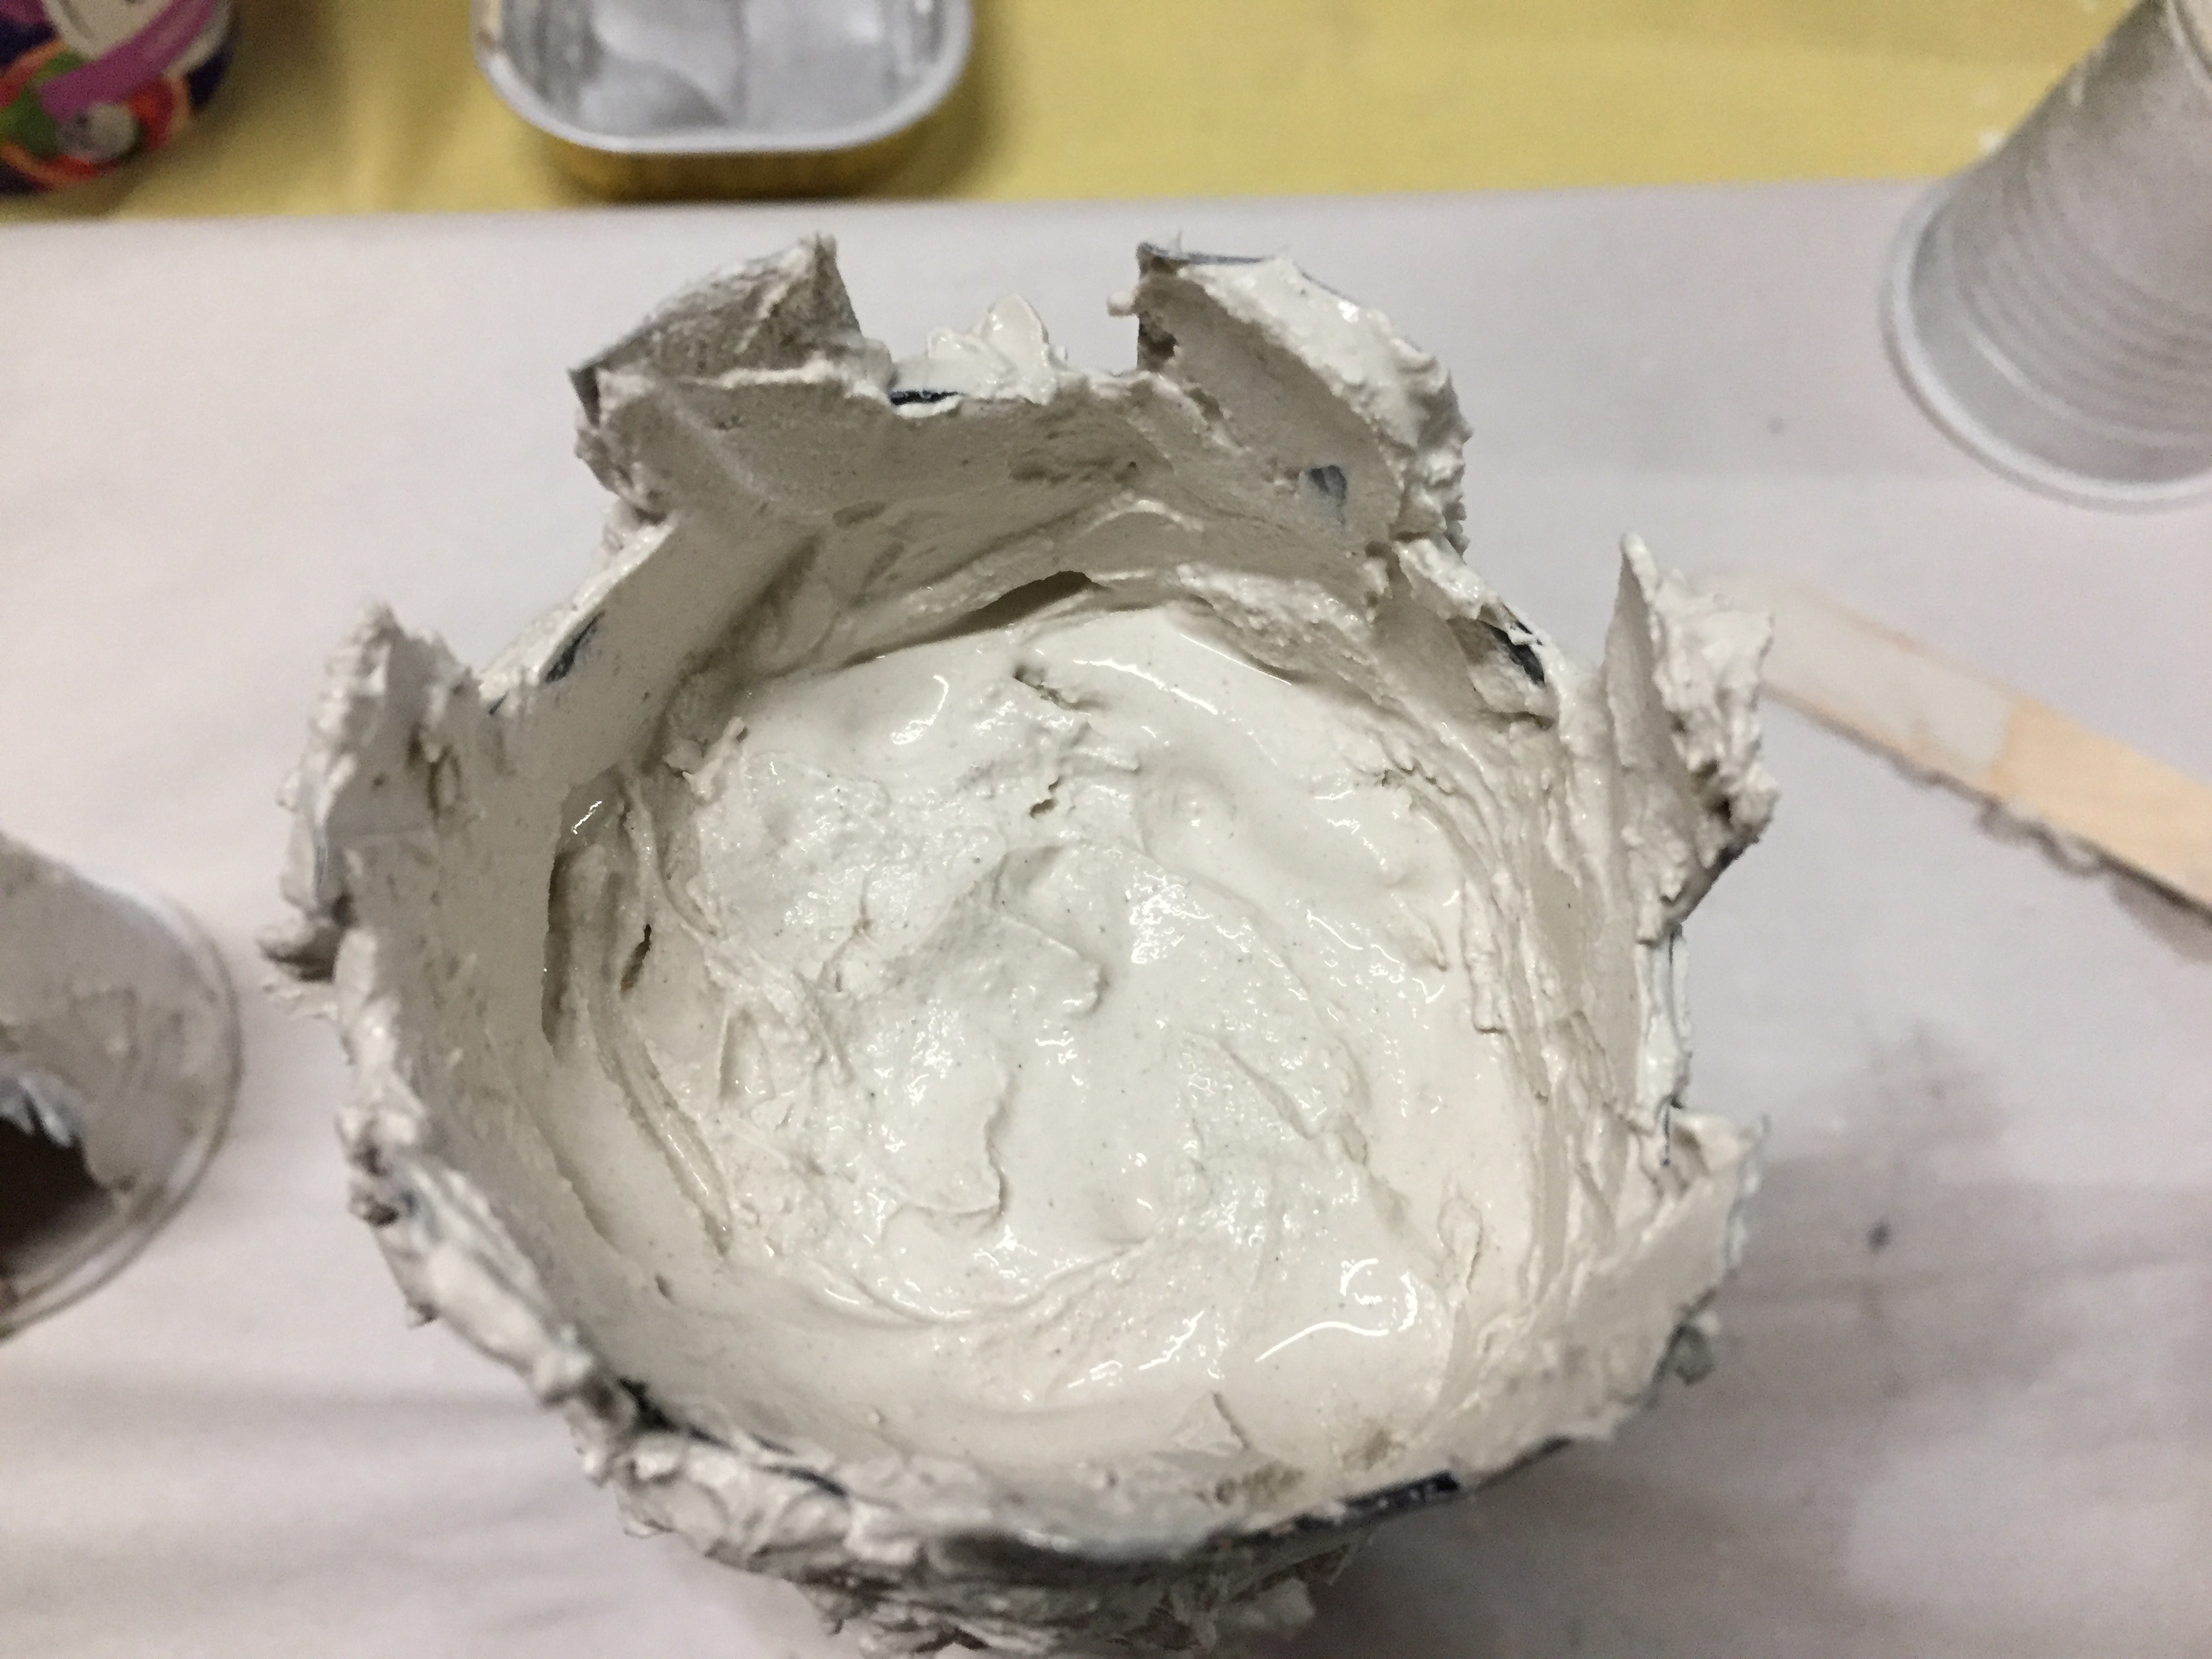
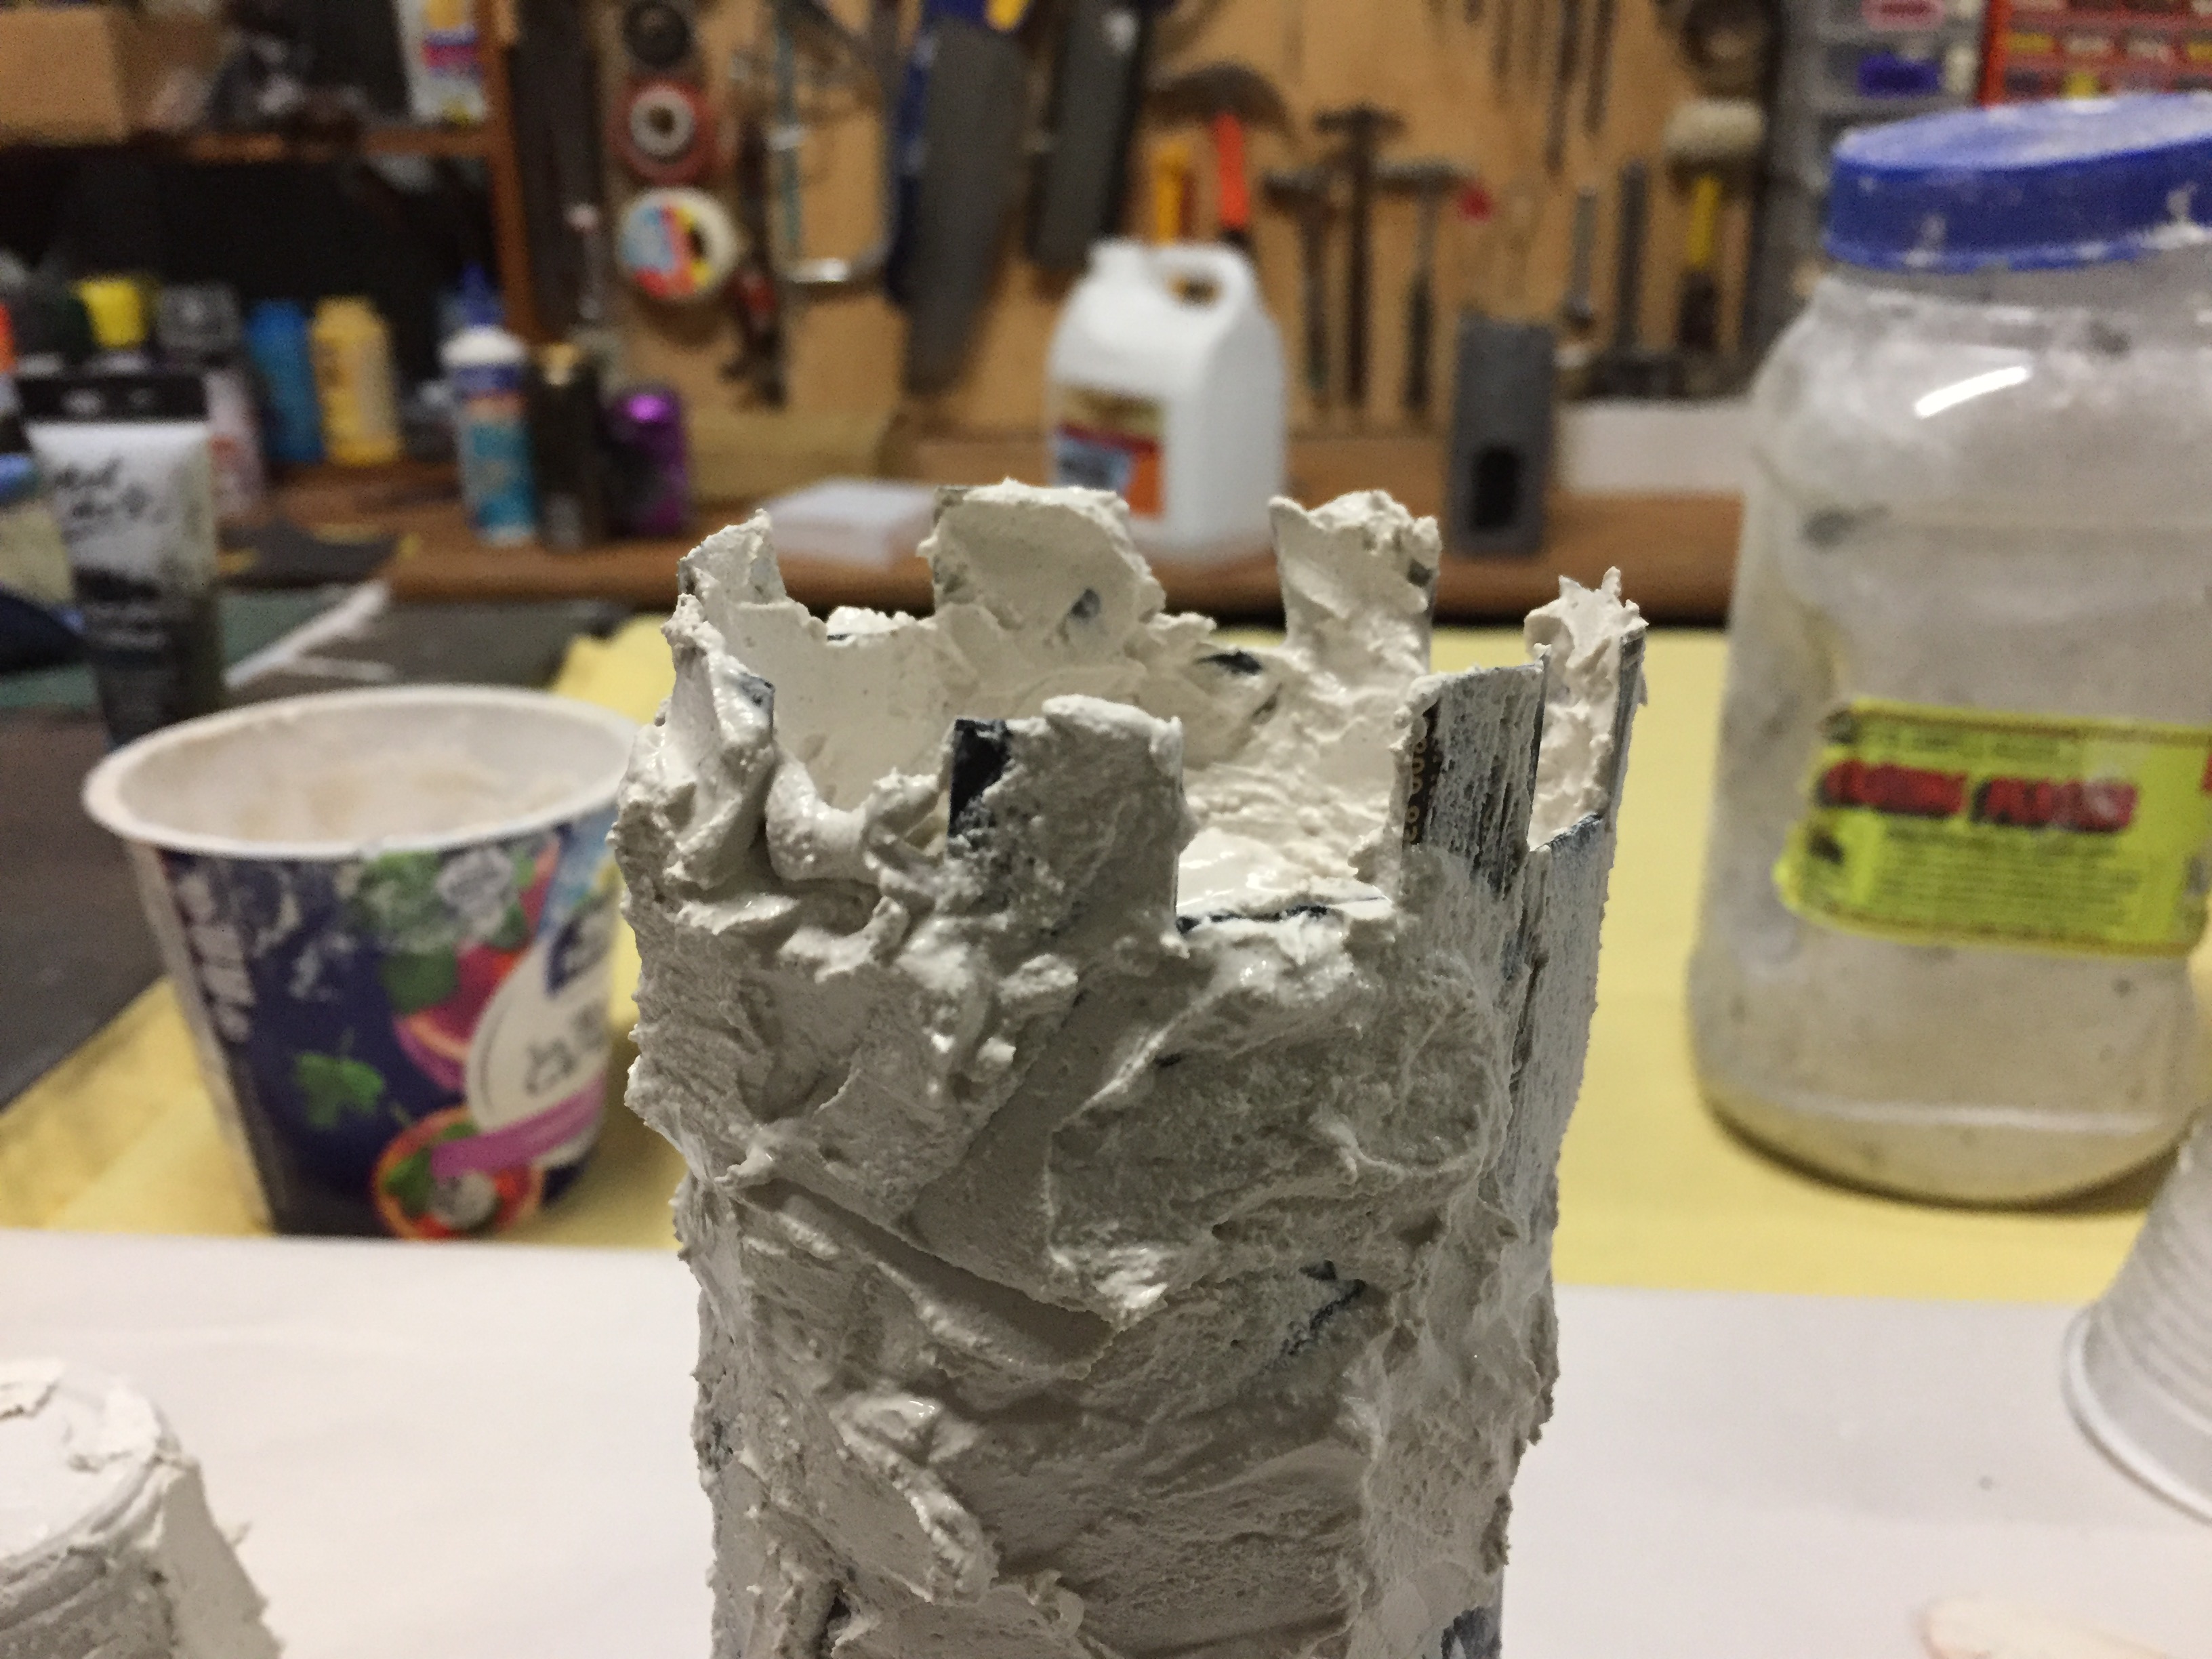
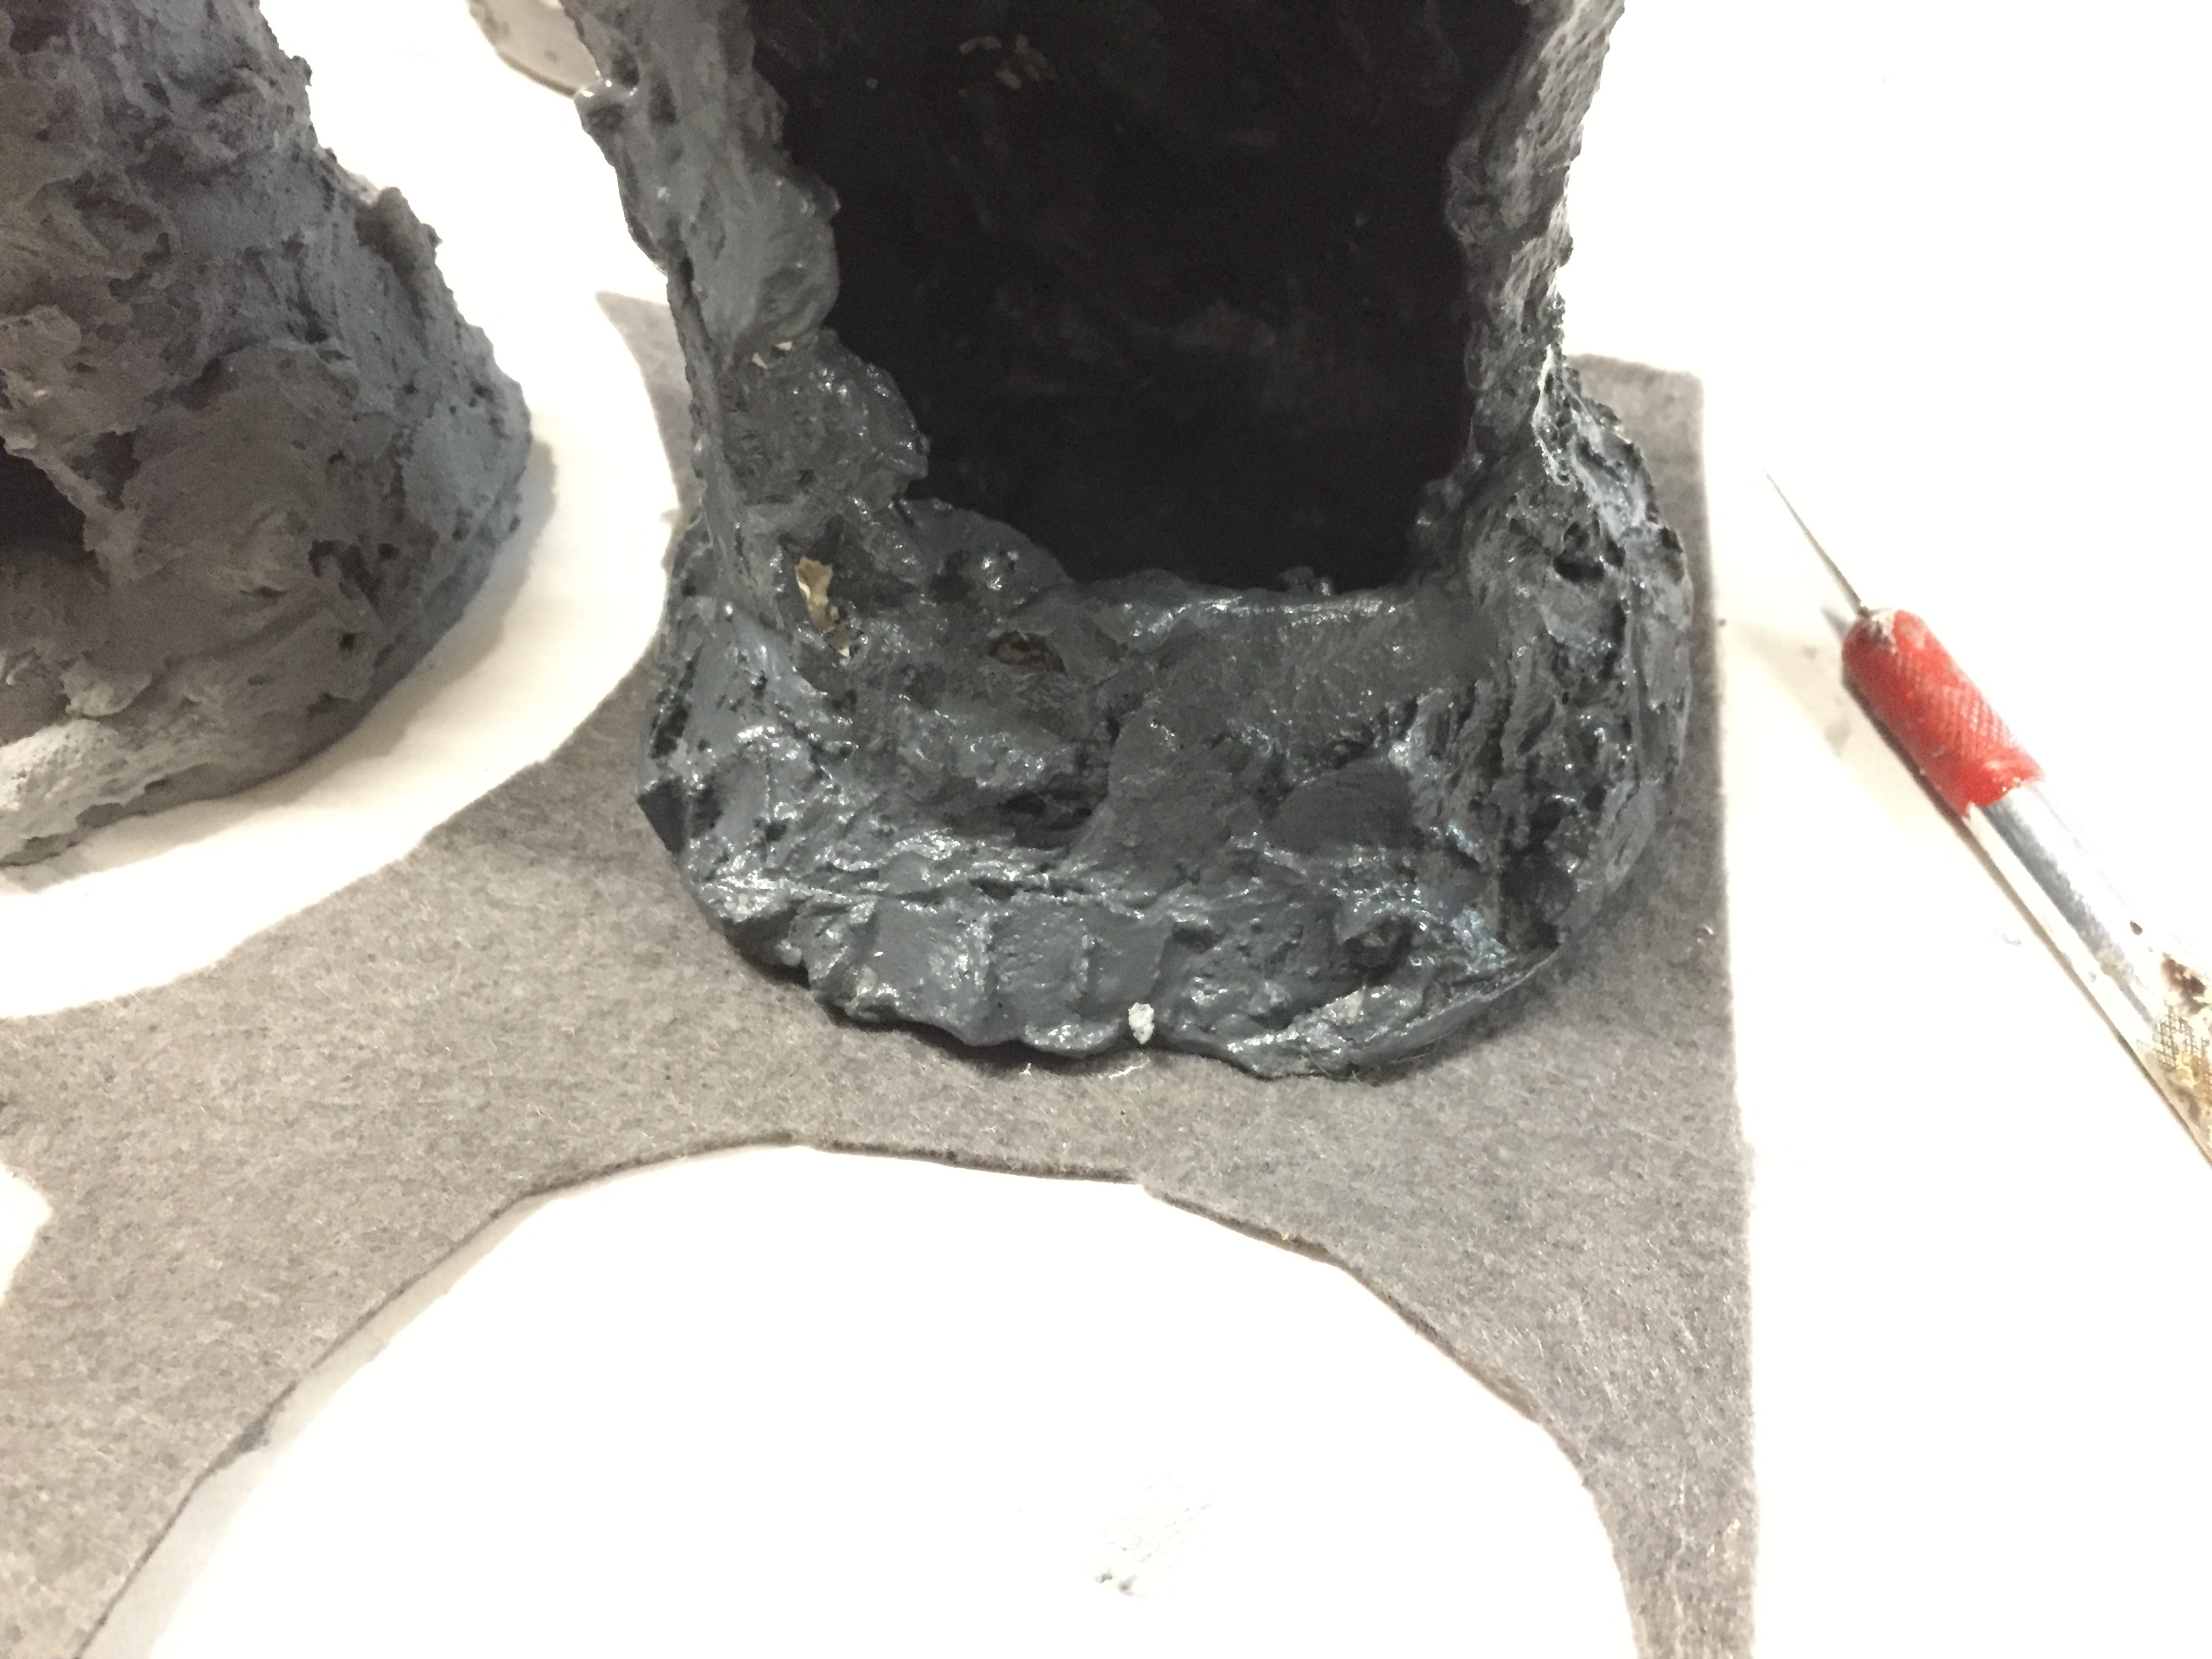
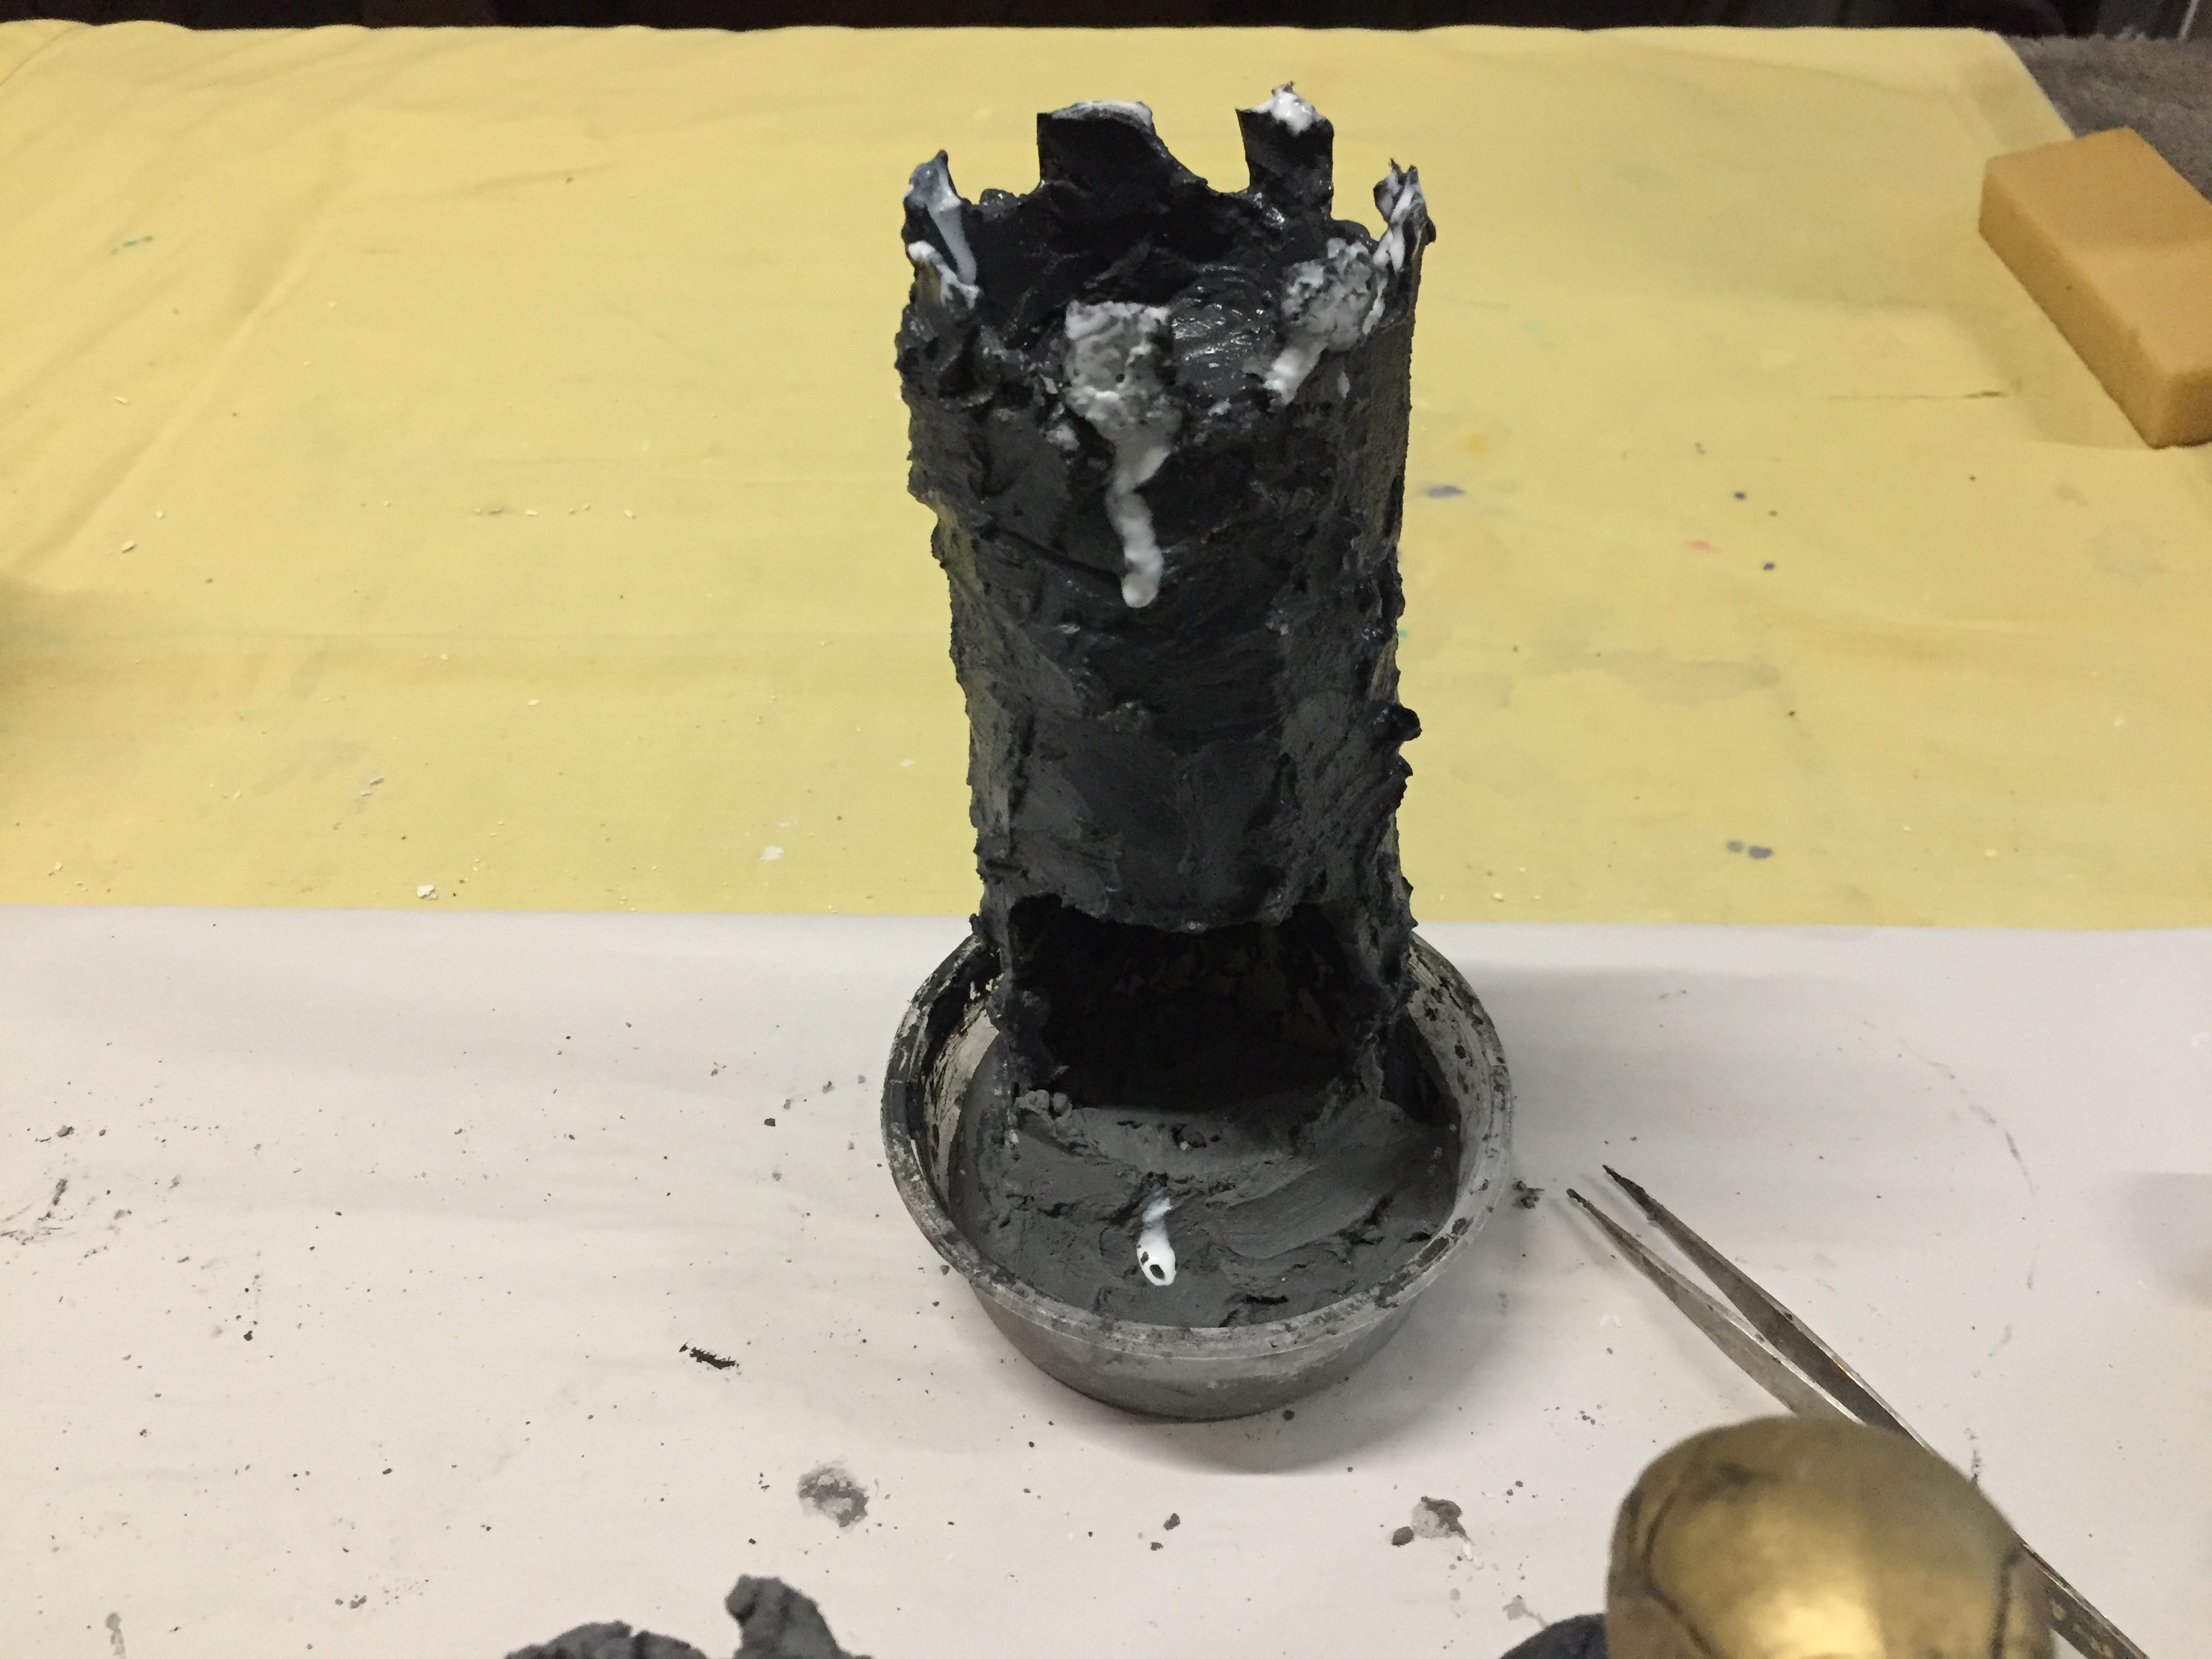
Anyway for the first coating of the interior you want a runny consistency in order to flow it around as you twist and turn it to cover most of the cavity. When this is done let it set, this will depend on the weather and the type of plaster used. It does vary so be careful not to mix up too much. Some plaster slip off very quickly so you don’t want to waste it. It’s probably best to start with a small quantity until you get used to how the plaster works. Having done the inside you then need to do the exterior but this time you need the mix to be a bit thicker so it can be smeared on with a spatula or even a coffee stirrer.
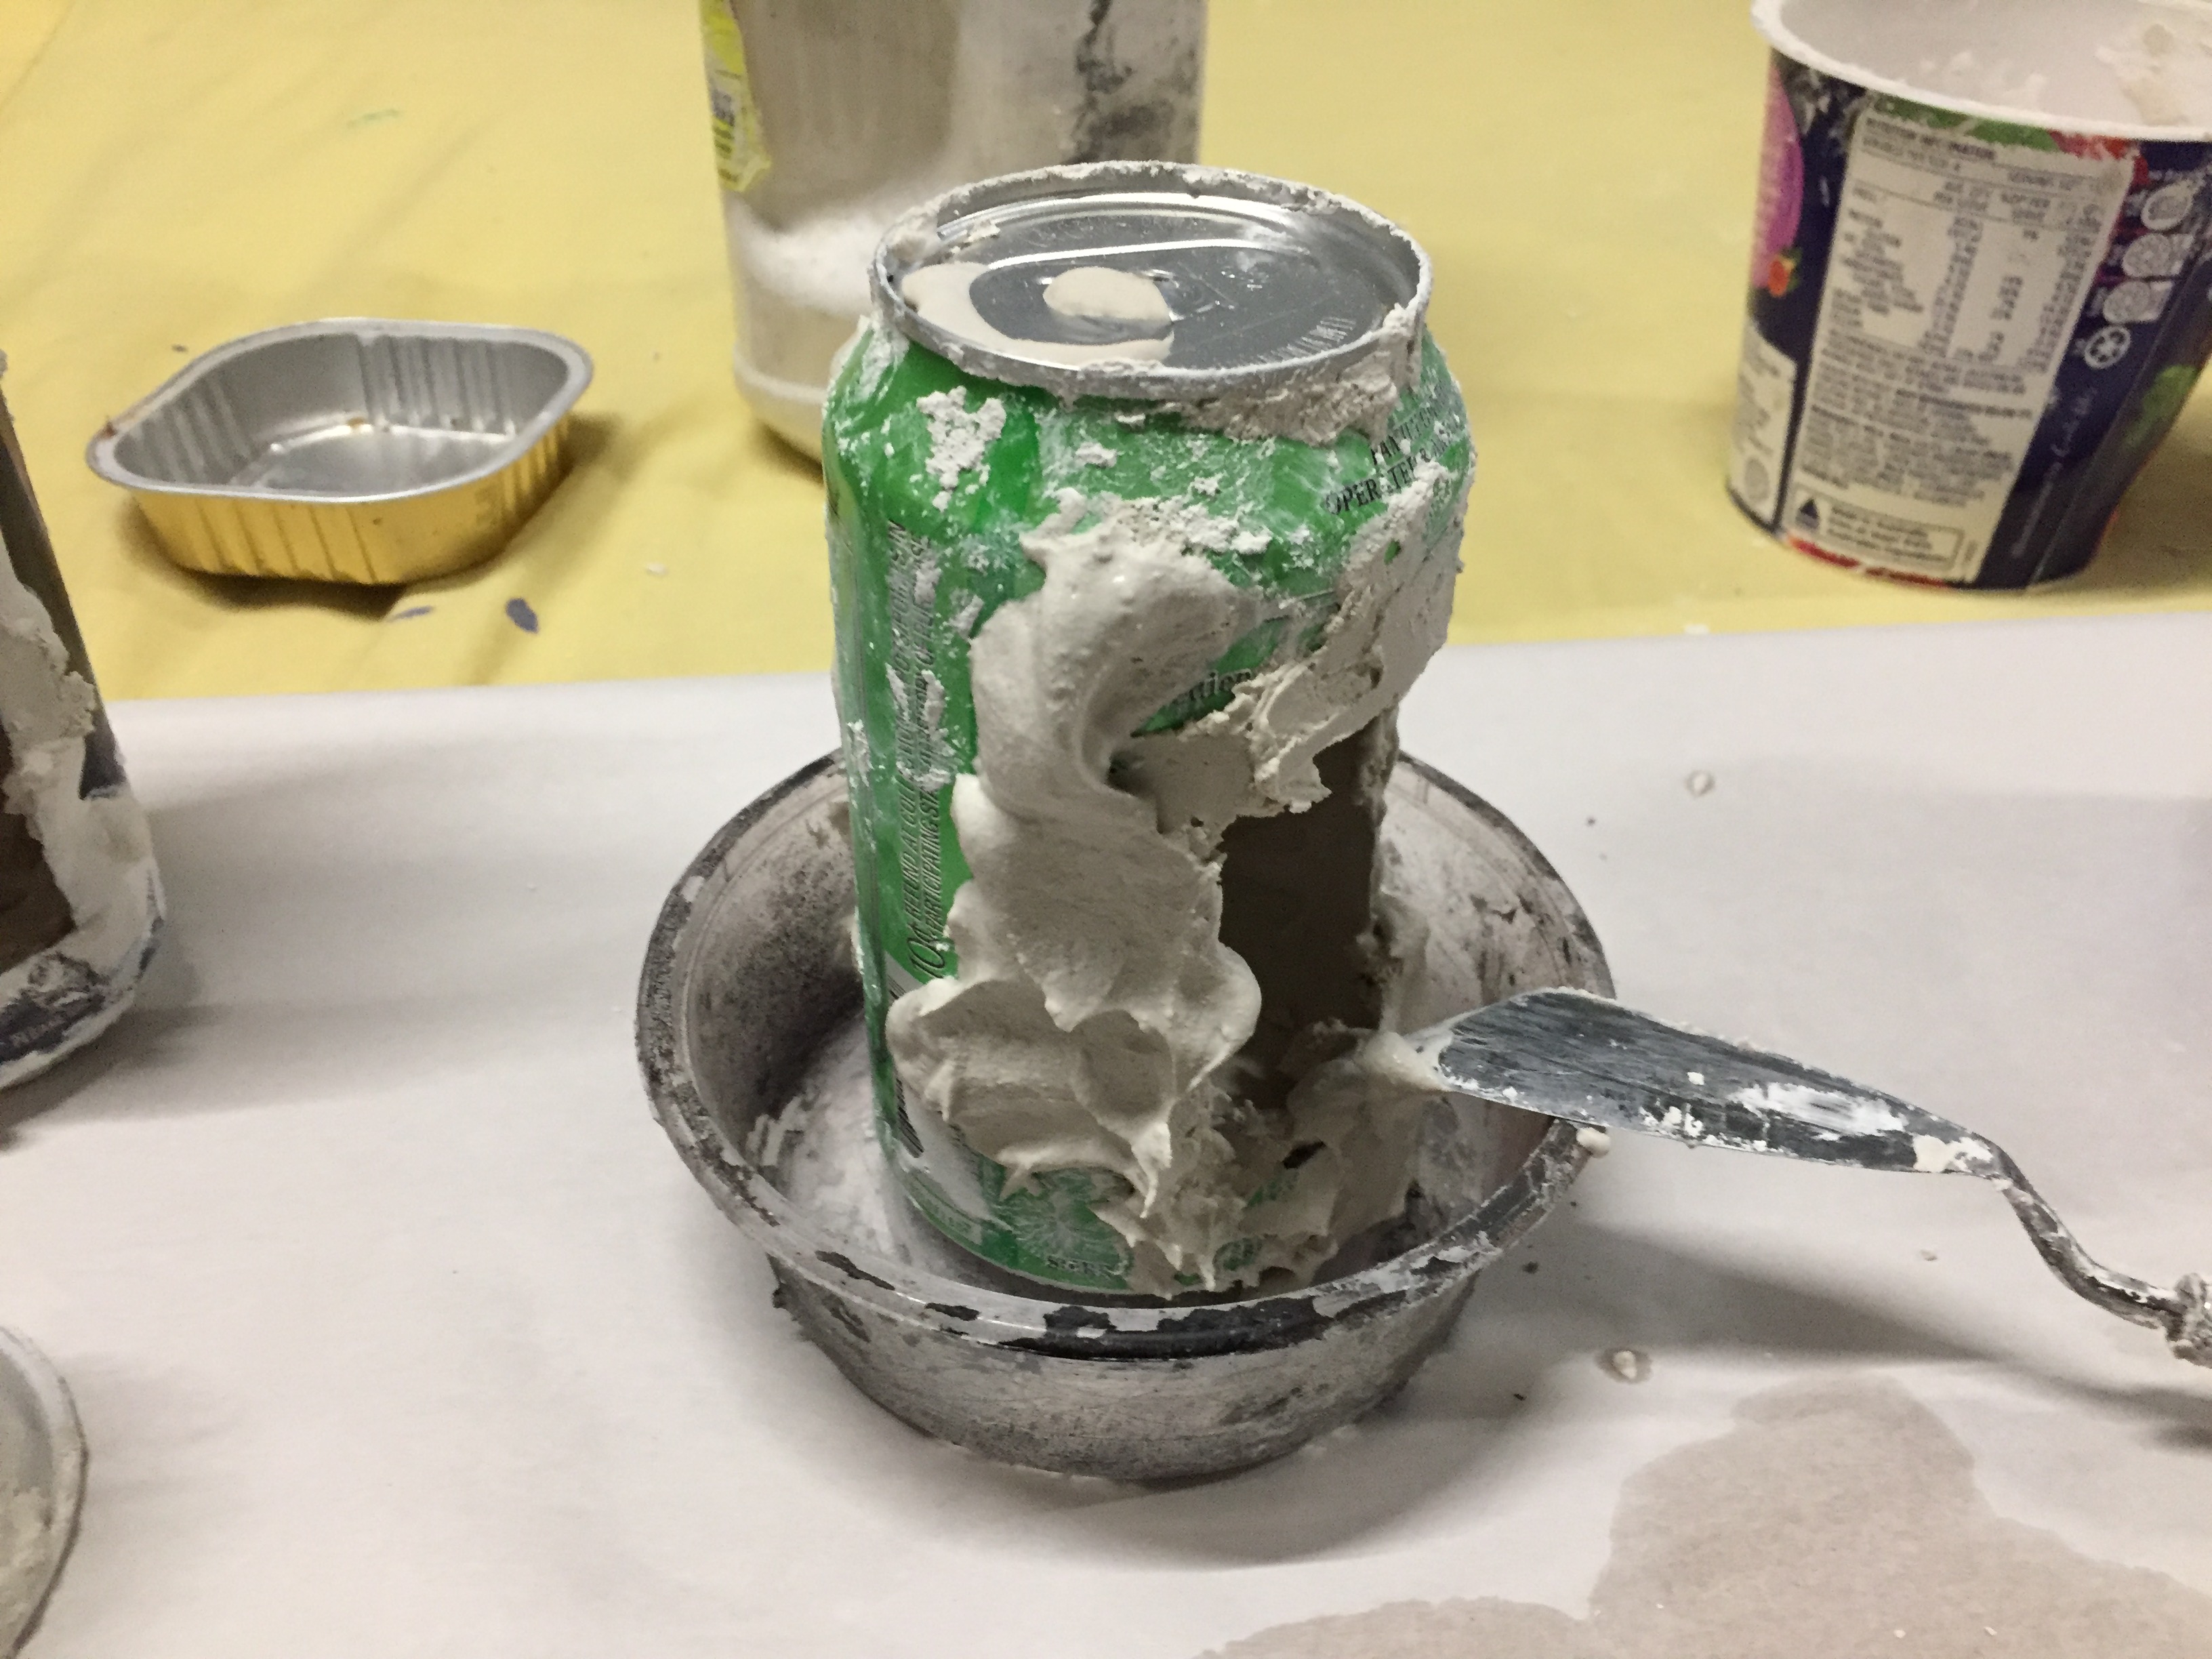
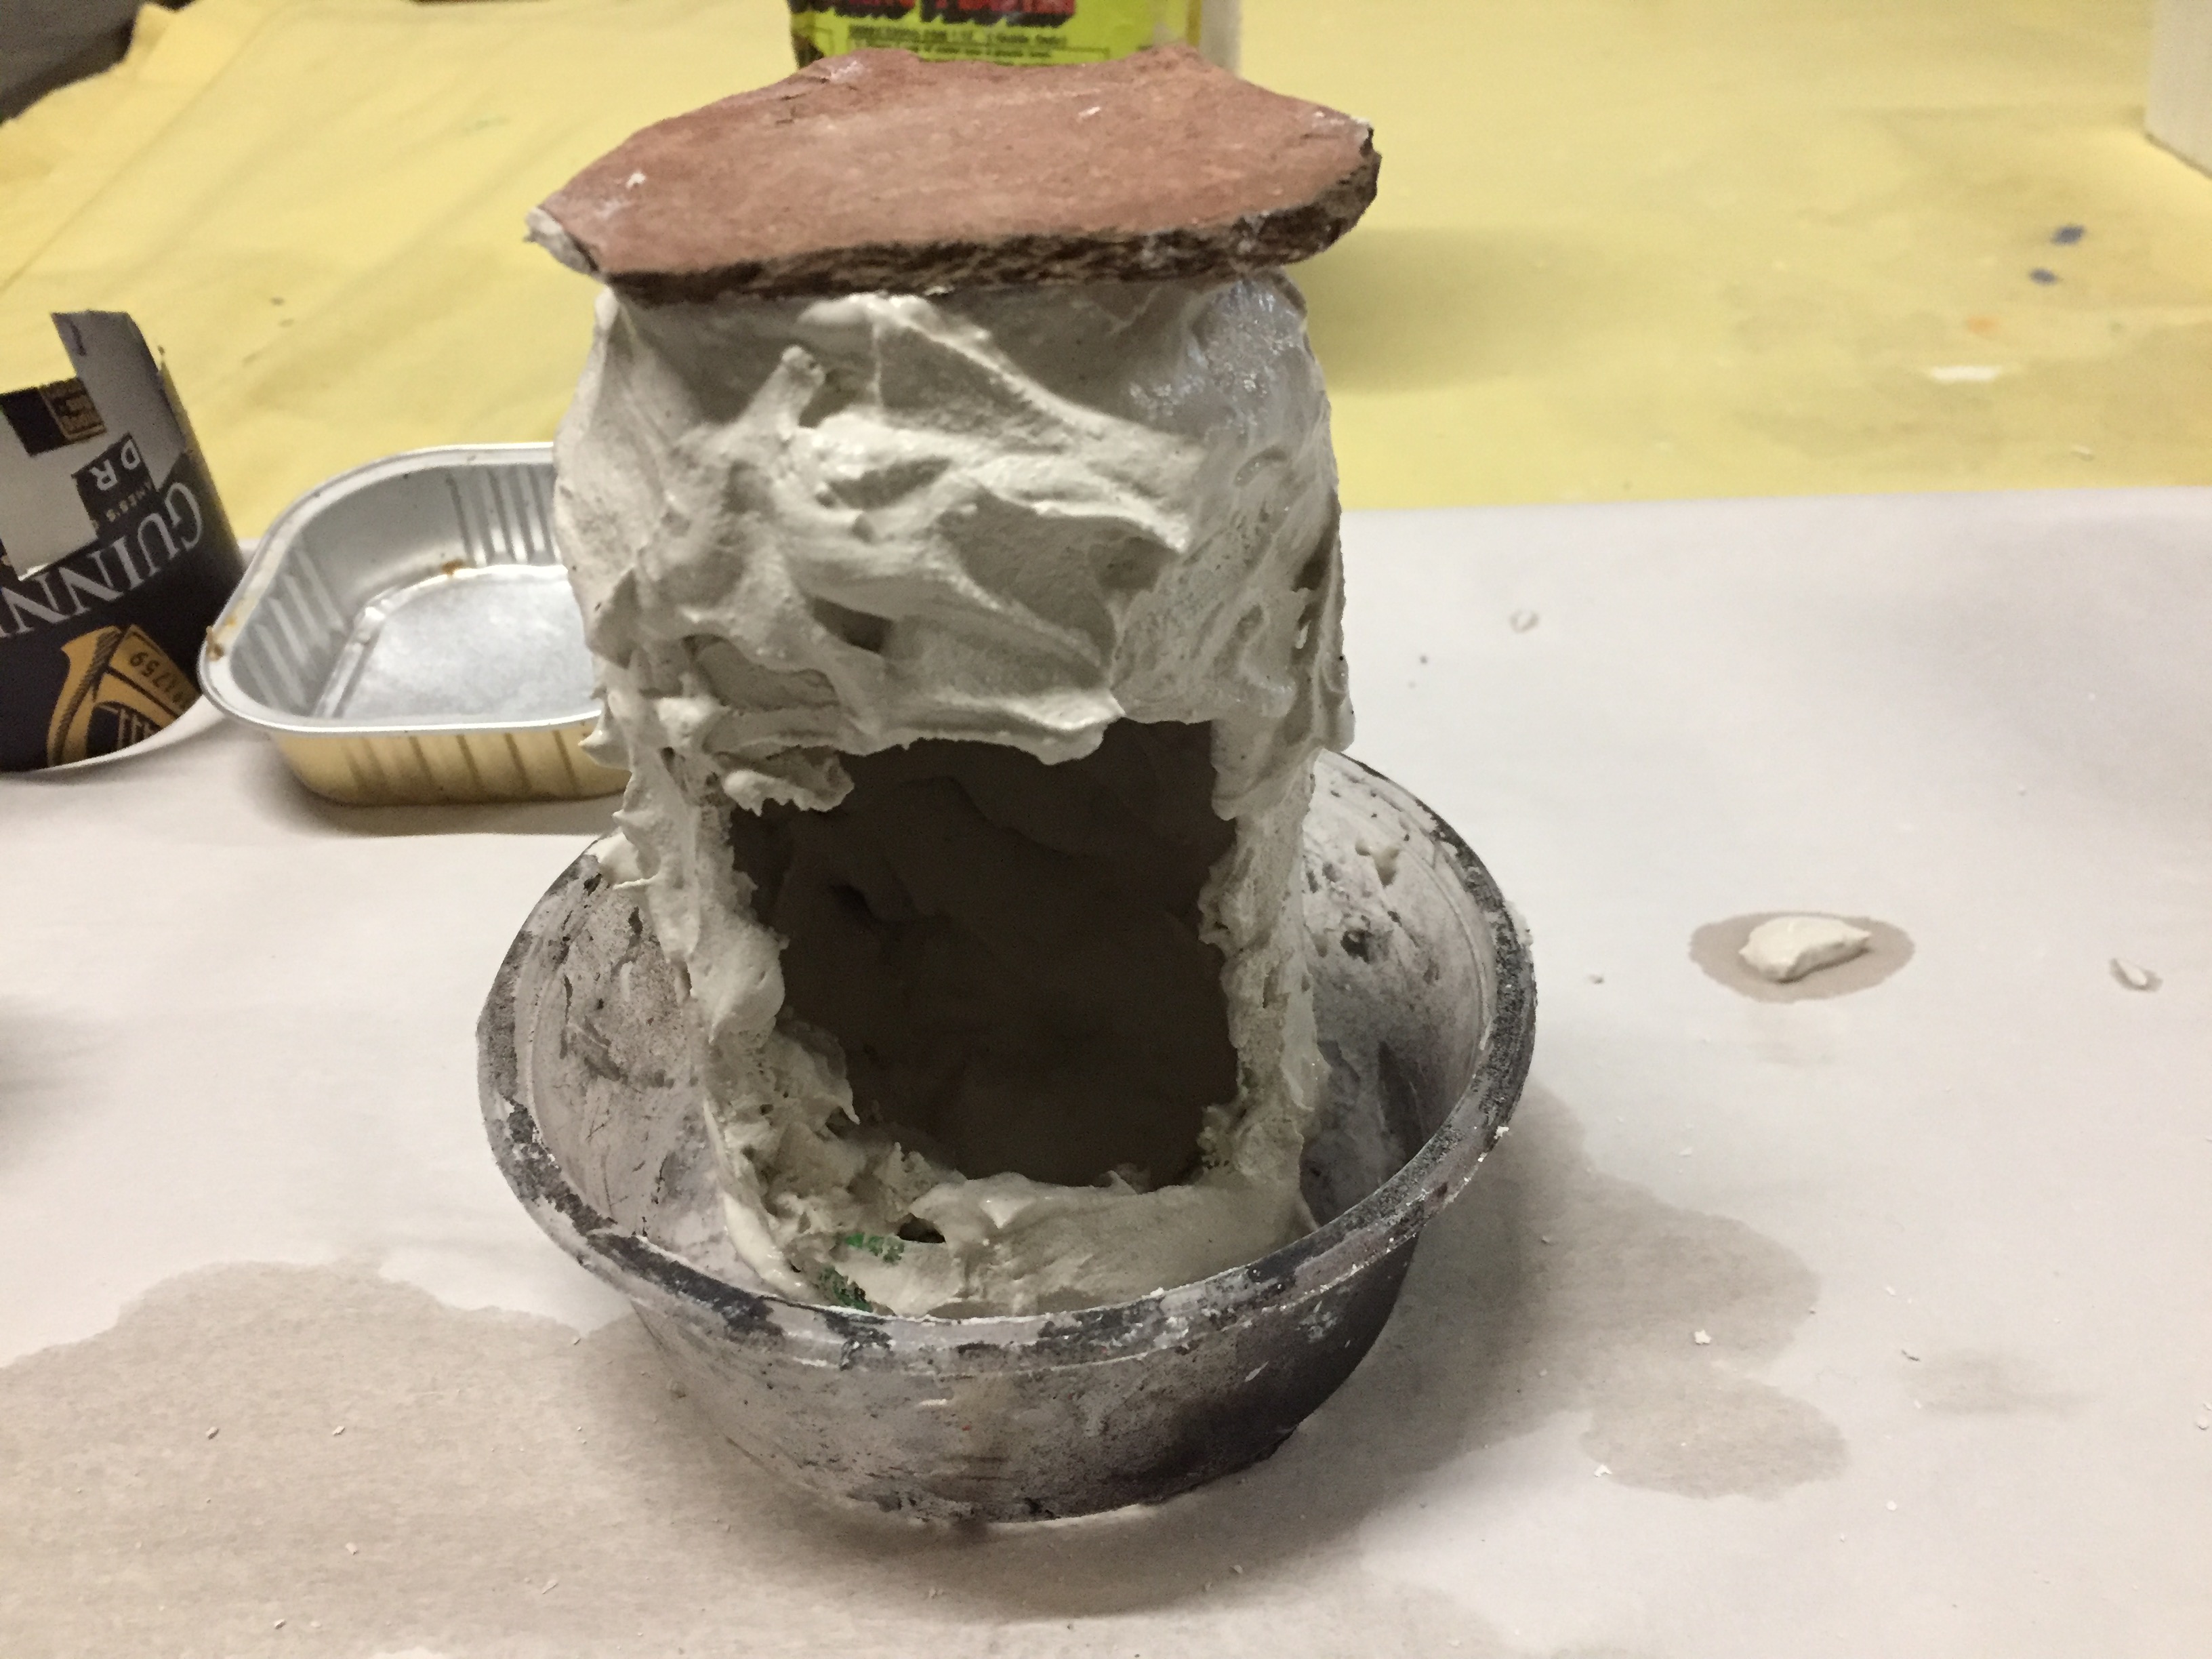
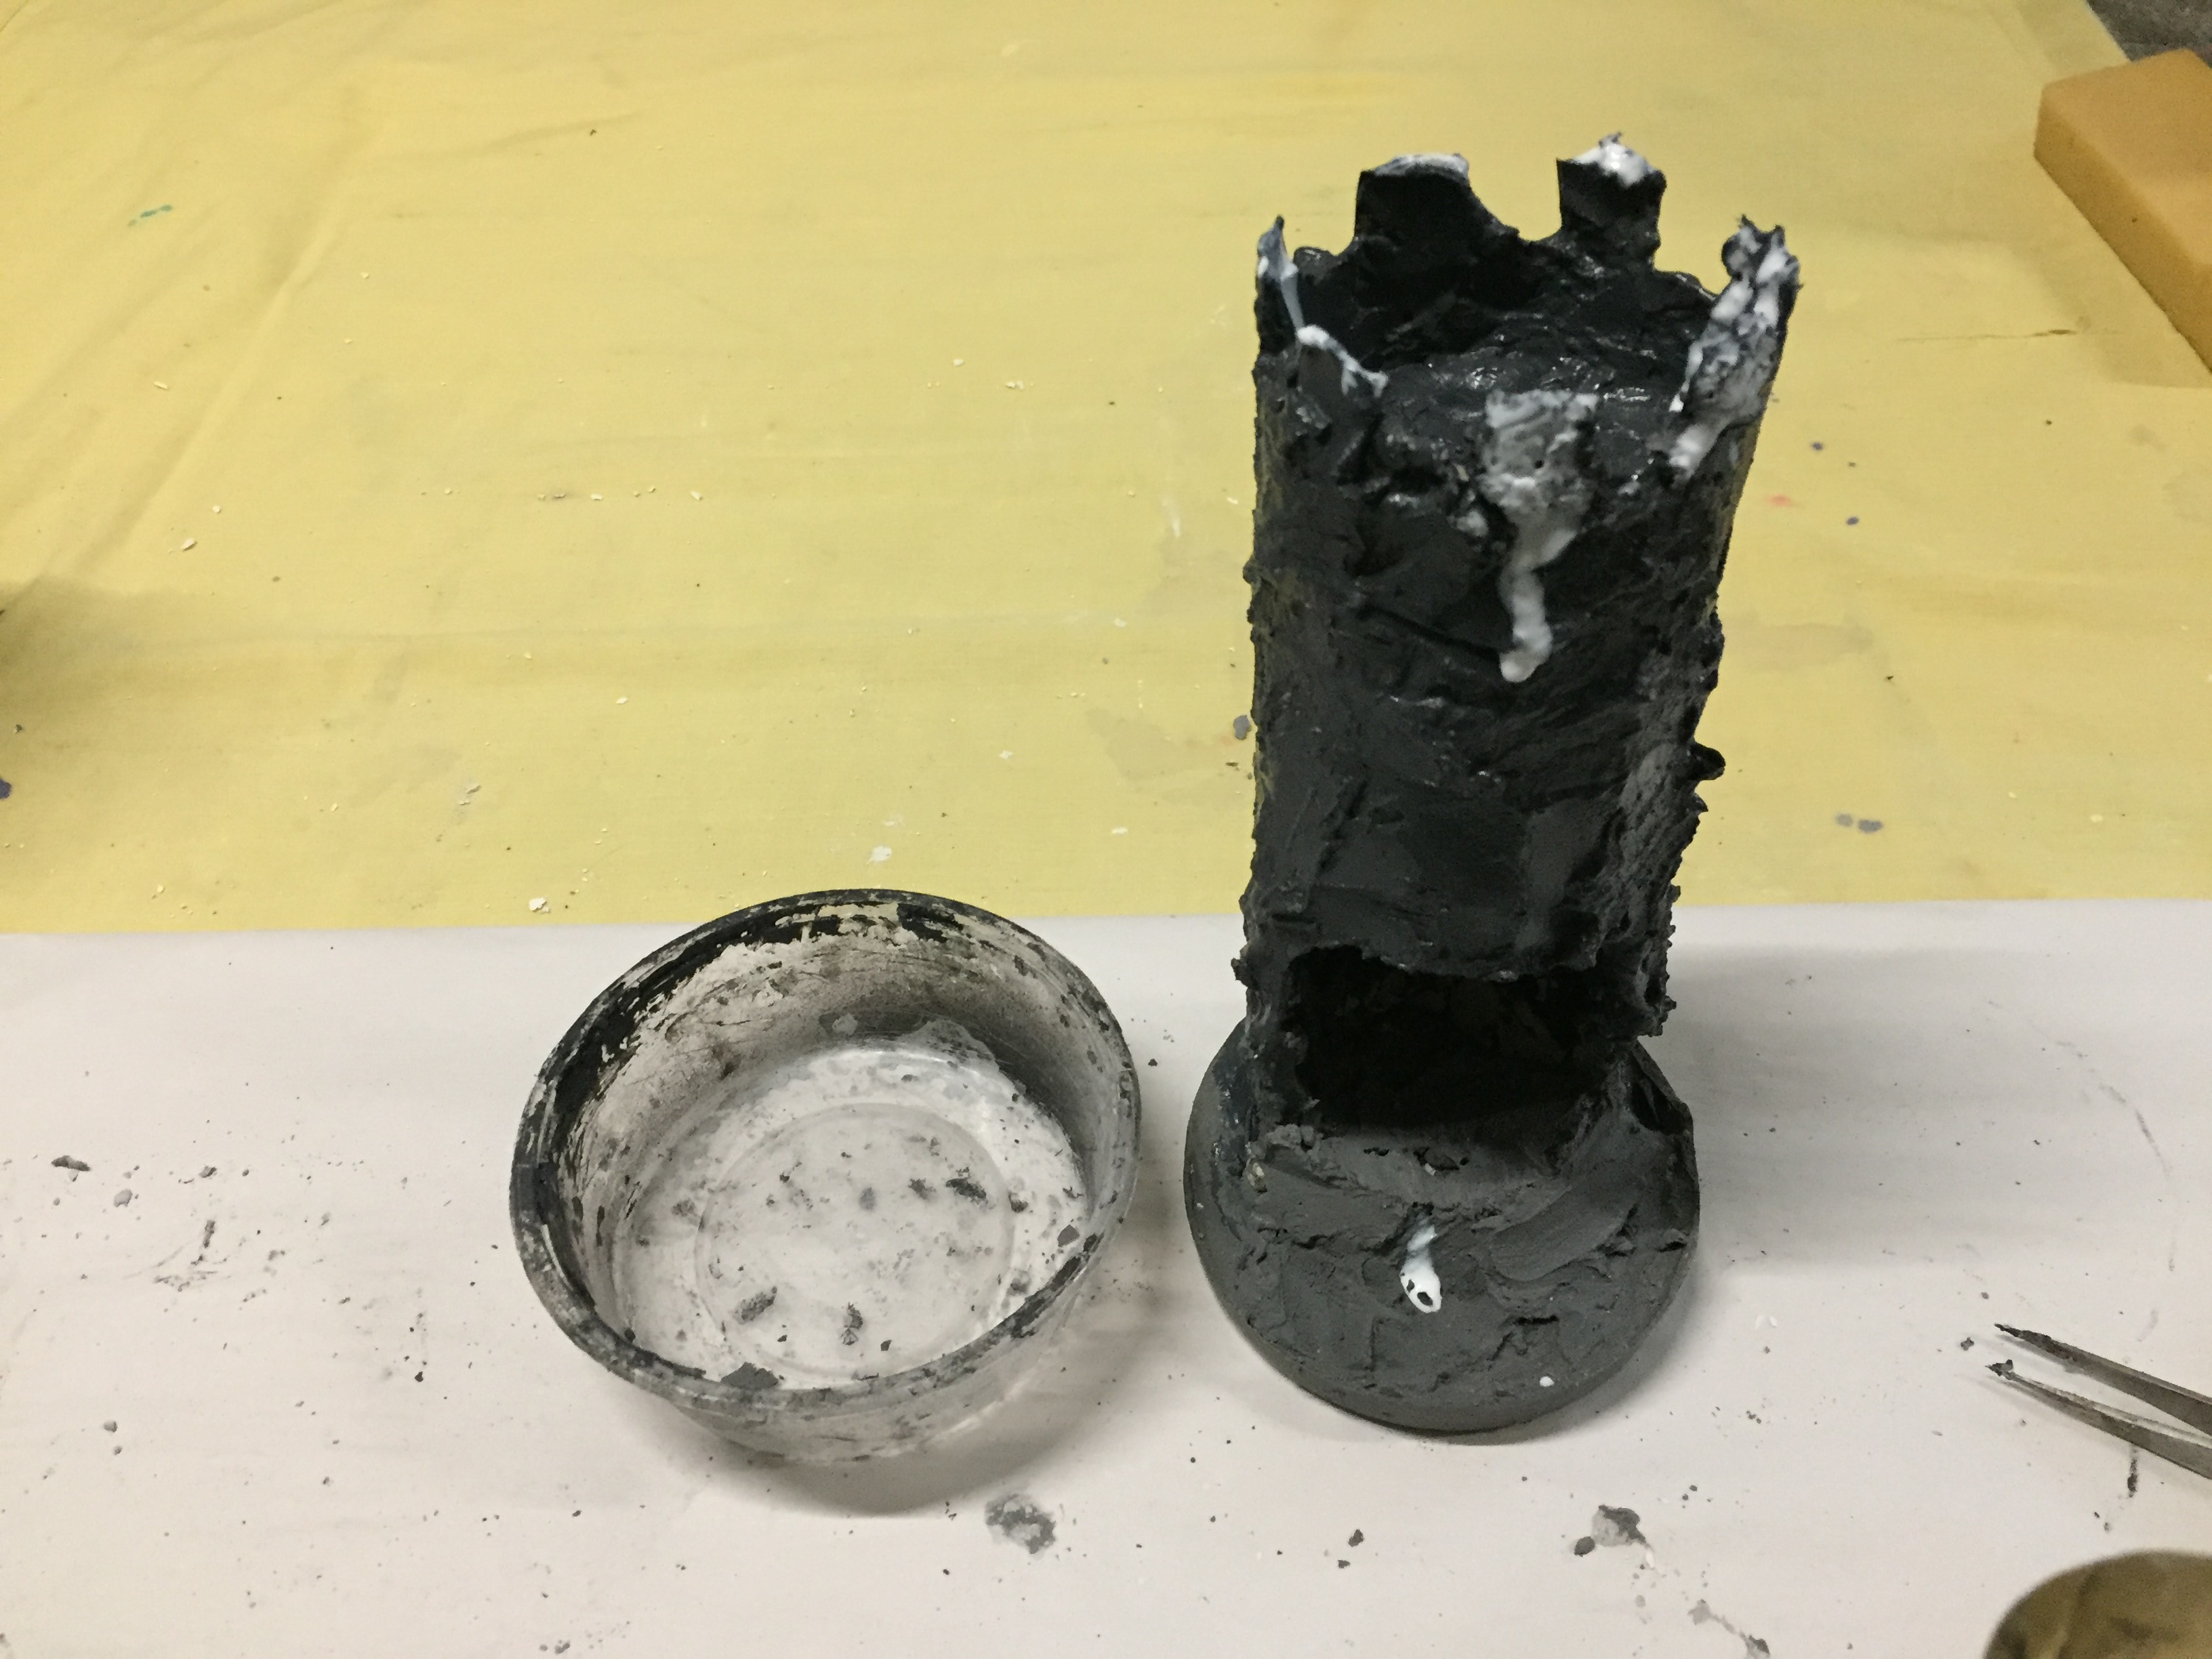
Now you should have a nice strong coating on the can. The next thing you need is a base to prevent it toppling over. The way I do this is to find a plastic container that’s somewhat larger than the can, then make up a stiff mix in the container. Now embed the can into this mix and allow to set overnight. In the morning pop it out of the plastic container and let it dry out.
At this stage you can apply some felt to the base if you feel it is warranted. If you wish to do this, simply apply PVA to the base and press onto the felt. Allow to dry then trim any excess from around the base.
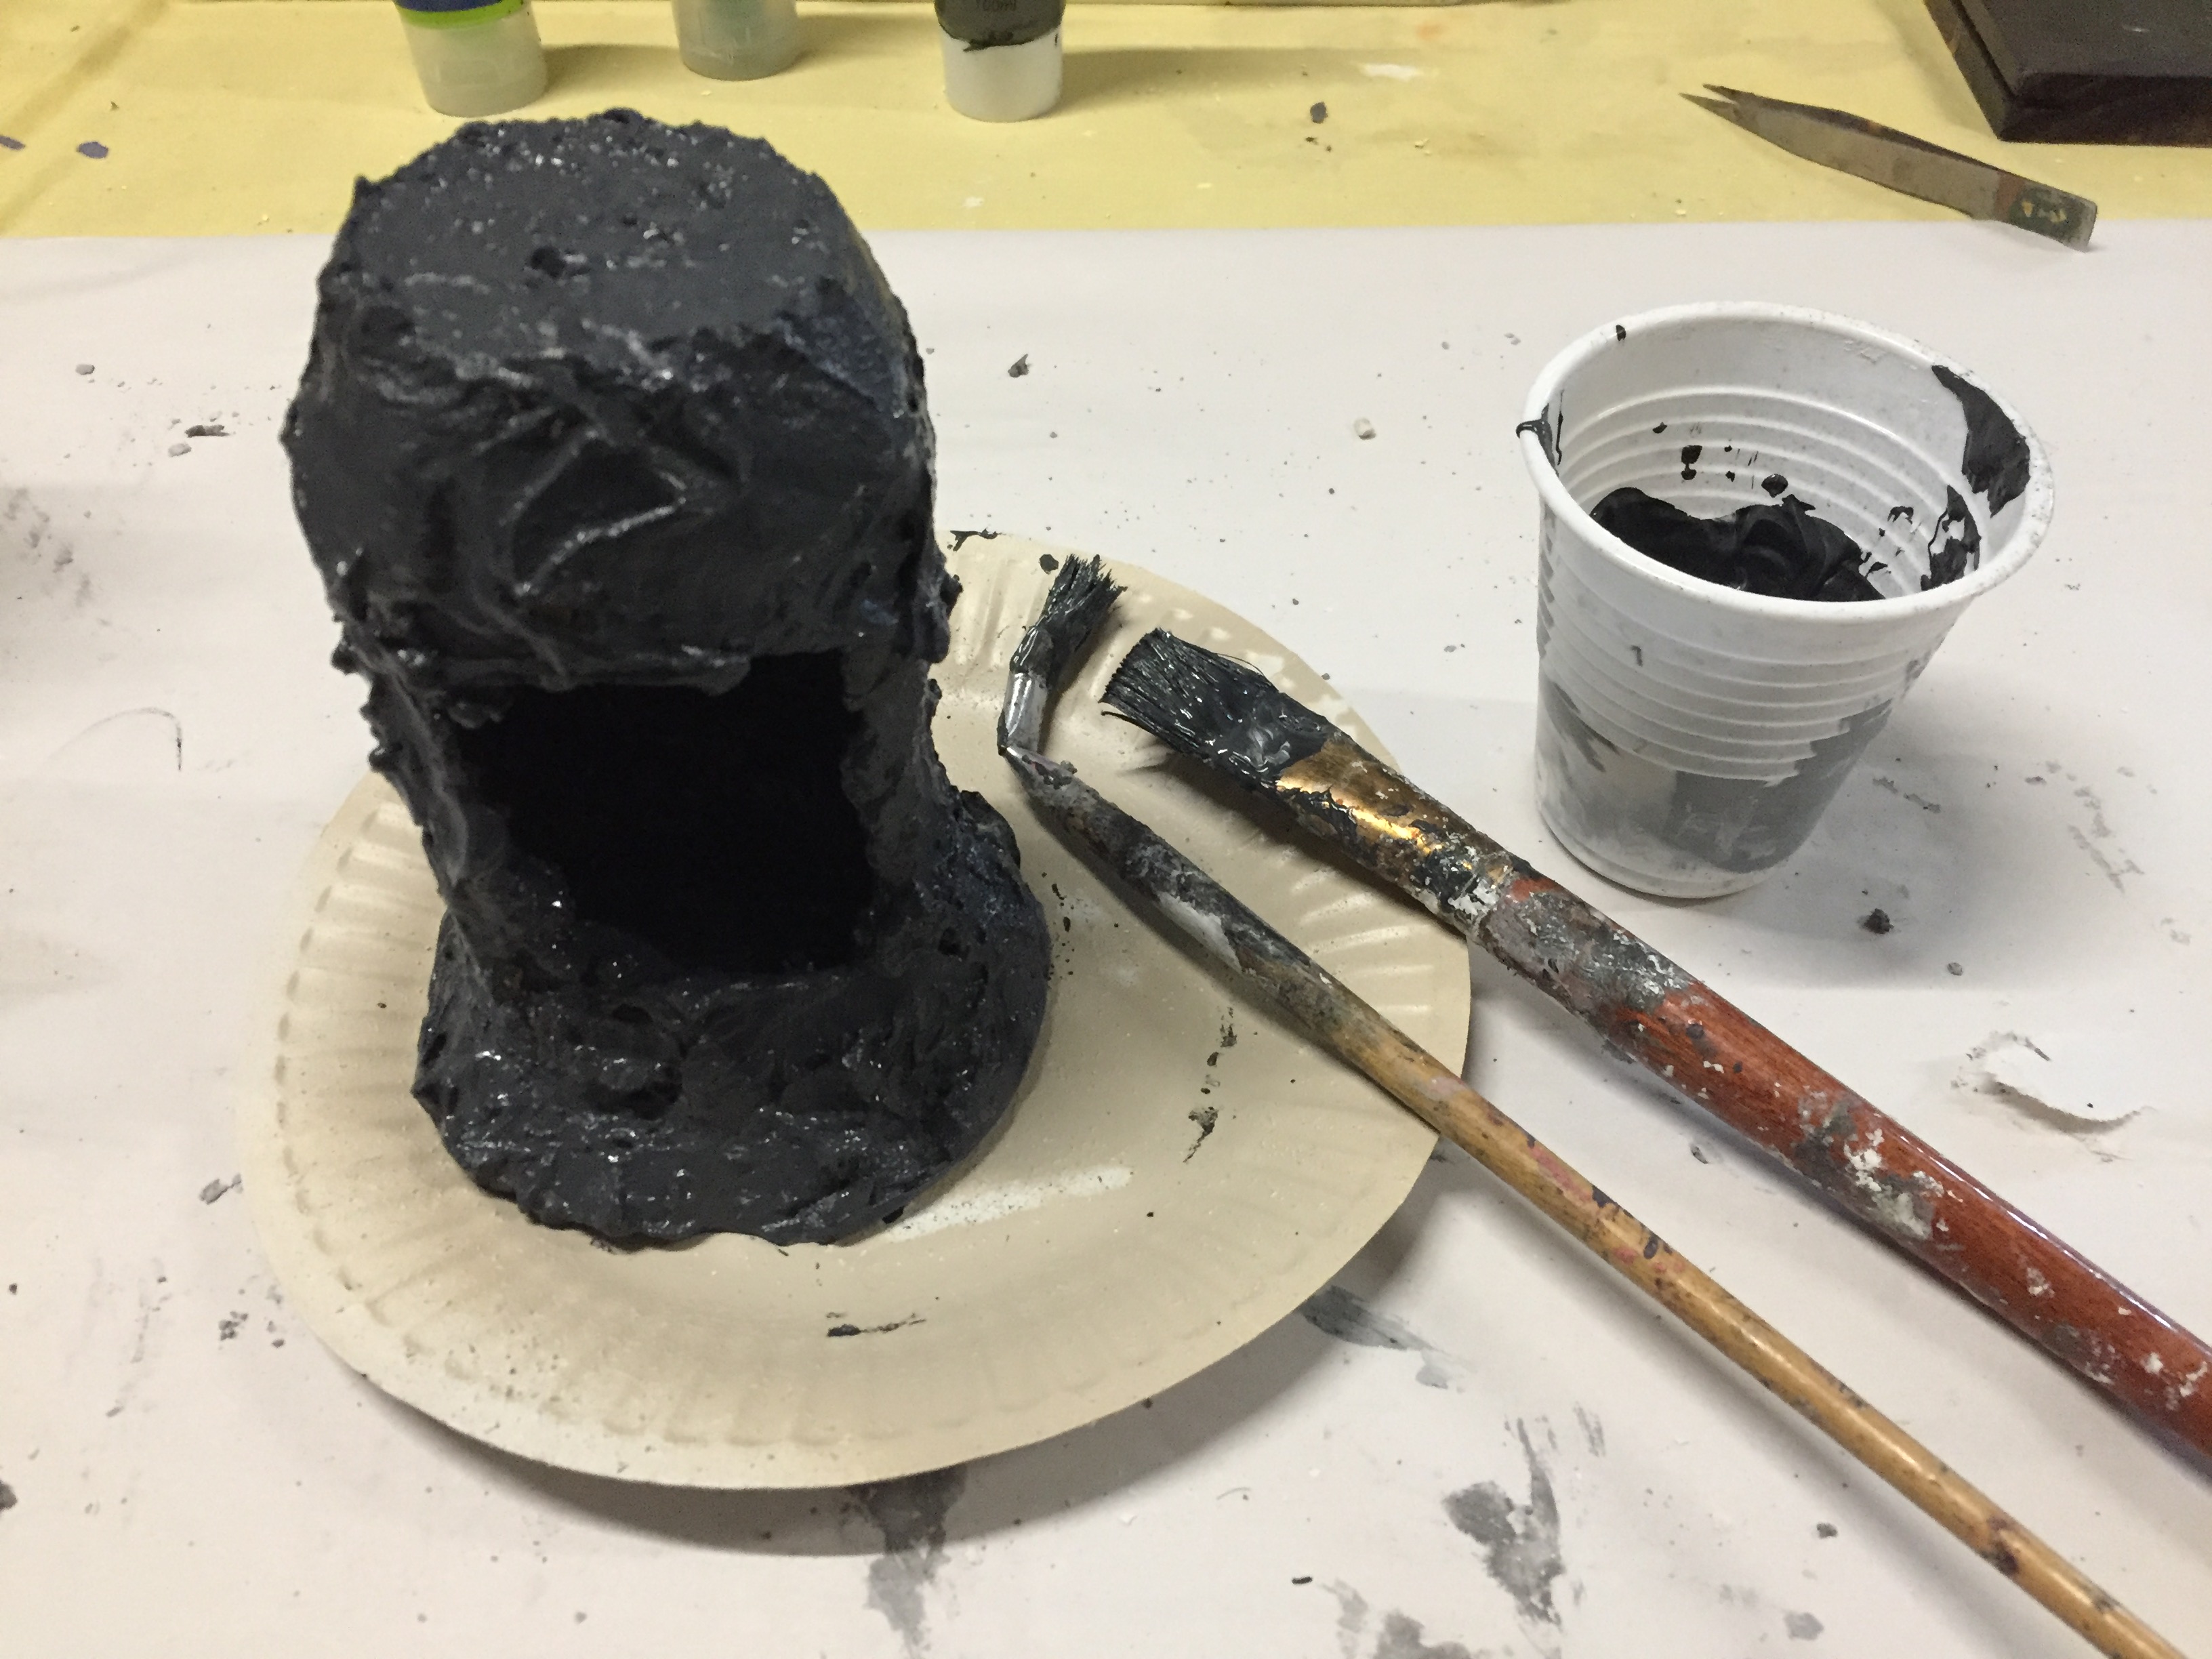
Now to paint it, you can either use spray cans or just paint it with acrylic paint, your choice. Then apply the figures etc. Stick them into place as you like.
Good luck and feel free to ask if I have missed anything.
Cheers Pat.


theimperfectmodeller
Nicely done Pat. Looks like you had fun doing these and the end results in your previous posts produced something very different indeed. Always nice to see the creative side of the hobby and how things are done. 🙂
LikeLiked by 3 people
patmcf
To right mate, it was fun so I’m not surprised that there there were a number of requests to see my approach, I was particularly excited that one of our boys wanted to see it as his boy wanted to make one.😃
LikeLiked by 2 people
Guru PIG
Awesome Pat. I now have a legitimate excuse to buy Guiness and Pale Ale, but you can forget the Coke!
Simple but very effective and great recycling of an essential commodity container!
LikeLiked by 2 people
patmcf
😅😅👍🏻thanks mate 🤓
LikeLiked by 1 person
ericritter65
Oi! You can use the cookie to cut some cheap whiskey!
LikeLiked by 1 person
patmcf
😅👍🏻
LikeLike
Dave Stone
Excellent tutorial Pat, and very creative.
LikeLiked by 2 people
patmcf
Thanks Dave it was a fun episode in an Old modellers travels😉
LikeLiked by 2 people
ausevor
Reblogged this on ausevor.
LikeLike
John@justneedsvarnish
You make it look easy, Pat! 🙂 I’m struggling to get past Stage 1 (hic)! 😉
LikeLiked by 6 people
patmcf
😂😂😂👍🏻🤓
LikeLiked by 1 person
backtothehammer
🤣🤣
LikeLike
ericritter65
Nice tutorial!
LikeLiked by 2 people
Pete S/ SP
Great tutorial Pat.
I always drink my beers one at a time… the issue is how long a gap between cans.
Cheers,
Pete.
LikeLiked by 1 person
patmcf
😅😅👍🏻
LikeLike
Kuribo
Thank you for sharing your method with us, Pat! I will have to down a Coke or Ginger Beer and give this a try sometime soon 🙂
LikeLiked by 1 person
patmcf
👍🏻🤓
LikeLiked by 1 person
Jeff Groves
Very nice, Pat! I expected you were using some sort of resin, good to know the plaster works out so well. Are there any issues with adhesion to the metal cans?
LikeLiked by 1 person
patmcf
Thanks Jeff, there wasn’t any problems with adhesion, I do feel that the addition of the white glue (PVA) helped, after the plaster had dried it was just a couple of rattle can sprays and a last coat of varnish 🤓
LikeLiked by 1 person
backtothehammer
Really great idea and nicely written up. I’d still live in fear of slicing my hand on the can no matter what!
LikeLiked by 1 person
patmcf
😅😅👍🏻matey My biggest problem is super glue , one Knick to ten glue issues, now I have a gallon of Acetone on standby 😅😉
LikeLike
rantingsfromunder
That is brilliant mate, thanks so much for sharing the “how to” with us mere mortals!
Cheers Roger.
LikeLiked by 2 people
patmcf
😅😅👍🏻always a pleasure to help Roger🤓
LikeLike